

Choose the right spot for your Sola Sauna
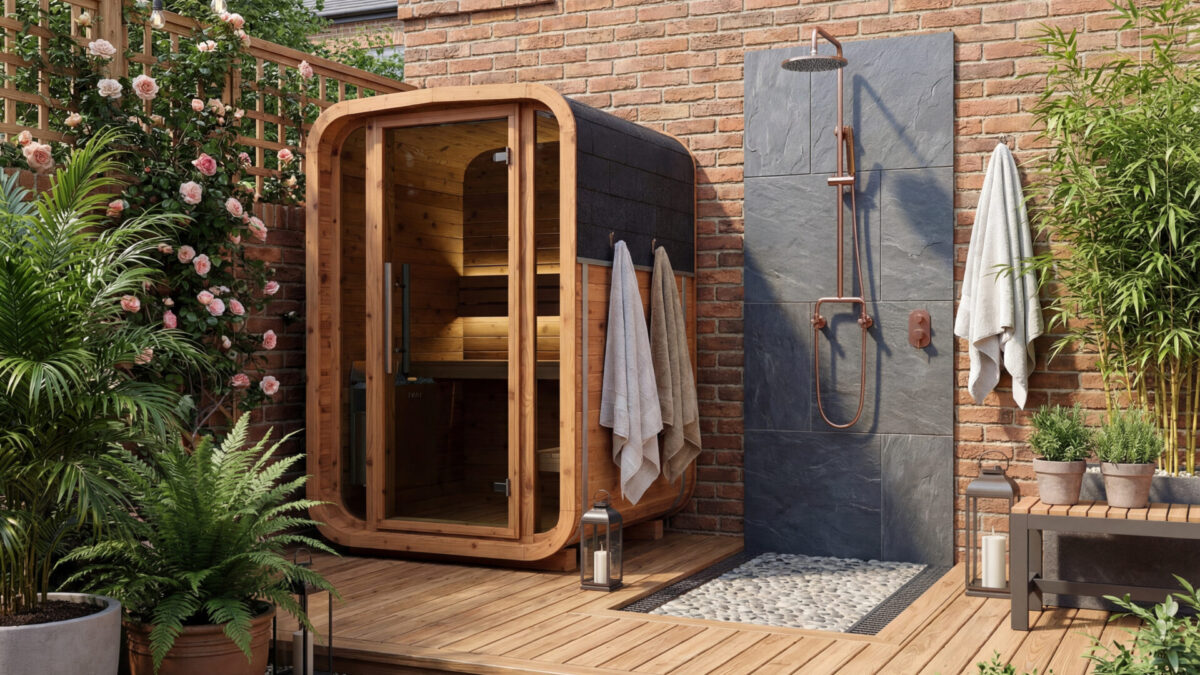
Your Sola Sauna is a permanent structure, so where you place it matters as much as how you build it. A good location needs three things: a level foundation, proper clearance, and safe electrical access. If you miss any of these, you risk damaging the wood, voiding the warranty, or creating a safety hazard.
Pick a level, stable base
Wood expands and contracts with temperature changes. If your sauna sits on uneven ground, the door frame will warp, and the heavy roof might sag over time. Look for a flat patch of ground in your yard. Concrete pads, compacted gravel, or a sturdy deck are ideal. Avoid soft soil or areas where water pools after rain.
Leave room for airflow
Heat needs to escape. The manufacturer recommends at least 12 to 24 inches of clearance around the entire unit. This gap allows air to circulate, keeping the wood dry and preventing moisture buildup that leads to rot. It also gives you space to open the door fully without hitting a fence, tree, or wall.
Plan for power access
The Sola Sauna requires a dedicated electrical circuit for its LED lighting, ventilation fan, and control panel. Check your home’s power lines before you buy. You’ll need an outdoor-rated outlet nearby, or you’ll need to hire an electrician to run a new line. Never use an extension cord; it’s a fire risk and won’t handle the load.
Assemble the Sola Sauna frame and panels
Assembling your Sola Sauna is the foundation of a safe and effective recovery routine. This process involves piecing together the barrel frame, securing the panels, and ensuring the door fits tightly to retain heat. Think of this like building a sturdy barrel; every stave must align perfectly to hold pressure. Follow these steps in order to ensure the structure is secure and ready for the heater.
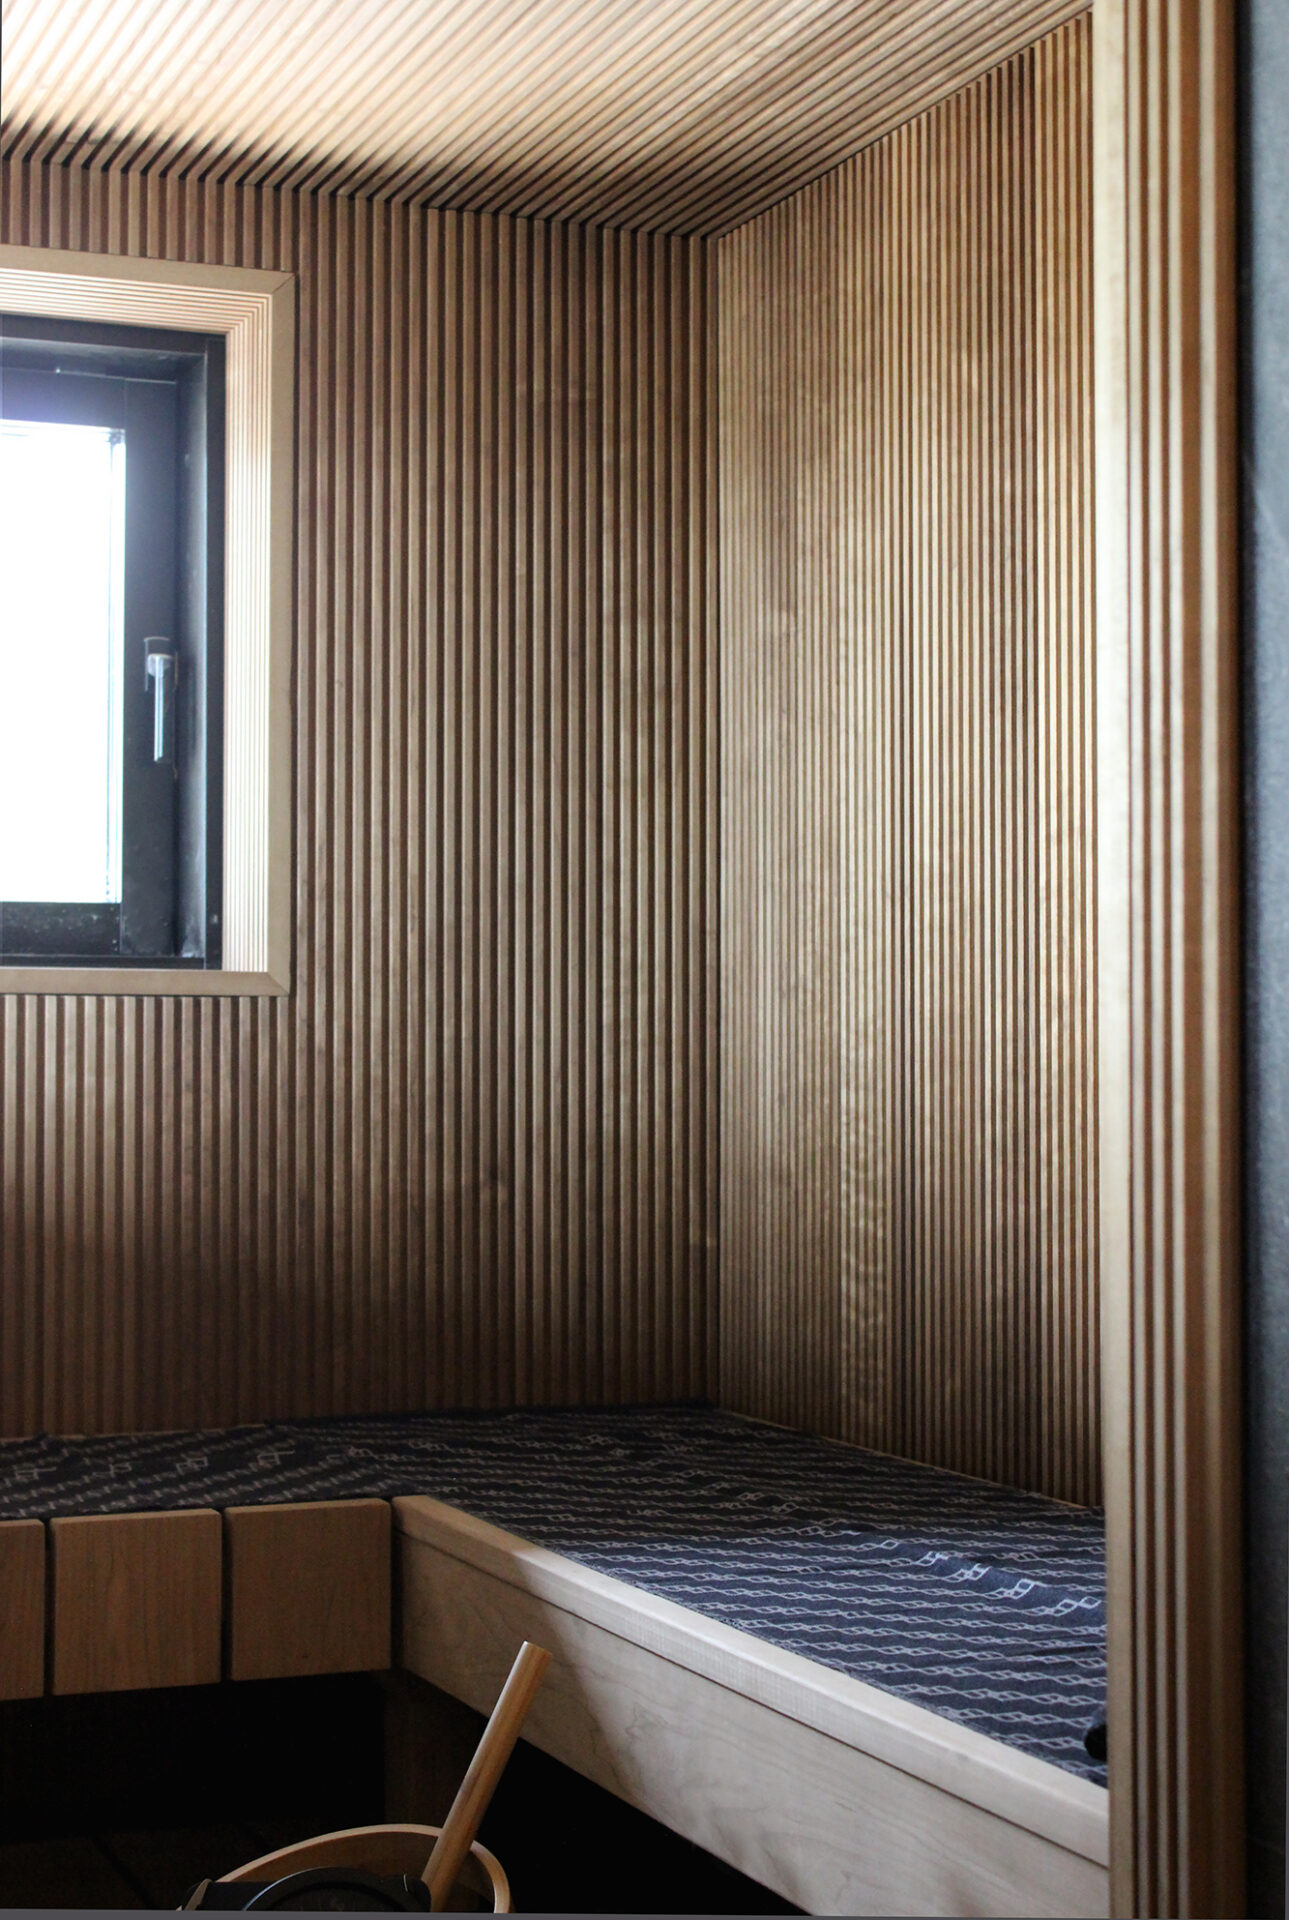
Start by emptying the box and laying out all components on a flat, clean surface. Identify the heavy steel base ring and the individual wooden staves (the vertical planks that form the barrel shape). Check that all hardware—bolts, washers, and nuts—is accounted for. Do not tighten any bolts yet; you need to slide the panels into the bottom track first.
Begin inserting the staves one by one into the bottom steel ring. The staves should sit snugly against each other, forming a circle. Keep the wood grain facing outward for the best aesthetic. As you add each piece, ensure the gaps between staves are minimal. This tight fit is critical for heat retention and structural integrity.
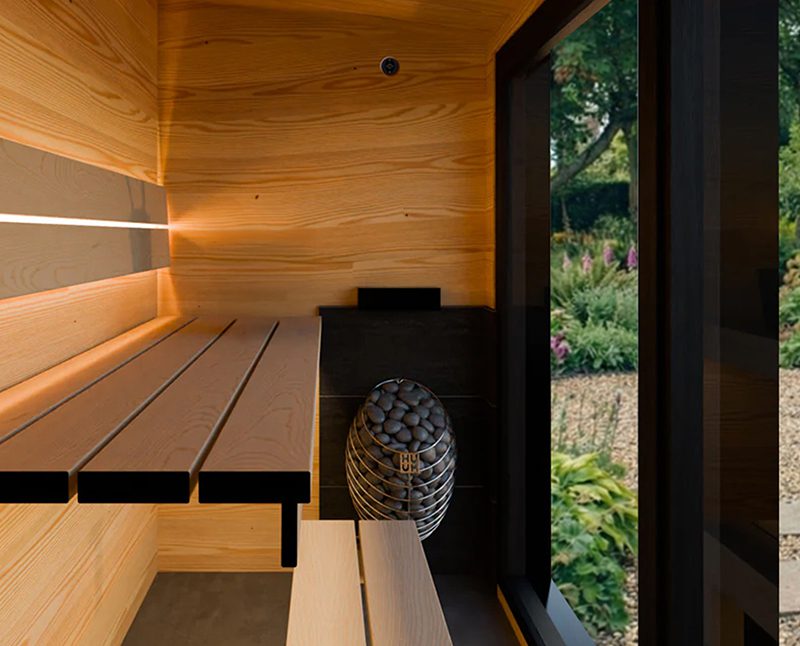
Once all staves are in the bottom ring, lift the top steel ring into place. Align the pre-drilled holes in the top ring with the corresponding holes in each stave. Insert the bolts and washers. Start tightening the nuts by hand to keep everything aligned. Then, use the provided wrench to secure them. Tighten in a star pattern (opposite bolts) to ensure the ring sits evenly without warping the wood.
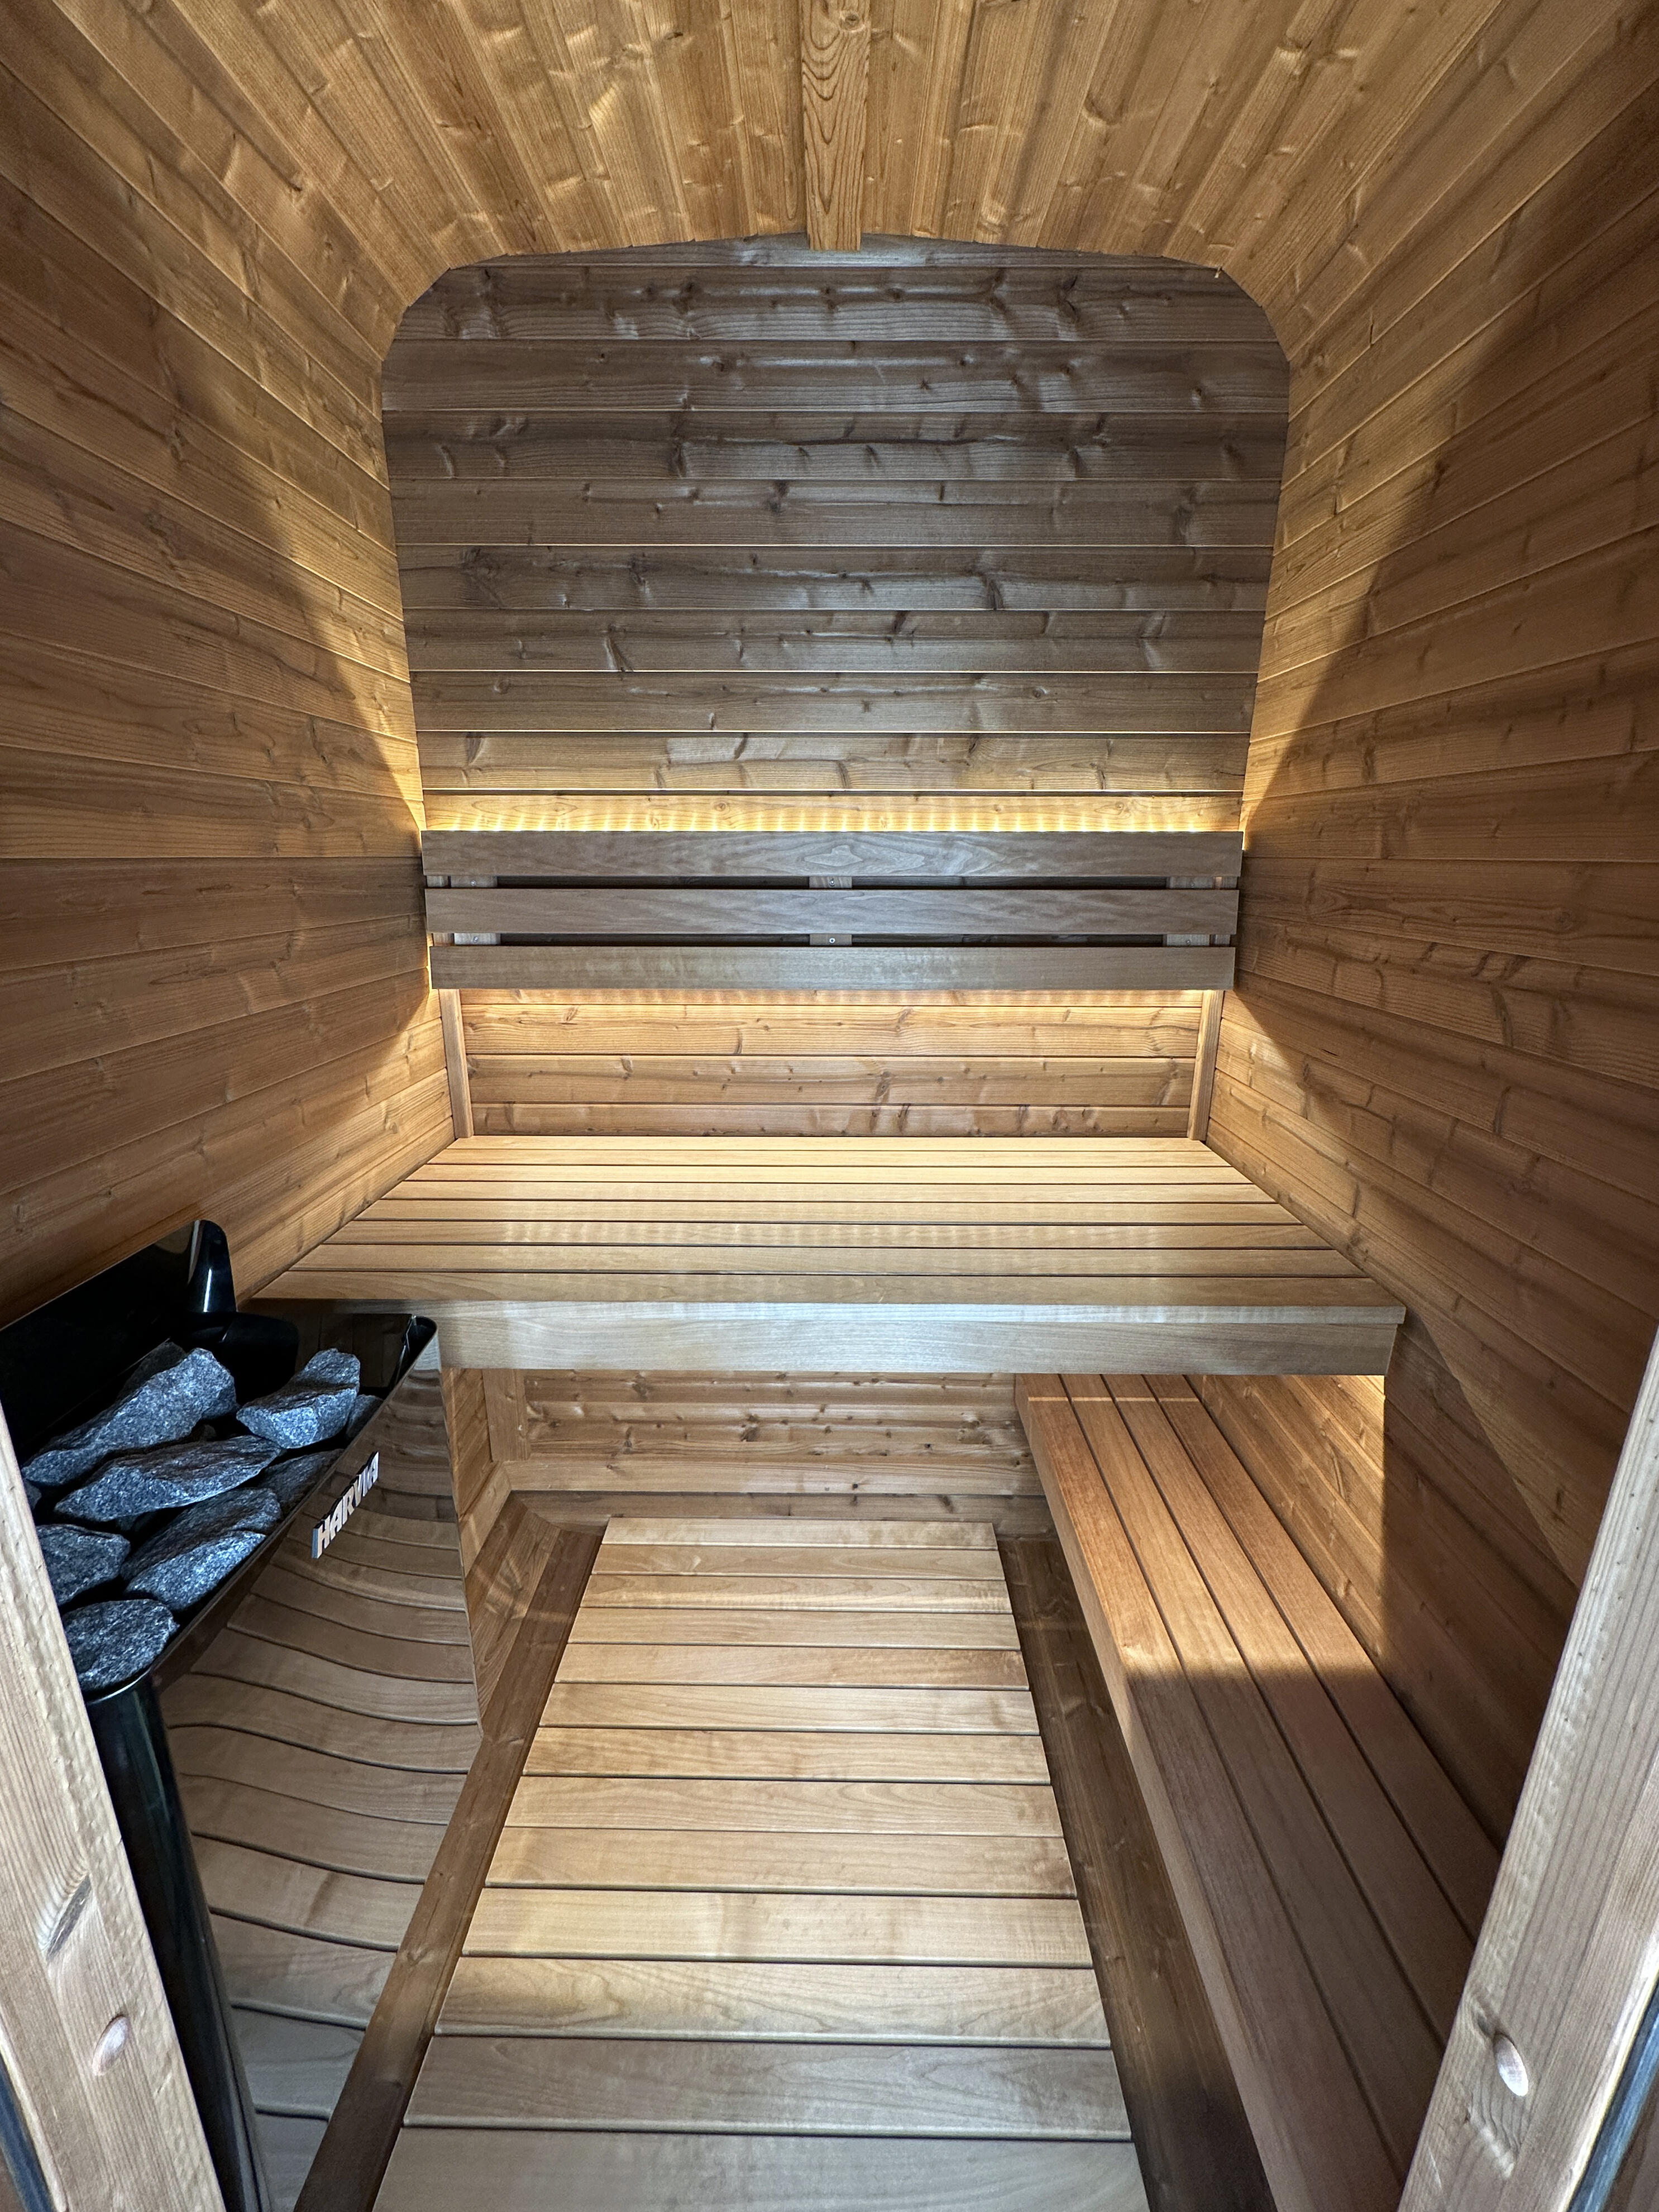
Attach the door frame to the sauna body using the heavy-duty hinges provided. Ensure the door swings freely before fully tightening the hinge bolts. The door must seal tightly against the rubber gasket to prevent heat escape. Adjust the hinge position slightly if the door drags on the floor or doesn't latch properly.
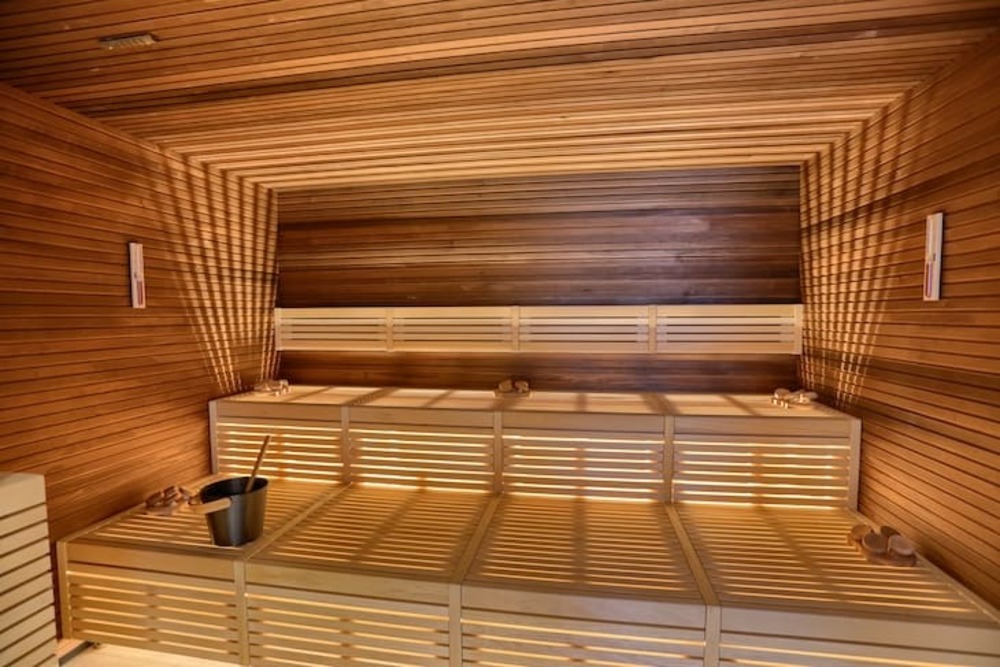
Do a final pass on all bolts, ensuring they are snug but not over-tightened, which could strip the threads or crack the wood. Check that the door opens and closes smoothly and latches securely. Your Sola Sauna frame is now complete and ready for the heater installation.
Connect power and test the infrared heaters
Before you can use your Sola Sauna for post-workout recovery, you need to ensure the electrical connection is secure and the heating elements are functioning correctly. This initial power-on test is a critical safety check that confirms the infrared heaters are warming up as intended and that the unit’s internal systems are communicating properly.
Step 1: Plug in the unit
Locate the power cord on the back of your Sola Sauna. Ensure the cord is not pinched or tangled within the sauna’s interior or exterior structure. Plug the cord directly into a dedicated, grounded 110V outlet. Avoid using extension cords or power strips, as these can introduce resistance and pose a fire risk or cause voltage drops that may damage the heater controls.
Locate the power cord on the back of your Sola Sauna. Ensure the cord is not pinched or tangled within the sauna’s interior or exterior structure. Plug the cord directly into a dedicated, grounded 110V household outlet. Avoid using extension cords or power strips, as these can introduce resistance and pose a fire risk or cause voltage drops that may damage the heater controls.
Press the power button on the digital control panel. The display should light up, showing the default time and temperature settings. If the screen remains blank, check that the outlet is receiving power by testing it with another device, such as a lamp. Ensure the unit is firmly seated on a level, dry surface to prevent any internal component misalignment.
Use the up arrow to set the temperature to a low setting, such as 100°F (38°C). This low-temperature test allows you to verify that the infrared heaters are activating without subjecting the unit to full thermal stress immediately. Listen for a faint hum or click as the heaters begin to engage, which is normal for infrared elements.
Wait 10-15 minutes for the heaters to warm up. Place your hand near the heater panels (without touching them directly) to feel for radiant heat. If the heaters are not warming up, turn the unit off, unplug it, and wait five minutes before retrying. If the issue persists, consult the troubleshooting section of your manual or contact Sola Sauna support, as this may indicate a faulty heater or control board.
Once the heaters are confirmed to be working, you can proceed with a full session. The infrared technology in your Sola Sauna is designed to penetrate tissue deeply, making it ideal for muscle recovery after intense workouts. Always start with shorter sessions (10-15 minutes) to acclimate your body to the heat, gradually increasing the duration as you become comfortable.
Prepare your body for the first sauna session
Getting the most out of your Sola Sauna requires a bit of preparation before you step inside. Proper hydration, appropriate clothing, and smart timing relative to your workout are the three pillars of a safe and effective session. Skipping these steps can lead to discomfort or reduced recovery benefits.
Hydrate before you heat
Infrared saunas work by raising your core body temperature, which triggers sweating. This process increases your heart rate and circulatory demand, similar to moderate exercise. If you start a session dehydrated, you risk dizziness, lightheadedness, or muscle cramps.
Drink 16–20 ounces of water 30 minutes before your session. Avoid alcohol or heavy caffeine, as both can contribute to dehydration. Bring a bottle of water into the sauna to sip slowly if needed.
Choose the right clothing
Your clothing choice affects how well your body can regulate temperature and sweat. Tight, synthetic fabrics can trap heat uncomfortably and restrict circulation. Loose, breathable natural fibers like cotton or linen are ideal.
Many users prefer minimal clothing, such as underwear or a swimsuit, to allow maximum skin exposure to the infrared panels. If you are uncomfortable with nudity, a loose t-shirt and shorts work well. Avoid heavy jackets or jeans, which can cause overheating.
Time your session around your workout
When you schedule your sauna session relative to your workout significantly impacts recovery. Post-workout sauna use can help relax tight muscles and improve circulation, aiding in the removal of metabolic waste products like lactic acid.
Wait at least 20–30 minutes after intense exercise before entering the sauna. This allows your heart rate and body temperature to normalize slightly, preventing excessive strain. A 15–20 minute session is sufficient for most post-workout recovery goals.
Run your first post-workout infrared session
Your first session should feel like a gentle warm-up for your muscles, not a test of endurance. Think of this initial exposure as waking up your body’s heat-response system. For a post-workout recovery session, the goal is consistent, moderate heat that promotes circulation without causing shock or dehydration.
Start by setting the temperature between 120°F and 130°F (49°C–54°C). This range is effective for raising core body temperature and inducing a light sweat, which helps flush out metabolic waste like lactate accumulated during your workout. Avoid cranking the heat to the maximum immediately; your body needs time to adjust to the infrared rays penetrating your tissues.
Set the timer for 15 to 20 minutes. This duration is sufficient to trigger a recovery response without overstressing your cardiovascular system. If you are new to infrared saunas, you might feel warmth in your skin within the first few minutes, followed by a deeper, throbbing warmth as your blood vessels dilate. This is a normal physiological response indicating increased blood flow to the surface.
Step-by-step session guide
Drink 16–20 oz of water 30 minutes before your session. Infrared saunas induce sweating at a cellular level, so starting hydrated prevents dizziness and helps your body regulate temperature efficiently.
Use the control panel to set the heater to a moderate range. For post-workout recovery, this temperature is hot enough to promote muscle relaxation but gentle enough to avoid overheating your already warm body.
Sit comfortably inside. Focus on slow, deep breathing. You may feel a tingling sensation as your pores open. This is the infrared heat penetrating your muscles to reduce inflammation and soreness.
Exit slowly to avoid lightheadedness. Drink another 16 oz of water immediately. Your body has been working hard to cool itself; replenishing fluids is essential for recovery and preventing post-sauna fatigue.
During these first few minutes, pay attention to your body’s signals. If you feel dizzy, nauseous, or overly uncomfortable, exit the sauna immediately. The heat should feel enveloping and relaxing, not oppressive. After your session, you may notice your muscles feel looser and your heart rate has gradually returned to baseline, signaling the beginning of the recovery process.
Common Sola Sauna setup mistakes to avoid
Even a high-quality Sola Sauna can underperform if the foundation isn’t right. Many owners skip the prep work, leading to uneven heating or structural stress. Fix these three common errors to ensure your post-workout recovery sessions are safe and effective.
1. Skipping the leveling check
An uneven floor is the most frequent cause of door misalignment and heat loss. If the sauna rocks, the heat escapes through gaps, forcing the heater to work harder. Place the unit on a perfectly flat surface, such as a concrete pad or a reinforced deck. Use a spirit level on the floor frame during assembly. Tighten all leg adjustments until the unit is stable and the doors close smoothly without dragging.
2. Ignoring ventilation requirements
Saunas need airflow to manage humidity and prevent condensation damage. Placing your Sola Sauna in a fully enclosed, windowless space traps moisture, which can warp the wood over time. Ensure there is at least a few inches of clearance between the sauna and any surrounding walls. If you are installing it in a garage or shed, add a small exhaust fan or leave a window cracked to allow moist air to escape.
3. Skipping the break-in period
New wood shrinks and settles as it adjusts to heat. If you jump straight into a 100°F session, the boards may warp or the door seal might fail. Run the sauna empty at a moderate temperature (around 80–90°F) for two to three hours before your first use. This "burns off" any manufacturing odors and allows the wood to expand naturally. Check the door seals after this initial cycle to ensure they are tight before your first sweat session.
Use a spirit level to ensure the floor frame is perfectly flat. Adjust the legs until the unit is stable and does not rock.
Leave a few inches of clearance between the sauna and walls. Ensure moist air can escape to prevent wood warping.
Heat the empty sauna to 80–90°F for two hours. This settles the wood and burns off manufacturing odors before your first use.
No comments yet. Be the first to share your thoughts!