
Why choose a Sola Sauna setup
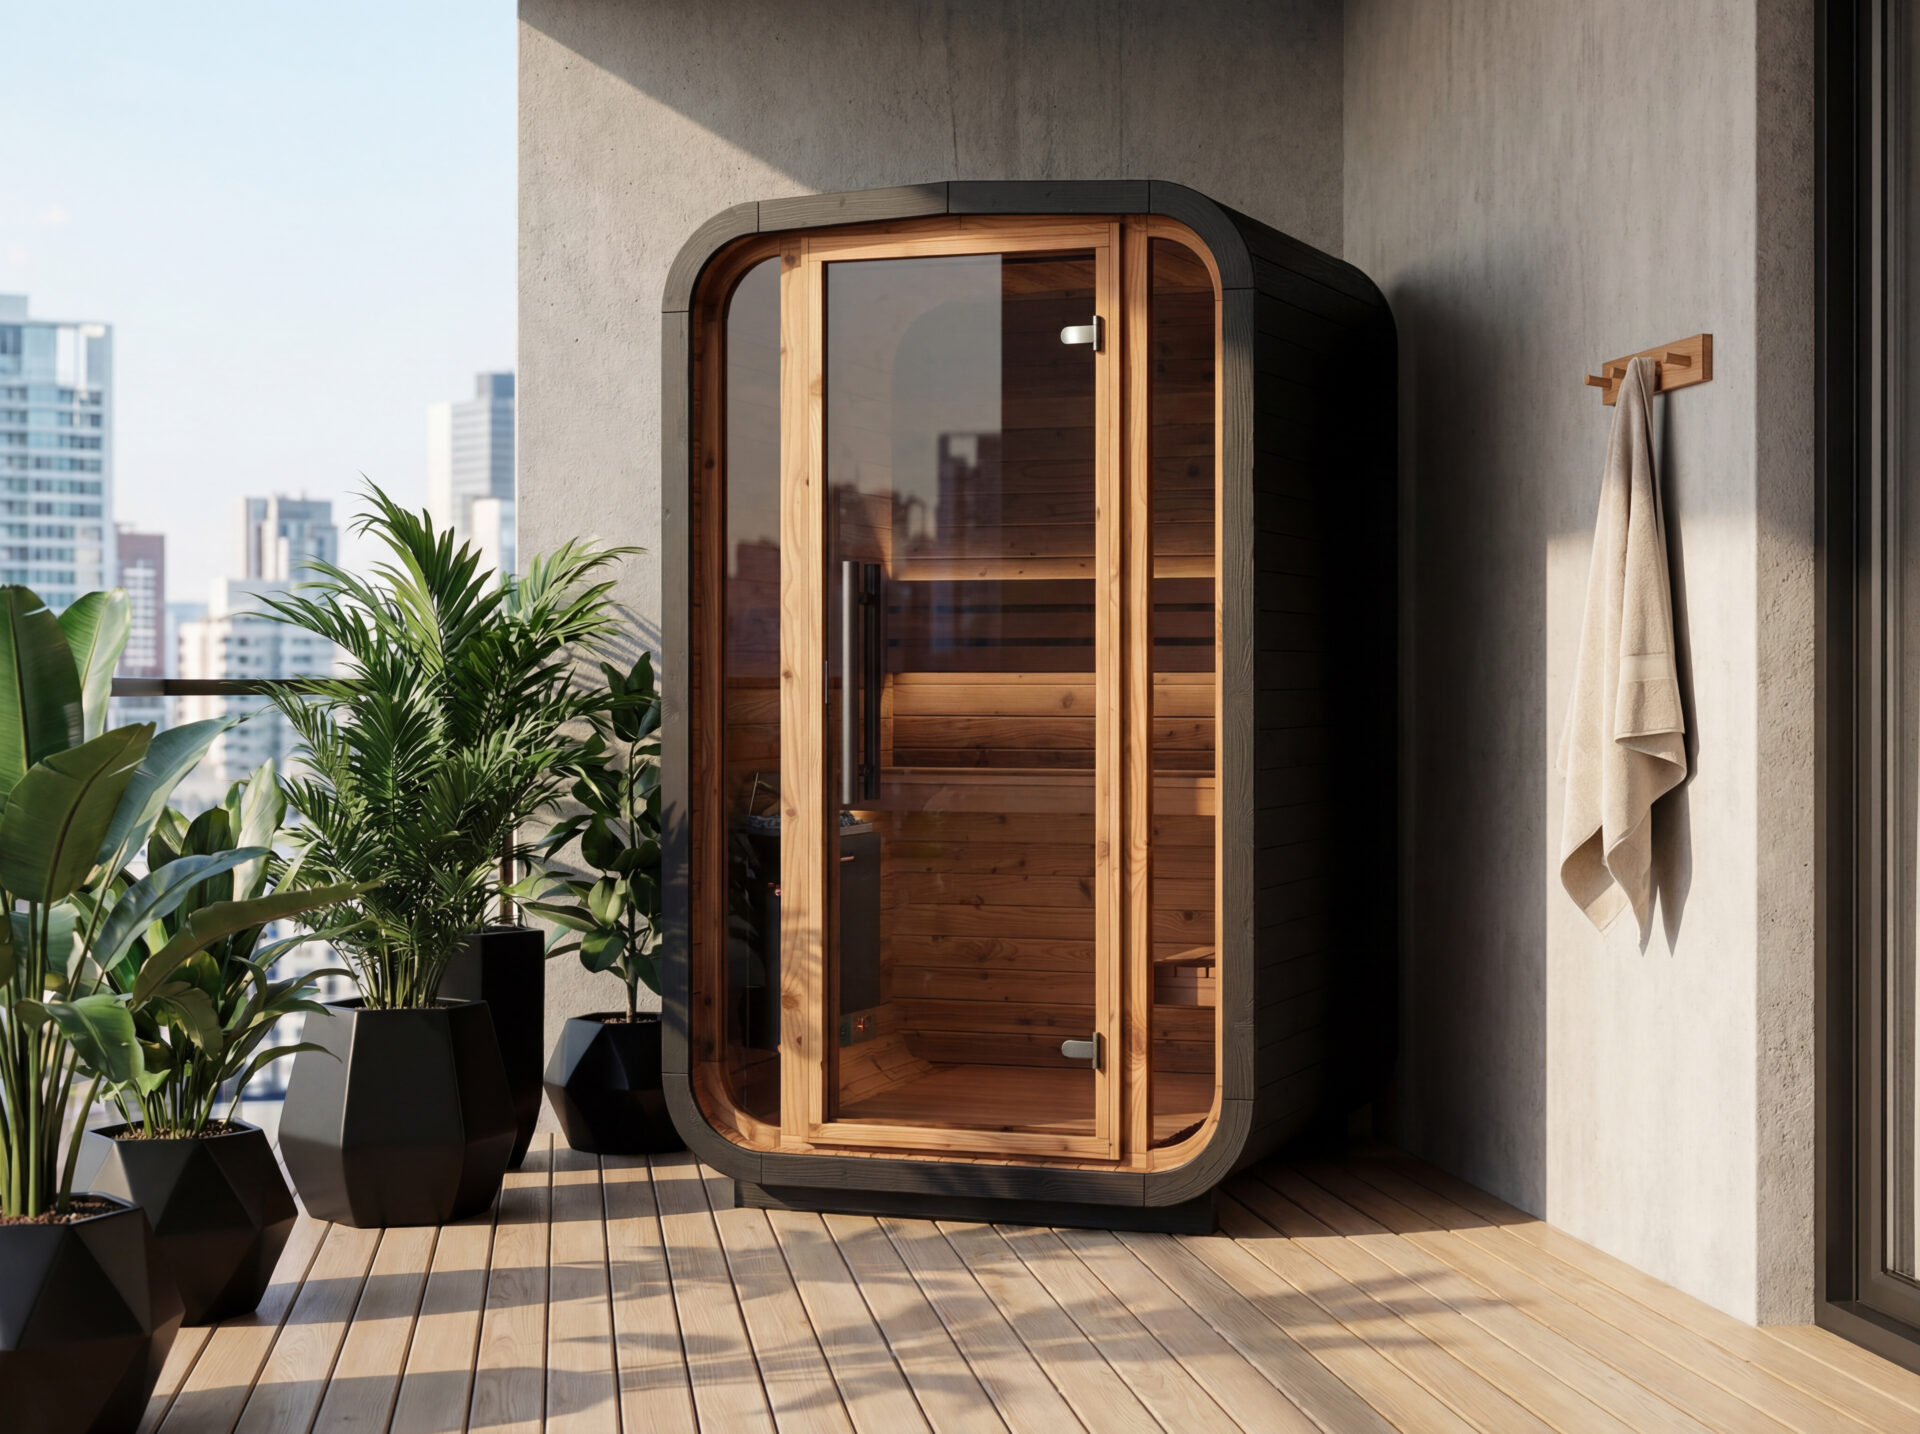
A Sola Sauna offers a distinct advantage for post-workout recovery: it combines the therapeutic benefits of infrared heat with a design that fits seamlessly into residential outdoor spaces. Unlike traditional brick-and-mortar saunas or complex DIY builds that require extensive electrical and structural engineering, a Sola Sauna kit provides a streamlined, modular approach. This makes it an ideal choice for fitness enthusiasts who want a dedicated recovery zone without the hassle of major construction projects.
The infrared technology used in these units penetrates deeper into muscle tissue than traditional steam saunas, promoting faster recovery from intense workouts. By heating the body directly rather than the surrounding air, the Sola Sauna allows you to reach therapeutic temperatures more efficiently. This means shorter sessions with greater physiological benefits, including improved circulation, reduced muscle soreness, and enhanced relaxation.
<Image src="/cdn/articles/8e3e292e-a02d-45ff-ab17-ad024c6bac0c-8a8b7a70.jpg" alt="Sola Sauna" />
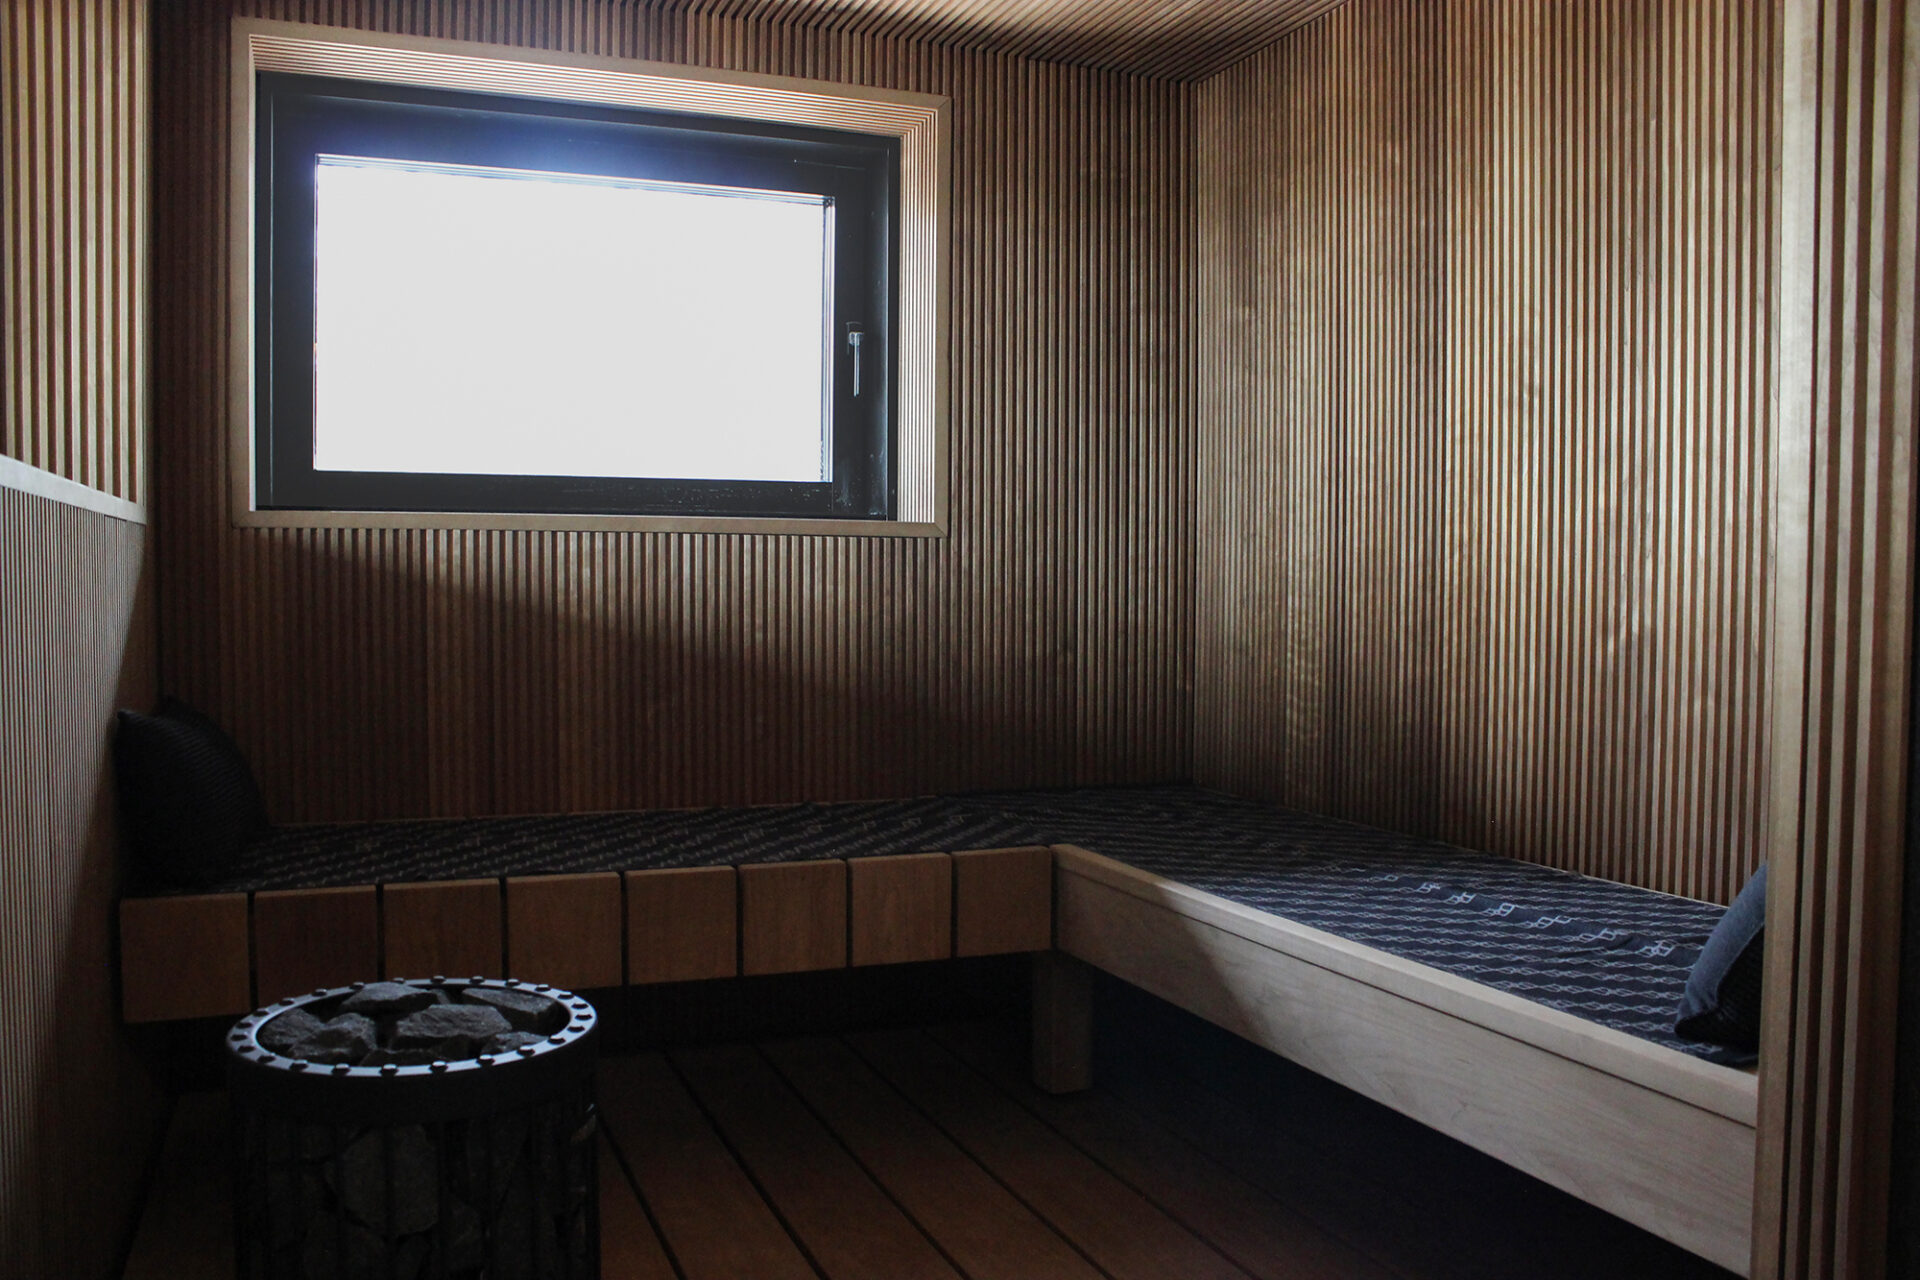
Choosing a Sola Sauna setup also means prioritizing privacy and convenience. These units are designed to stand alone in your backyard, providing a personal sanctuary for unwinding after a long day. The clean, modern aesthetic blends well with various landscape styles, while the pre-fabricated nature of the kit ensures that assembly is straightforward. You gain a professional-grade recovery tool that respects your time and space, making consistent post-workout care a realistic part of your routine.
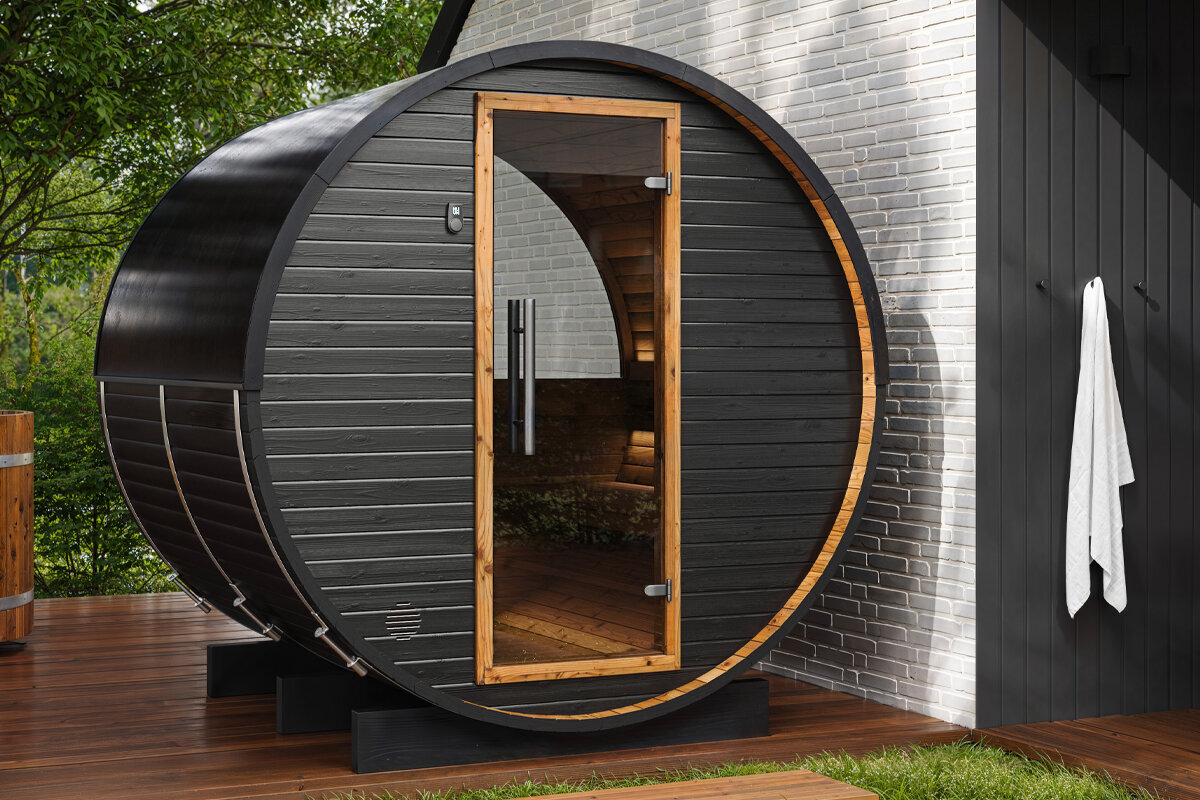
Where to Place Your Sola Sauna
Choosing the right spot is the first real step in building your Sola Sauna. A poorly located unit will struggle with drainage, lack privacy, and become a maintenance headache. A well-placed one integrates into your backyard and supports your recovery routine without disruption.
Focus on three physical requirements: level ground, power access, and visual privacy. If you skip any of these, the sauna will feel out of place or function poorly.
A Sola Sauna requires a flat, stable foundation. Uneven ground causes doors to misalign and water to pool against the wood. Use a builder’s level to check the site, then add crushed gravel or a concrete pad to create a solid base. The ground must not slope toward the unit.
Most Sola Saunas rely on electricity for heating and lighting. Run a dedicated circuit from your main panel to the site before laying the foundation. Ensure the outlet is GFCI-protected and weatherproof. The cord must not be exposed to foot traffic or tripping hazards.
Recovery requires quiet and seclusion. Use natural landscaping, wooden slats, or outdoor curtains to block views from neighbors or passersby. This privacy is essential for relaxation and ensures you can use the sauna at any hour without feeling exposed.
Once the site meets these criteria, you are ready to install. A thoughtful location saves time and money during assembly and ensures your Sola Sauna remains a functional part of your home for years.
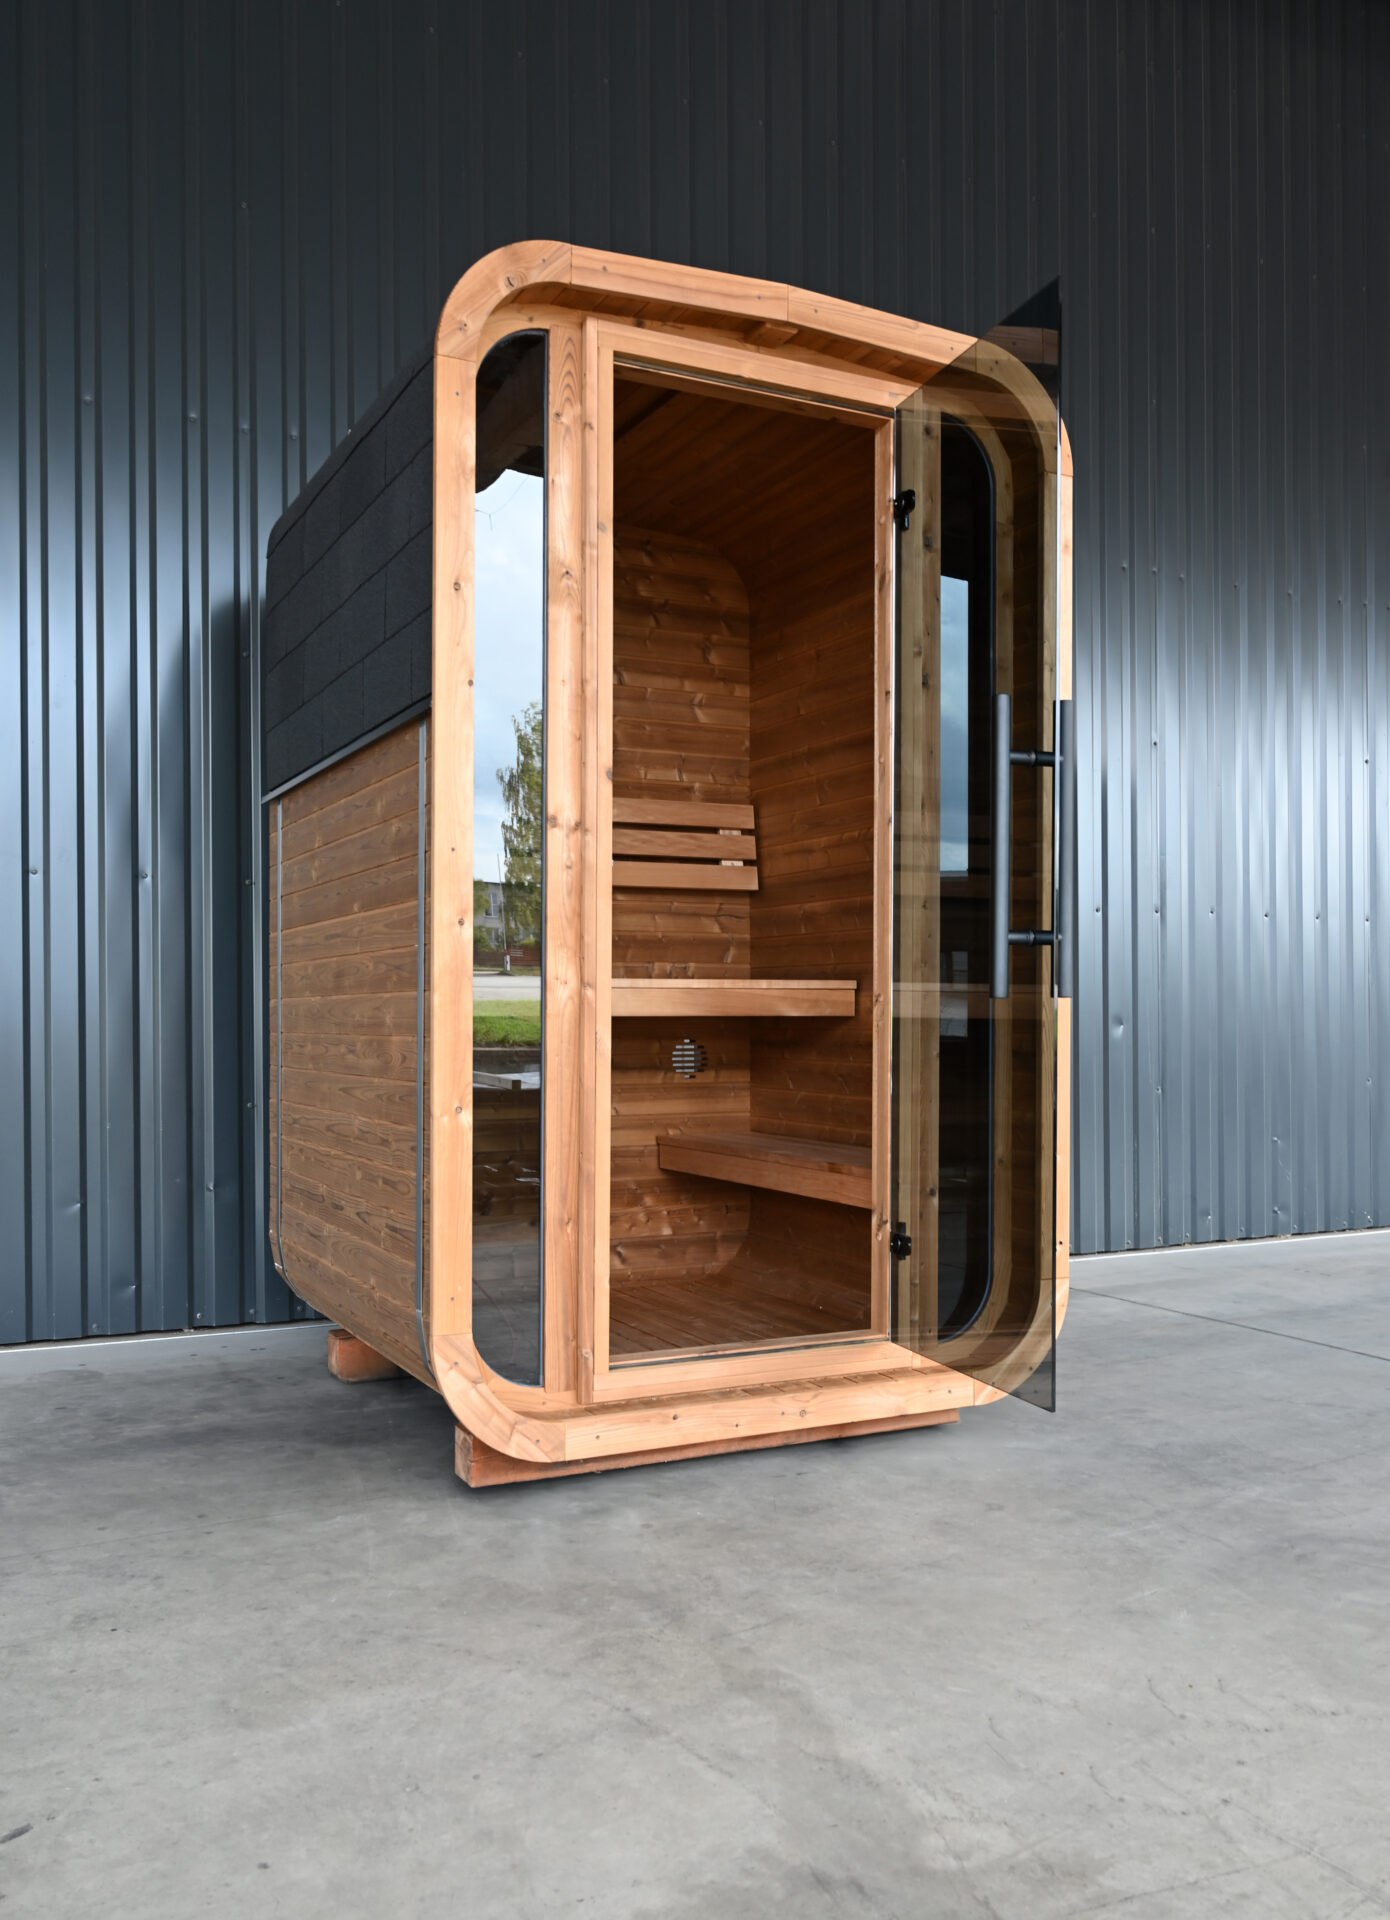
Assembling the Sola Sauna frame
Building a Sola Sauna requires precision. Unlike a standard shed, this structure relies on interlocking wood panels and a specific geometric tension to hold its shape. If the foundation is uneven or the joints aren't seated correctly, the heat will escape, and the structure may twist over time.
Start by laying out your base frame on a level, hard surface. Check that the corners are square using the 3-4-5 triangle method or a carpenter’s square. A skewed base will force the walls to lean, making the final roof assembly nearly impossible to fit. Secure the base beams with heavy-duty brackets before proceeding.
Begin with the subfloor. Lay the treated plywood or OSB sheets over the joists, ensuring they are flush. Fasten every sheet with screws spaced no more than six inches apart along the edges. This rigidity is critical because the sauna’s weight concentrates heavily on the base. If the floor sags, the wall panels will not sit vertically.
Install the four corner posts first. These are the anchors for the entire structure. Use a level to ensure they are perfectly plumb in both directions. Temporarily brace them with 2x4s nailed to the deck or ground to keep them steady while you attach the wall panels. Do not fully tighten the bolts yet; you will need to make micro-adjustments once the walls are up.
Slide the interlocking wall panels into the grooves of the corner posts. Start from one corner and work your way around. Ensure the tongue-and-groove joints are fully seated by tapping them gently with a rubber mallet. Check for gaps between panels; even a small gap can compromise the thermal seal. Keep the structure square by measuring diagonals periodically.
The roof is the final major component. Lift the pre-assembled roof trusses or panels into place. This is often a two-person job. Secure the roof to the top plates of the wall panels with structural screws. Ensure the overhang is even on all sides to maintain the aesthetic balance and proper water runoff. Tighten all corner post bolts now that the structure is rigid.
Once the frame is complete, perform a final stability check. Push against the walls from different angles; there should be minimal flex. If the structure feels loose, inspect the bracket connections and re-tighten any fasteners. A sturdy Sola Sauna frame is the foundation for effective heat retention and long-term durability.
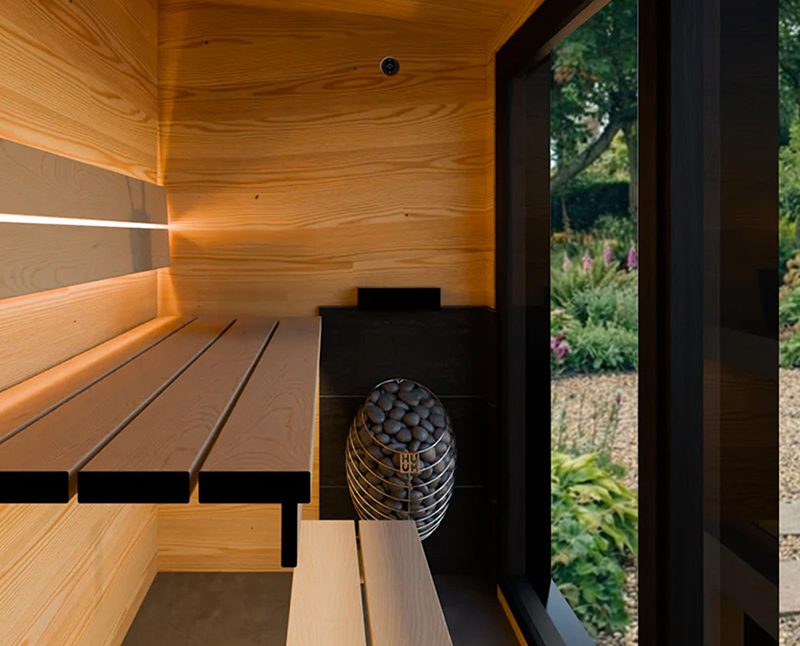
Installing infrared heating panels
Build Your Own Sola Sauna for Post-Workout Recovery works best as a clear sequence: define the constraint, compare the realistic options, test the tradeoff, and choose the path with the fewest hidden costs. That order keeps the advice usable instead of decorative. After each step, pause long enough to check whether the recommendation still fits the reader's actual situation. If it depends on perfect timing, unusual access, or a best-case budget, include a simpler fallback.
Common Sola Sauna Mistakes to Avoid
Building your own Sola Sauna is a rewarding project, but the difference between a safe, effective recovery space and a hazardous mess often comes down to three critical installation details: ventilation, wiring, and sealing. Skip these steps, and you risk compromising both safety and the therapeutic benefits of your heat sessions.
Inadequate Ventilation
Proper airflow is the lifeline of any sauna. Without it, carbon dioxide builds up, oxygen levels drop, and the air becomes stifling rather than invigorating. Most DIY builders place vents too low or too close together, creating dead zones where stale air lingers.
Position your intake vent near the heater, low on the wall, and your exhaust vent high on the opposite wall. This creates a chimney effect, pulling fresh air in and pushing hot, stale air out. For a Sola Sauna, aim for at least 2-3 square inches of vent area per cubic foot of volume.
Poor Thermal Sealing
Heat escapes through gaps. If your Sola Sauna isn’t tightly sealed, you’ll waste energy fighting to maintain temperature, and the interior humidity will fluctuate wildly. This inconsistency disrupts the steady-state heat needed for effective muscle recovery.
Use high-temperature silicone sealant around all joints, window frames, and door perimeters. Check the door gasket regularly; if it doesn’t compress firmly when closed, replace it. A well-sealed sauna holds heat efficiently, ensuring every session delivers consistent therapeutic benefits without unnecessary energy drain.
Incorrect Wiring Gauge
Overlooking wire gauge is a silent killer. High-wattage heaters draw significant current, and using thin wires causes voltage drop and excessive heat buildup in the walls. This can damage components and create a serious fire risk.
Calculate the total amperage of your heater and lights. Use the National Electrical Code (NEC) guidelines to select the correct wire gauge. For a typical 4.5kW heater, you’ll likely need 10-gauge wire. Never compromise on this; the cost of proper wiring is negligible compared to the risk of electrical failure.
Ensure intake is low near the heater and exhaust is high on the opposite wall for optimal airflow.
Apply high-temperature silicone to all seams, windows, and door frames to prevent heat loss.
Use NEC guidelines to select the correct wire gauge for your heater’s amperage to prevent overheating.
No comments yet. Be the first to share your thoughts!