
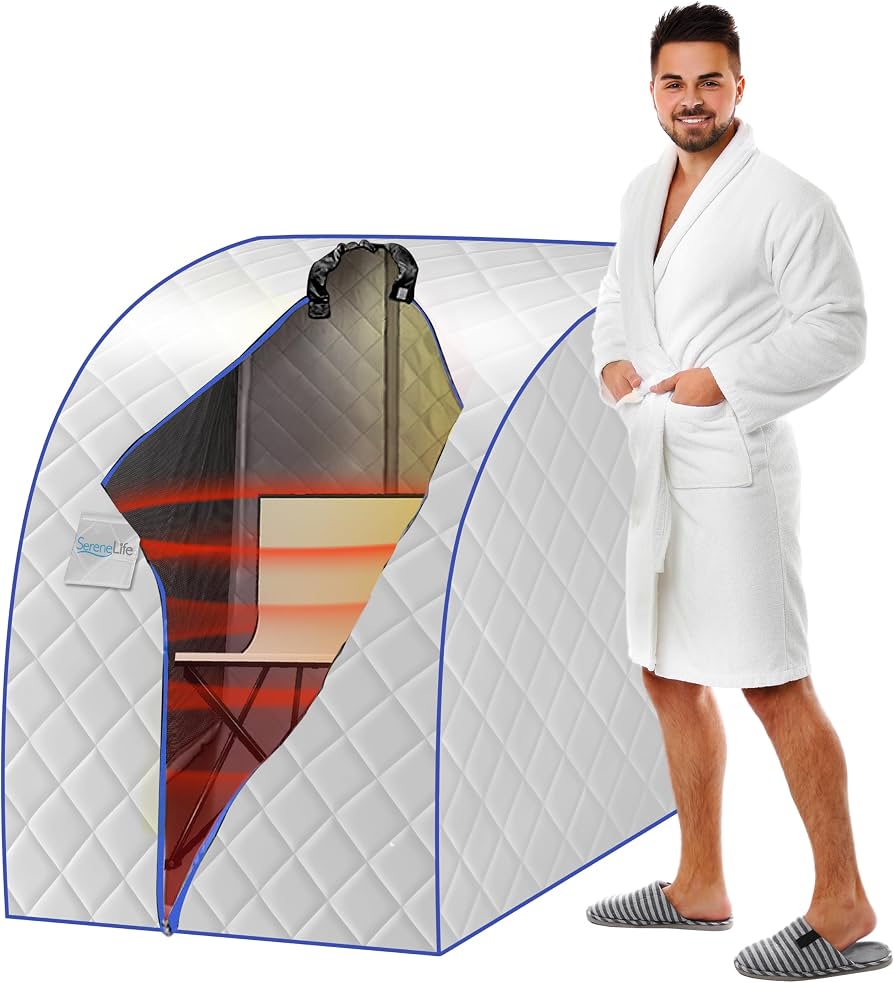
Choose the right spot for your Sola Sauna
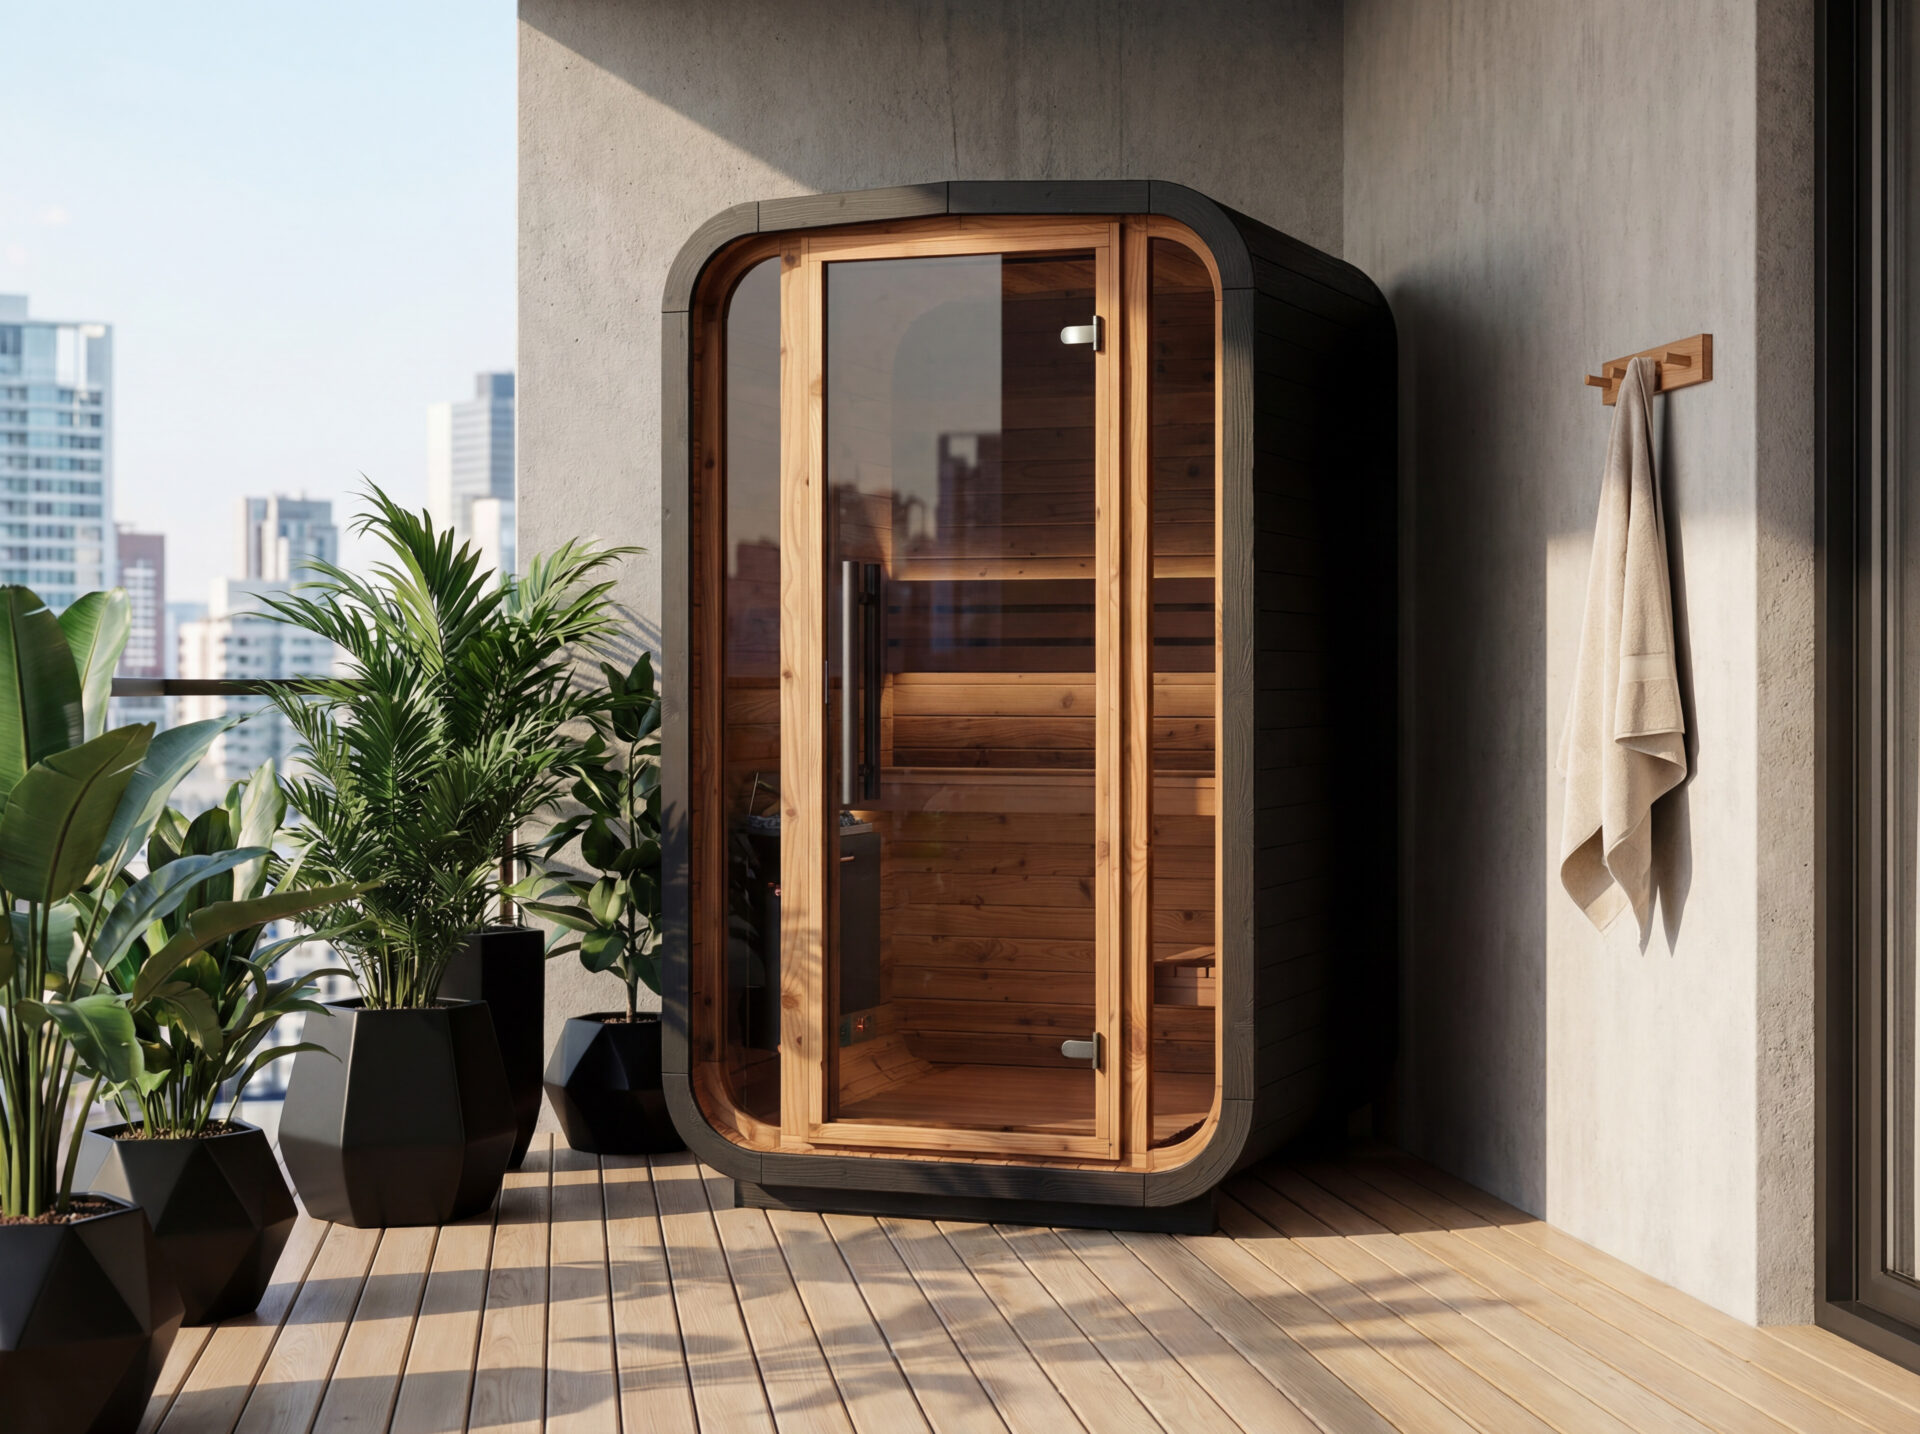
Finding the ideal location for your Sola Sauna is the first step toward a safe and effective recovery routine. The tent requires a flat, stable surface to maintain its structural integrity and ensure the heating elements function correctly. A level patio, garage floor, or designated outdoor deck provides the best foundation, preventing the fabric from sagging or the frame from twisting under heat.
Ventilation is equally critical. While the Sola Sauna is designed to retain heat, it still needs airflow to prevent the buildup of excessive humidity and to ensure fresh air circulates. Place the unit in an area with natural cross-breeze or near an open window or door. Avoid enclosed spaces without any air exchange, such as a sealed basement corner, as this can lead to discomfort and potential safety issues.
Electrical access is a practical constraint you must plan for. The infrared heating panels require a standard power outlet, so choose a spot where a cord can reach without being a tripping hazard. Keep the power cord away from the heat source and ensure it is protected from water if placing the sauna outdoors. If your outlet is distant, use a heavy-duty, outdoor-rated extension cord rated for the wattage of your specific Sola Sauna model.
Privacy and noise also play a role in your relaxation. The Sola Sauna operates quietly, but the fan noise may be noticeable in a thin-walled apartment. If you live in a shared space, consider placing the tent in a detached garage, backyard, or a room with sound-dampening features. This ensures you can unwind fully without worrying about disturbing others or being disturbed.
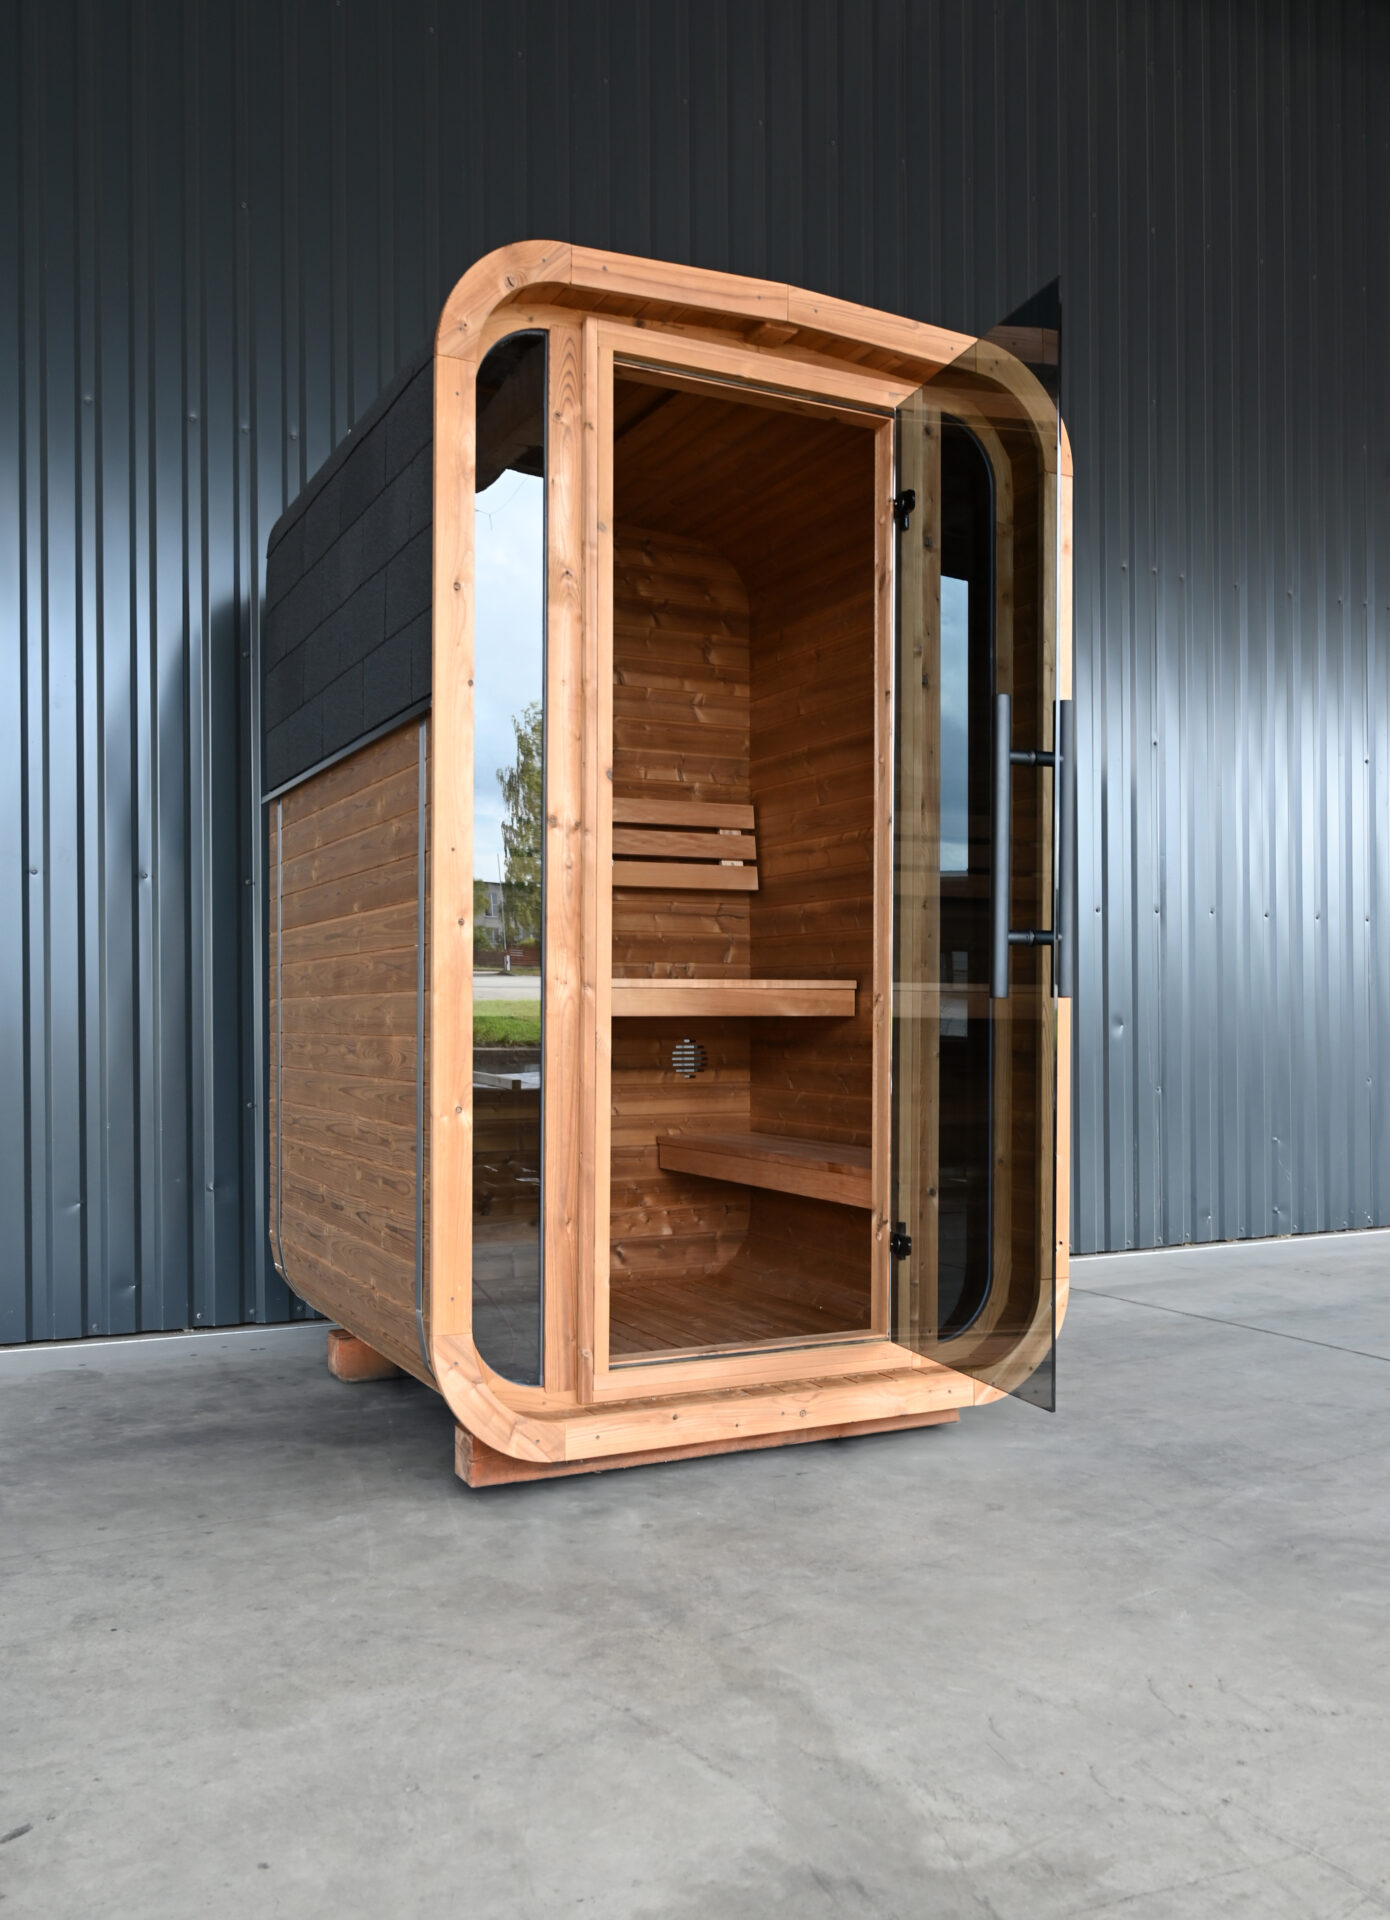
Assemble the Sola Sauna Frame and Panels
Building your Sola Sauna starts with laying a solid foundation for the structure. A properly assembled frame ensures the barrel shape holds its integrity under heat and weather, while precise panel alignment guarantees the seals work as intended. Rushing this phase can lead to gaps that compromise insulation or make future maintenance difficult.
Begin by organizing your components on a clean, flat surface. Sort the cedar panels, metal bands, and hardware according to the manufacturer’s packing list. Having everything within arm’s reach prevents the frustration of hunting for parts mid-assembly, which is especially important when working alone on a large, curved structure.
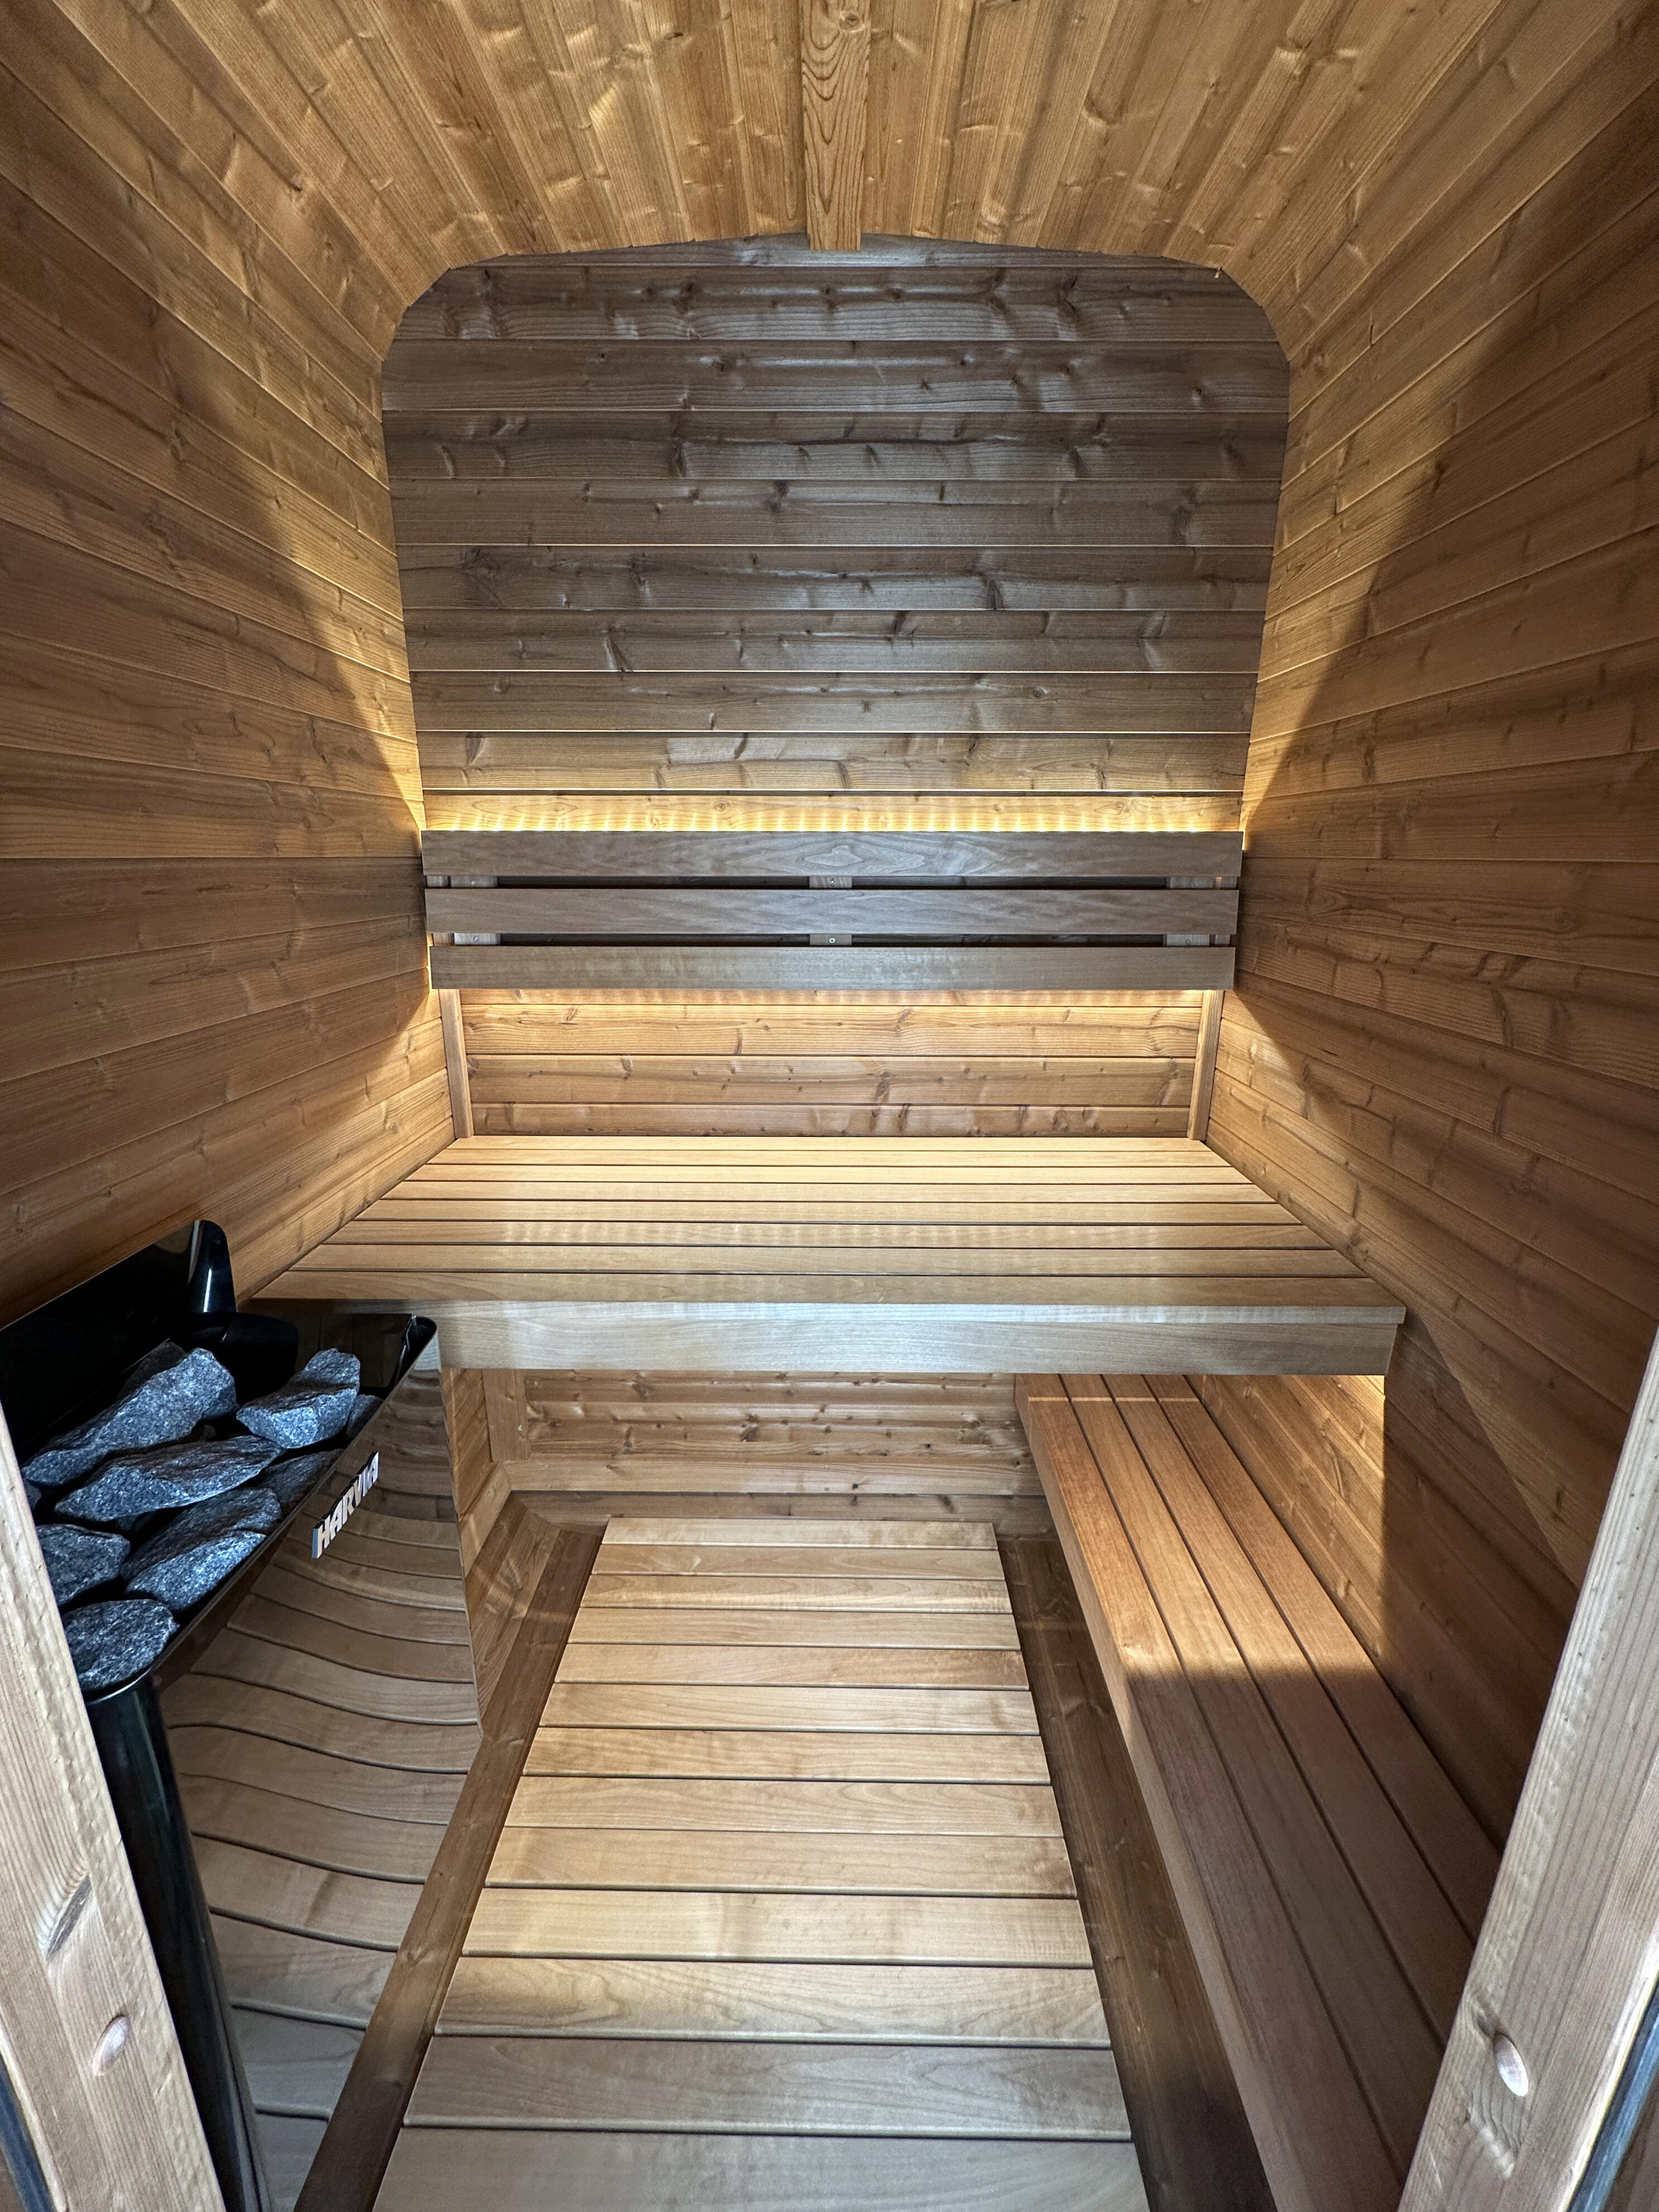
Lay the circular base ring on your prepared foundation. Secure the floor joists or planks inside the ring, ensuring they are level and evenly spaced. This base supports the entire weight of the sauna and the thermal load, so use a spirit level to check for any unevenness before tightening the final screws. A level base prevents the barrel from rocking or warping as it heats up.
Start attaching the vertical cedar panels to the base ring. Begin at a door opening or a designated starting point to ensure symmetry. Align the tongue-and-groove edges carefully; they should fit snugly without forcing. Use the provided screws to secure the bottom edge of each panel to the base ring. Take your time here—misaligned panels in the first row will compound errors in the upper rows.
Slide the metal tension bands over the panels, positioning them at the specified intervals (usually near the top, middle, and bottom). These bands are critical for pulling the barrel shape tight. Tighten them gradually and evenly, alternating between bands to maintain symmetry. Over-tightening can warp the wood, while under-tightening leaves gaps. The goal is a uniform, drum-like tension across the entire circumference.
Continue stacking panels upward, ensuring the vertical seams are staggered or aligned according to the design specifications. Check that the grooves interlock fully before screwing each panel into place. Periodically step back to inspect the barrel’s roundness. If you notice a flat spot or bulge, adjust the tension bands slightly before proceeding. Consistent alignment ensures a tight seal against the elements.
Install the top roof panels, which often feature a specific overlap or flashing design to shed water. Secure them to the upper tension bands and the top edge of the wall panels. Pay close attention to the roof-to-wall junction; this is a primary entry point for moisture. Apply any recommended sealant or rubber gaskets if included in your kit. The roof should sit flush and secure, completing the barrel’s protective shell.
Once the structure is assembled, perform a final check of all panel connections and band tensions. Ensure no screws are protruding into the interior space and that all seals are intact. A well-assembled Sola Sauna frame provides the stable, airtight environment needed for effective post-workout recovery sessions.
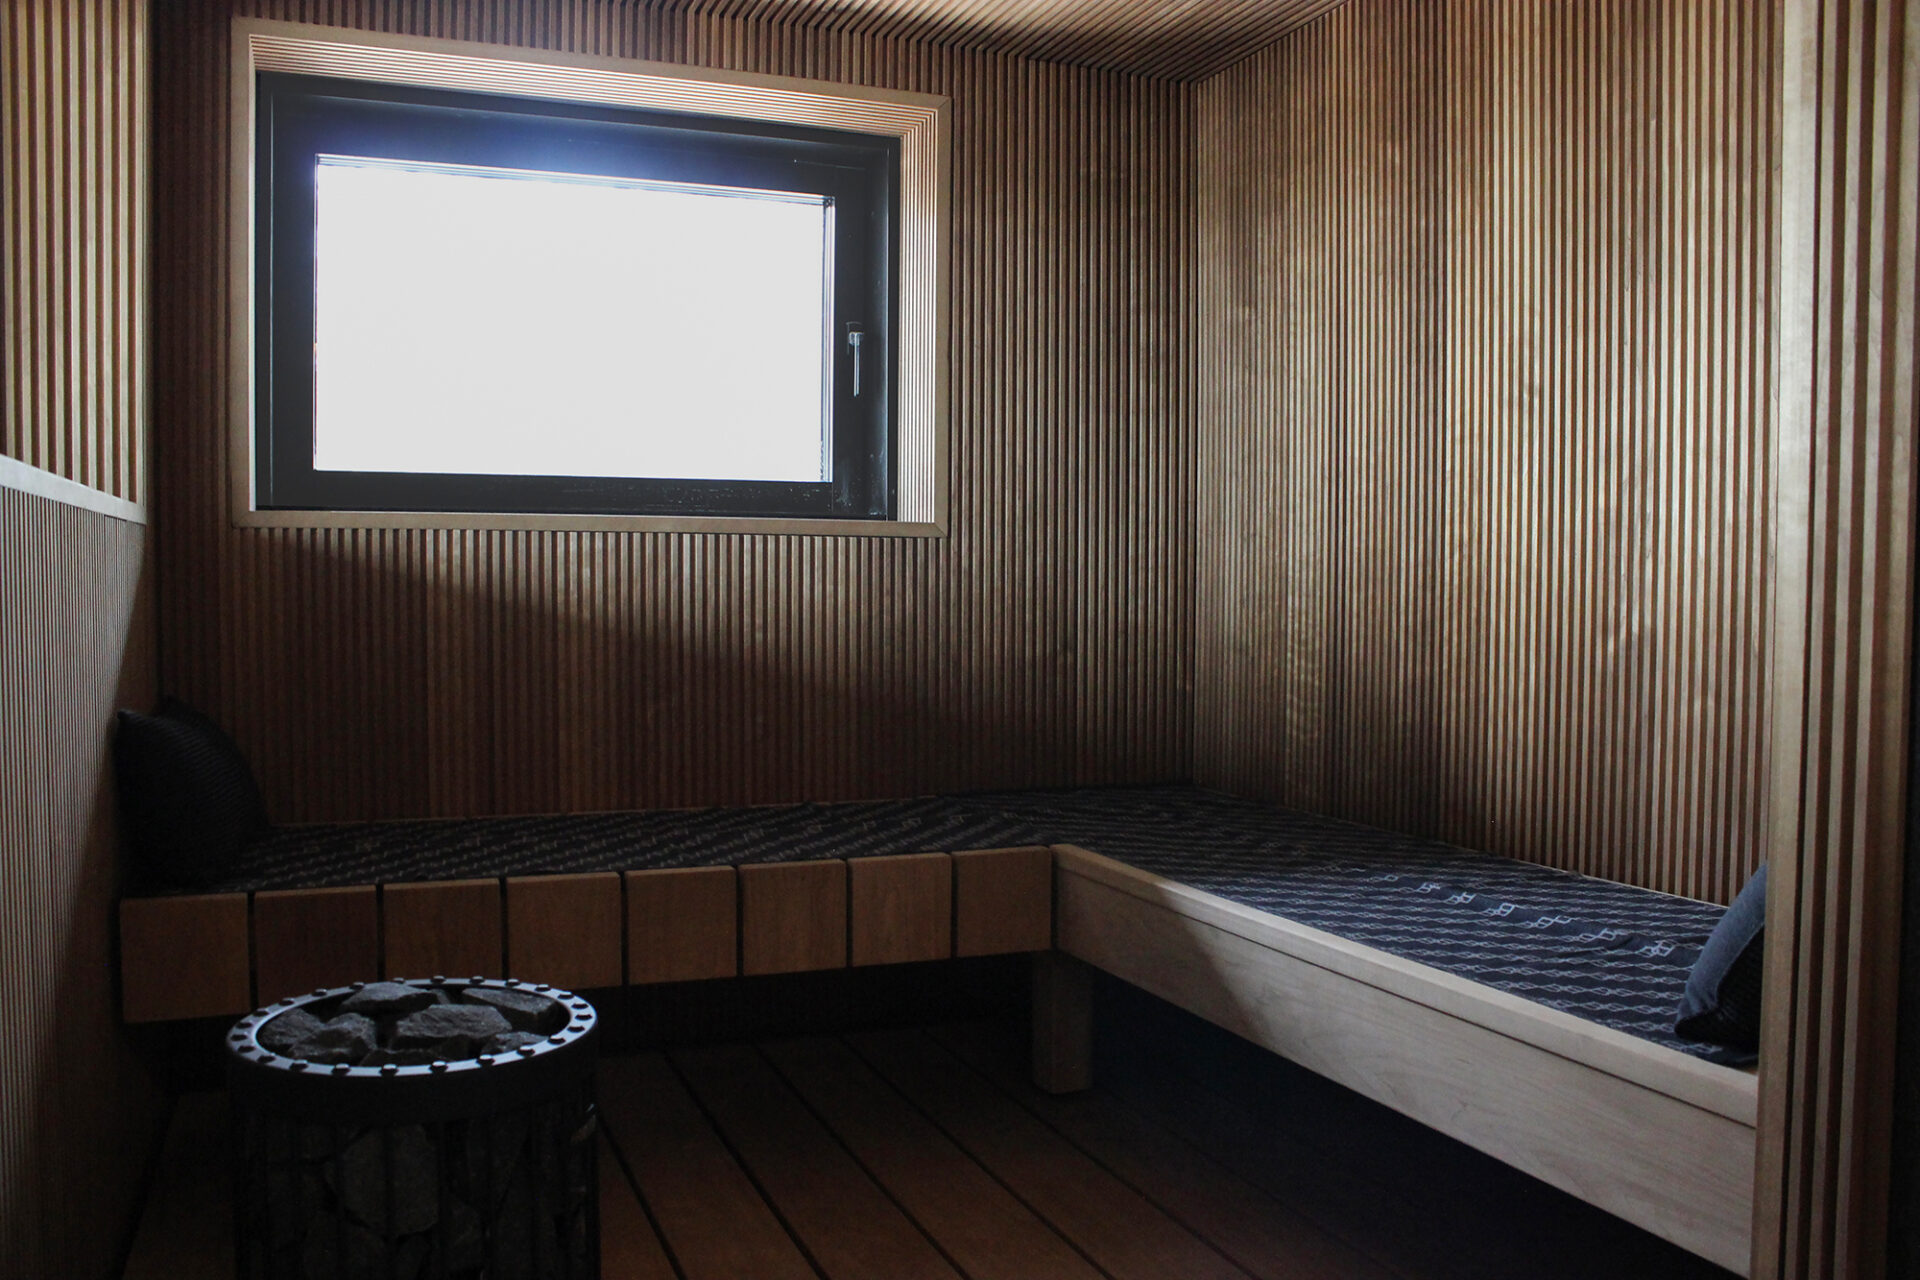
Install heaters and control systems
Mounting the infrared heaters and wiring the control panel is the most critical phase of setting up your Sola Sauna. Proper installation ensures consistent heat distribution and prevents electrical hazards. Follow the manufacturer’s torque specifications and wiring diagrams exactly to maintain your warranty and ensure safe operation.
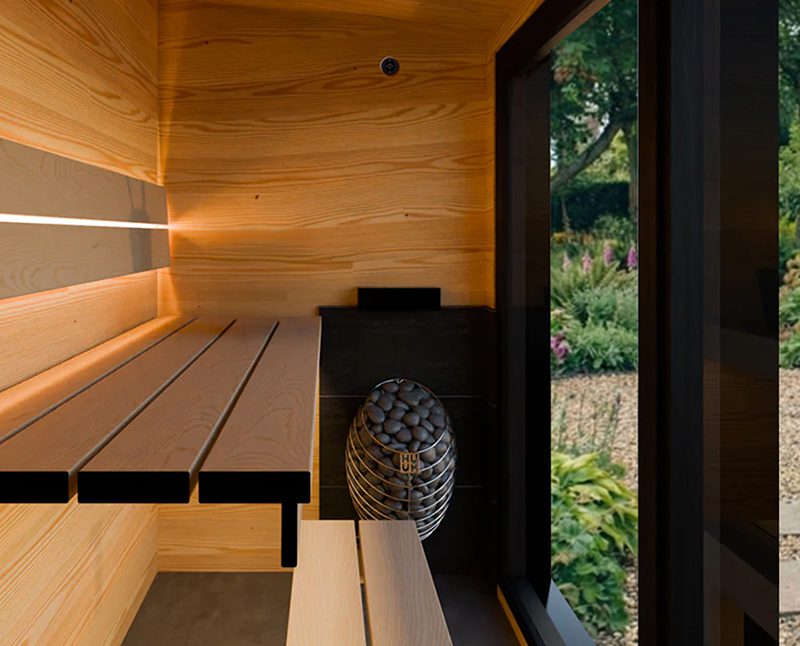
Position the infrared heater panels according to the layout diagram in your Sola Sauna manual. Typically, heaters are mounted on the back wall and side walls at specific heights to optimize heat coverage. Use the provided mounting brackets and secure them firmly to the wooden studs. Ensure there is adequate clearance from the bench and flooring as specified to prevent overheating.
Connect the heater leads to the junction boxes. Use the wire nuts or terminal blocks provided to secure each wire. Double-check that the positive and negative leads are correctly aligned for each heater segment. Ensure all connections are tight and insulated to prevent arcing or short circuits inside the sauna enclosure.
Mount the digital control panel on the interior wall, typically near the door for easy access. Run the control cable through the pre-drilled hole or conduit to the junction box. Connect the cable to the main board, ensuring the pins are seated correctly. Secure the panel faceplate and test the basic power-on function before closing up any access panels.
Before powering on the system, perform a final inspection. Check that no wires are pinched or touching hot surfaces. Verify that the emergency shut-off switch is functional. Ensure all heater panels are securely fastened and that the control panel is level. Once verified, you can proceed to the final electrical connection and testing phase.
Common mistakes during Sola Sauna setup
Even with clear instructions, the final assembly of a Sola Sauna can introduce small errors that compromise performance or safety. These pitfalls usually stem from rushing the physical installation or overlooking specific electrical requirements. Addressing these common errors early ensures your Sola Sauna functions exactly as designed.
One frequent issue is improper sealing around the heater and panel joints. If the thermal insulation isn't seated correctly, heat escapes, forcing the heater to work harder and increasing energy consumption. Ensure all gaskets are flush and no gaps remain between the cedar panels and the heater housing. This simple check maintains consistent temperature and protects the wood from moisture damage.
Electrical connections require careful attention. A loose wire or incorrect grounding can lead to short circuits or tripped breakers. Before powering on the unit, double-check that all connections are tight and secure. Refer to the manufacturer's wiring diagram to verify polarity and amperage ratings. This step prevents costly repairs and ensures the sauna operates safely from day one.
Another oversight is incorrect heater spacing. The heater must be mounted at the specified height and distance from the floor and walls to allow proper air circulation. If placed too low or too close to a wall, it may overheat or trigger safety shut-offs. Measure twice, drill once, and confirm the clearance matches the installation manual.
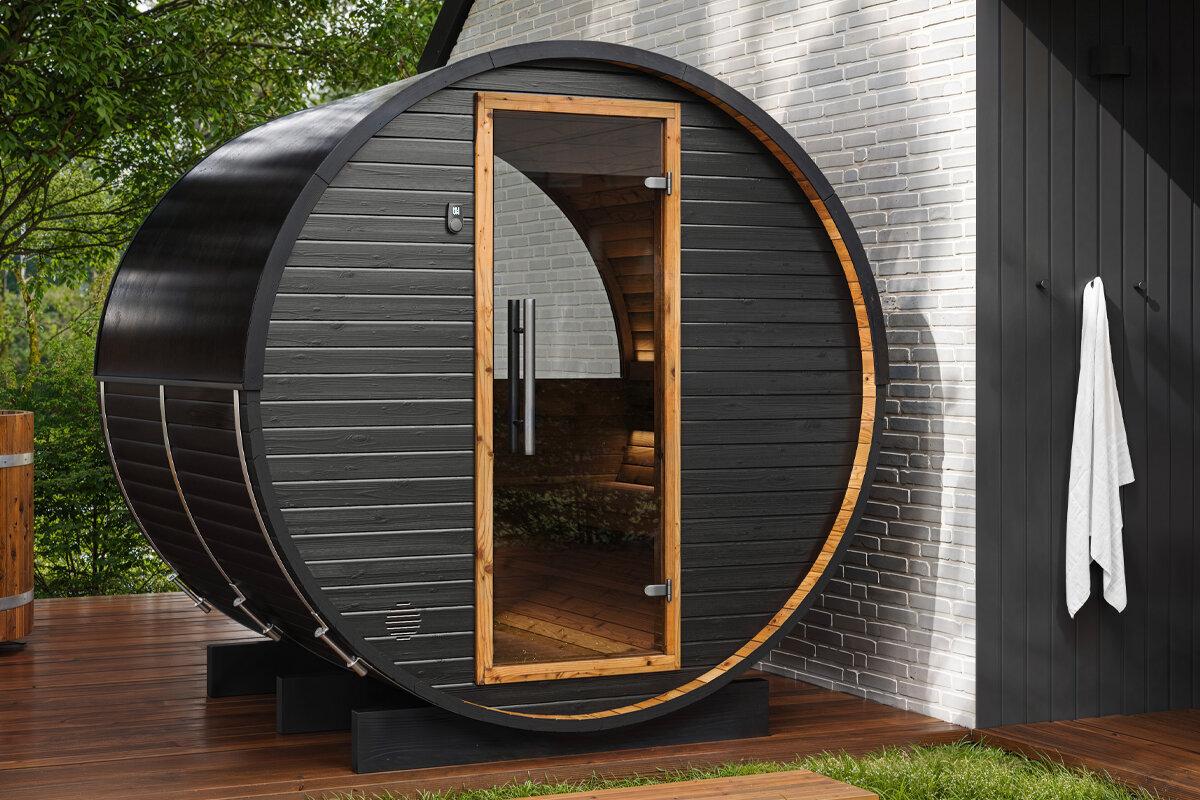
Proper placement also involves leveling the sauna base. An uneven floor can cause panel warping over time, especially with the weight of the heater and steam. Use shims if necessary to ensure the unit sits flat. This stability prevents structural stress and ensures the door seals tightly, keeping heat inside where it belongs.
By avoiding these common mistakes, you set the foundation for a reliable and enjoyable post-workout recovery experience. Take your time during the setup phase, and don't hesitate to consult the manual if you encounter any ambiguities. A correctly installed Sola Sauna will serve you well for years to come.
First session and maintenance tips
Your Sola Sauna is ready, but the first few hours matter. Fresh cedar and hemlock need to settle before you treat the space like a daily gym. Follow this sequence to cure the wood properly and establish a safe recovery routine that protects both your body and the structure.
Heat the empty sauna to 140°F (60°C) for two hours. This drives out residual moisture and releases the initial "green" scent of the wood. You might notice some smoke or a strong aroma—this is normal. Ensure the door is slightly ajar and ventilation is open during this process.
Before your first session, inspect the heater stones and ensure all electrical connections are secure. Place a small cup of water near, but not on, the heater elements to test humidity control. This helps you gauge how the wood reacts to steam without overwhelming the space.
Limit your first three sessions to 10–15 minutes. Your body needs to adjust to the dry heat, especially if you are new to sauna therapy. Hydrate well before and after. If you feel dizzy or nauseous, exit immediately. The goal is relaxation, not endurance.
Maintenance basics
Keeping your Sola Sauna in top condition requires minimal effort. Wipe down the benches with a damp cloth after each use to remove sweat and salts. Avoid harsh chemicals that can damage the natural finish of the cedar. Once or twice a year, apply a thin coat of sauna-safe oil to maintain the wood’s luster and protect against weathering if your unit is outdoors.
-
Empty water cup after use
-
Wipe benches with damp cloth
-
Check heater stones for cracks
-
Ventilate after every session
No comments yet. Be the first to share your thoughts!