
Why choose a Sola Sauna for recovery
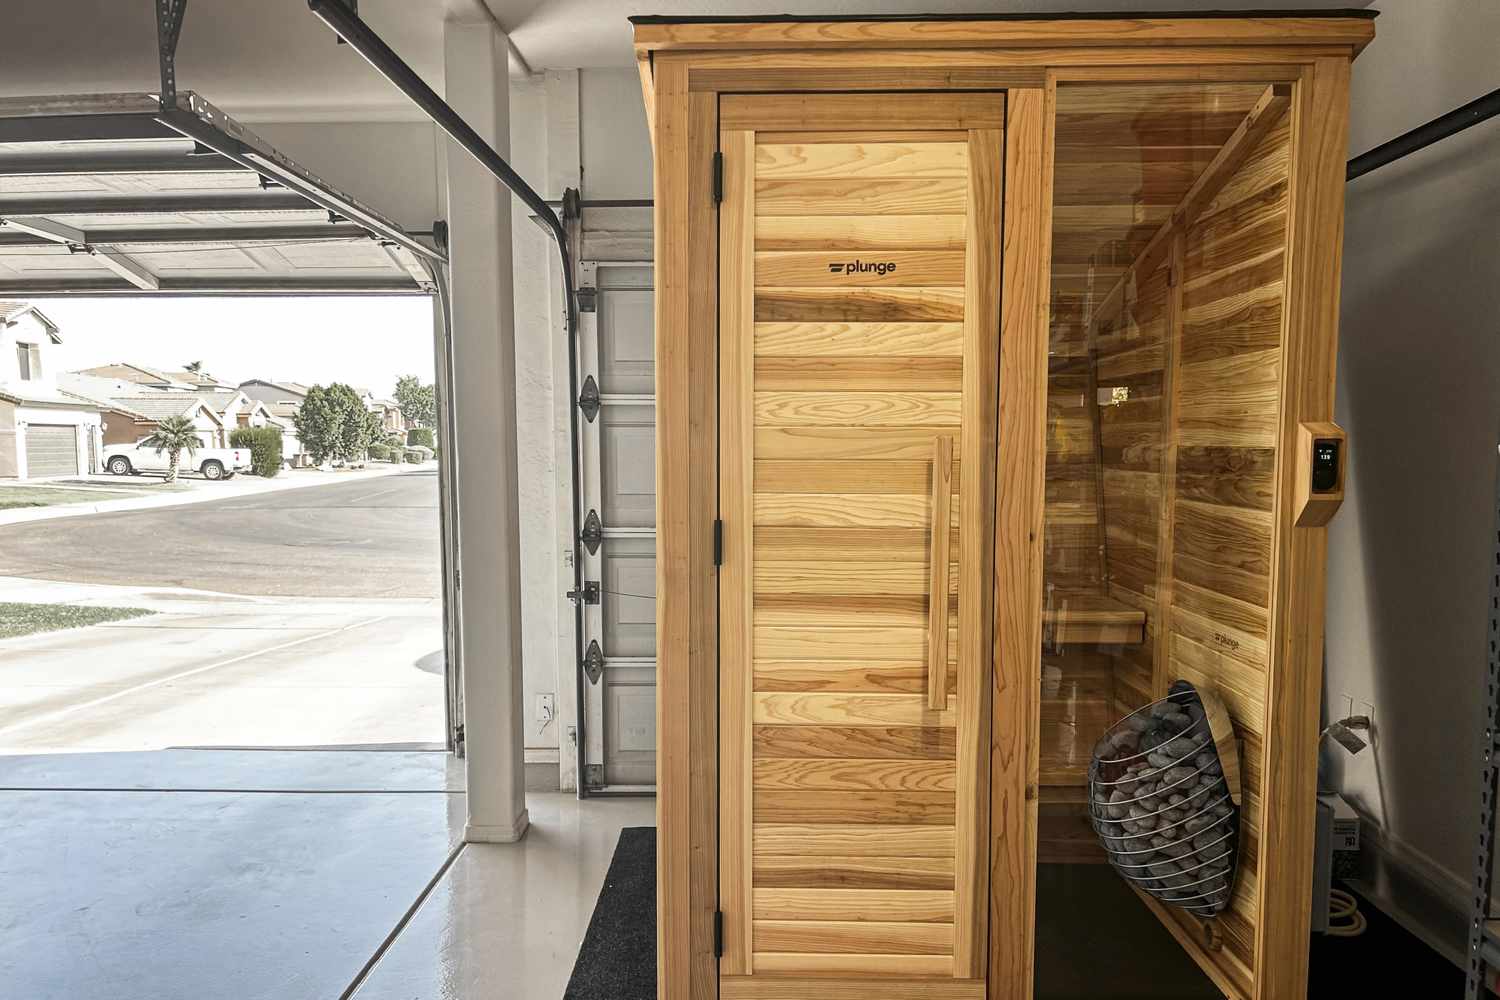
A Sola Sauna functions less like a gym accessory and more like a dedicated recovery sanctuary. Unlike generic infrared tents that trap heat unevenly or traditional wood-fired units that demand constant tending, the Sola Sauna offers a controlled, consistent environment designed specifically for post-workout restoration. Its compact footprint allows it to sit comfortably in a backyard or patio space, turning outdoor heat therapy into a daily habit rather than a logistical challenge.
The design prioritizes therapeutic efficiency. Far-infrared technology penetrates the skin gently, raising your core body temperature without the oppressive, dry heat of conventional saunas. This method promotes muscle relaxation and circulation without subjecting your heart to the intense stress levels associated with high-temperature environments. It is a tool for active recovery, helping to flush metabolic waste and reduce inflammation after heavy training sessions.
Built with durability in mind, the Sola Sauna withstands outdoor elements while maintaining structural integrity. The materials are selected not just for longevity, but for their ability to retain heat efficiently, ensuring that every session delivers consistent therapeutic benefits. By choosing a Sola Sauna, you are investing in a system that bridges the gap between convenience and clinical-grade recovery, making it easier to prioritize your physical health without sacrificing time.
Preparing your installation site
Before the Sola Sauna arrives, you need a clear plan for where it will live. Unlike traditional saunas that require permanent foundations, the Sola is designed for flexibility, but "portable" doesn't mean "unstable." A proper site ensures your unit stays level, drains correctly, and remains accessible for maintenance. Skipping this step can lead to uneven heating, door alignment issues, or water pooling around the base.
Choose a level, well-drained location
Your first task is finding the right spot. Look for a flat area in your yard that offers good drainage. Water should flow away from the sauna, not pool underneath it. Avoid low spots where rainwater collects or where heavy tree branches might drop debris. If you place the Sola on grass, consider a gravel bed or a deck to prevent ground moisture from affecting the wood.
Level the foundation
Once you have your spot, you must ensure the ground is perfectly level. An uneven base puts stress on the sauna’s frame and can cause the door to drag or seal improperly. For a permanent or semi-permanent setup, a concrete pad or a sturdy wooden deck works best. If you are using a gravel base, compact it thoroughly and use a long level to check for dips. The surface must support the weight of the sauna and its occupants without shifting.
Use a garden hose or rope to outline the exact dimensions of your Sola Sauna. This visual guide helps you see how the unit fits in your space and ensures you have enough room for the required clearance around the unit. Check the manufacturer’s specs for specific side and rear clearance needs to allow for heat dissipation and maintenance access.
Lay your chosen foundation—whether it’s pavers, a wooden deck, or a gravel bed. Ensure the surface is clean, flat, and level. Use a spirit level to check multiple points across the area. If using gravel, spread it evenly and compact it with a hand tamper to create a solid, non-shifting base. The goal is a stable platform that won’t settle unevenly over time.
Most Sola Sauna models require a dedicated electrical outlet nearby. Plan the route for your power cord to keep it tidy and protected. Use an outdoor-rated extension cord if necessary, but ensure it is rated for the sauna’s wattage. Keep the cord away from high-traffic areas and any water sources. If you need to install a new outlet, consult a licensed electrician to ensure it meets local codes and is properly grounded.
Ensure clear access and ventilation
Finally, make sure you have clear access to the sauna for delivery and future maintenance. You need enough space to move the unit into position without damaging it or your landscape. Additionally, ensure there is adequate airflow around the sauna. While the Sola is designed for outdoor use, it still needs ventilation to prevent moisture buildup and ensure the heater operates efficiently. Avoid placing it in tight corners or against walls that block air circulation.
Assembling the Sola Sauna Structure
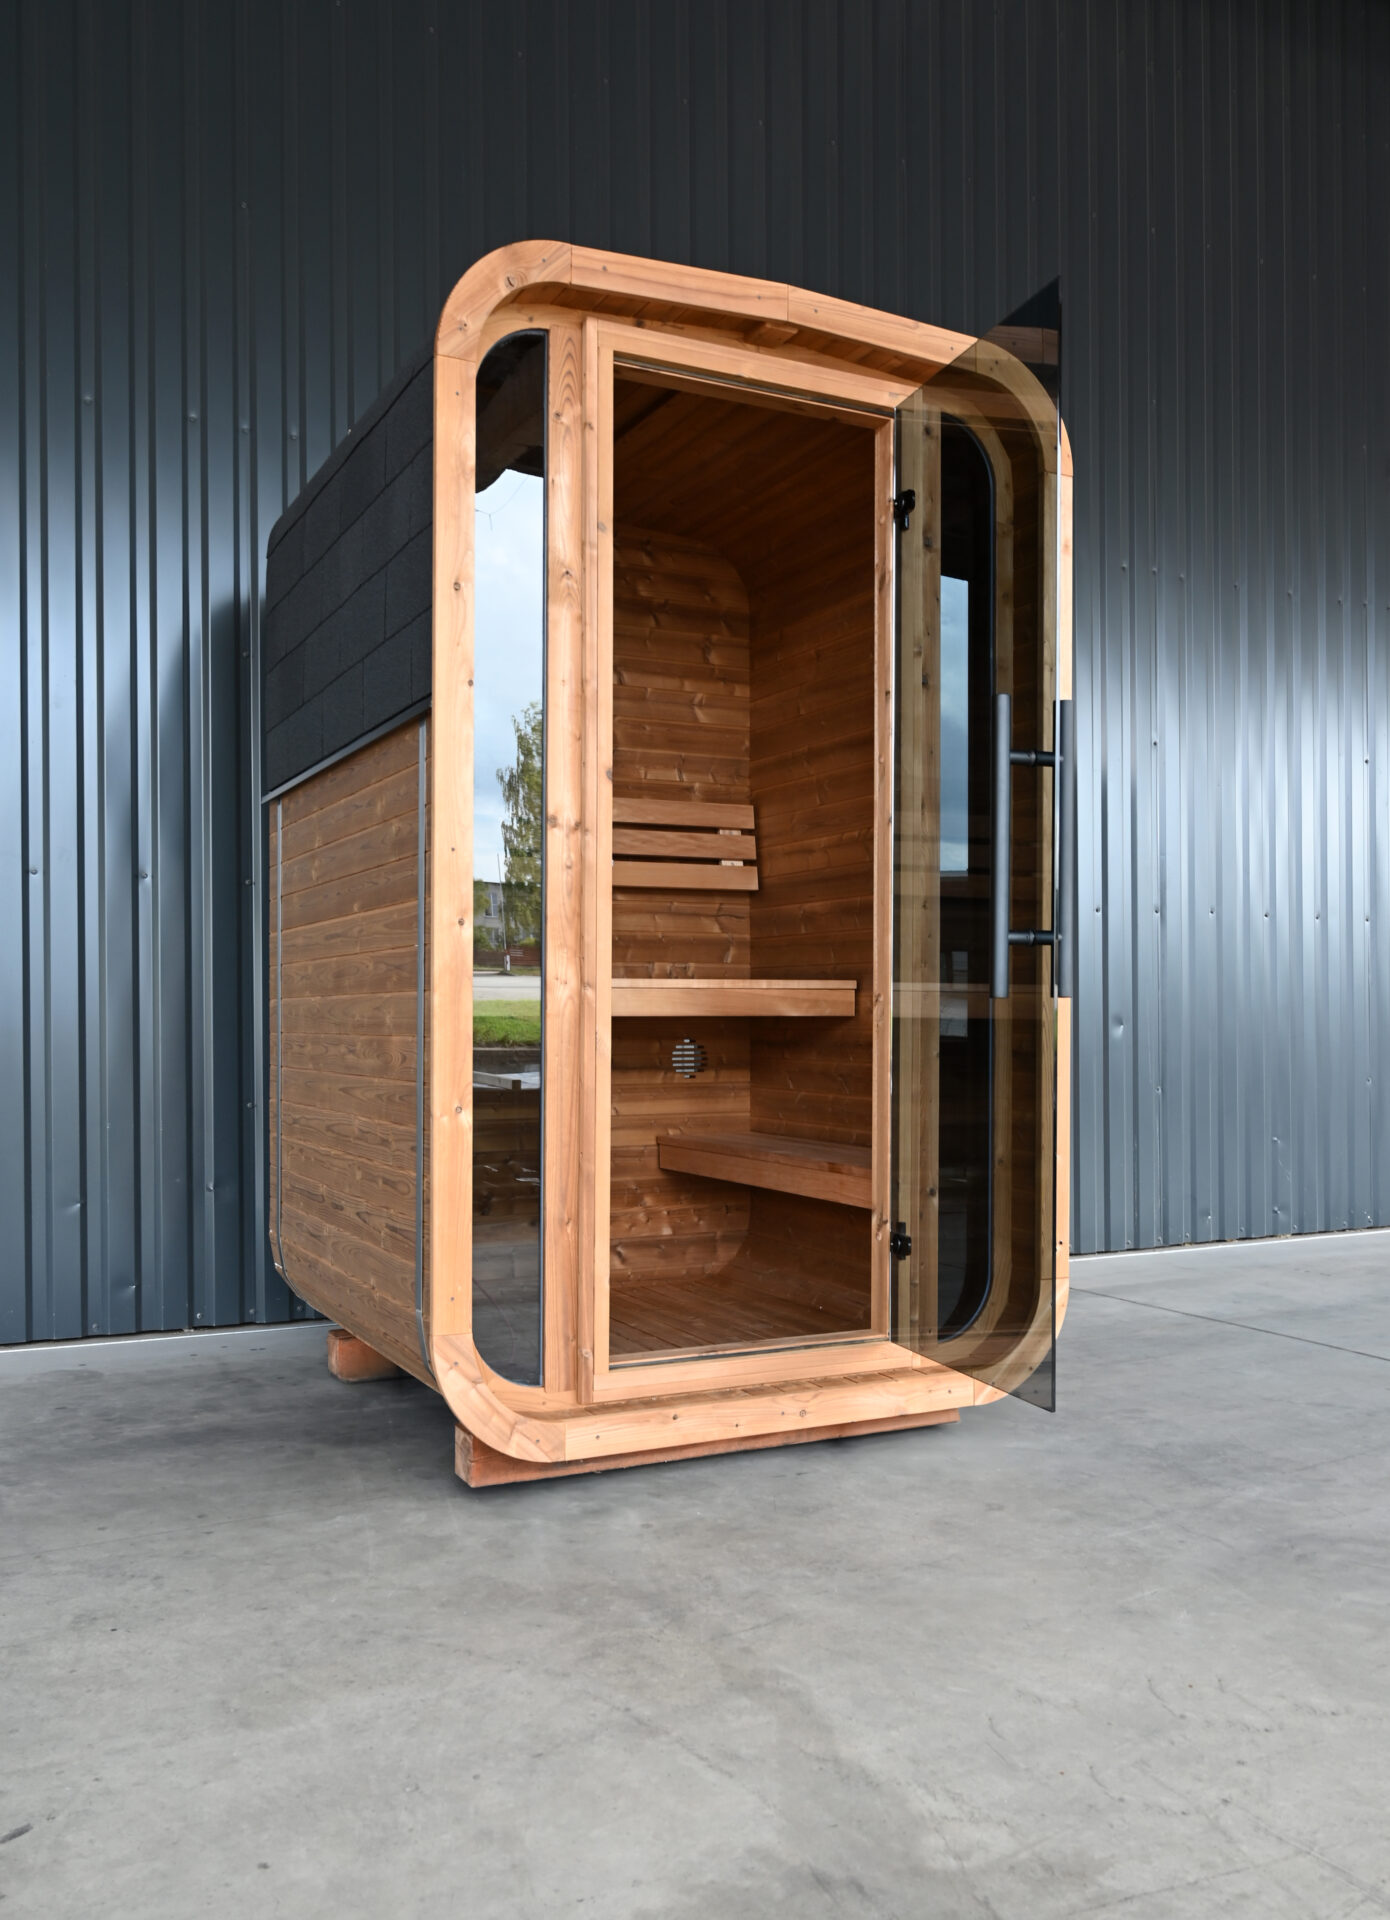
Building the Sola Sauna begins with the foundation of its structure. Whether you are installing the barrel or cabin variant, the integrity of your heat therapy experience depends on how well the walls lock together. This phase is less about speed and more about precision. A tight seal prevents heat loss and ensures the wood swells correctly over time to create a weatherproof barrier.
Step 1: Prepare the Base and Lay the Floor
Before raising the walls, ensure your platform is perfectly level. Even a slight tilt can cause the sauna doors to drag or the structural joints to misalign. Place the floor panels according to the manufacturer’s diagram, ensuring the tongue-and-groove edges interlock smoothly. Use a rubber mallet to tap the seams tight without damaging the wood surface. Check the diagonal measurements of the floor rectangle to confirm it is square; this step is critical because any error here will compound as you build upward.
Step 2: Erect the Corner Posts and Wall Panels
Start by installing the corner posts. These are the vertical anchors that will hold the horizontal wall panels in place. Secure them temporarily with clamps, ensuring they are plumb (perfectly vertical) using a spirit level. Once the corners are set, slide the wall panels into the grooves of the posts. Work your way around the structure, checking the fit of each panel. The wood should fit snugly; if a panel feels resistant, do not force it. Lightly sand the edges if necessary to ensure a flush fit against the adjacent panel.
Align the vertical corner posts with your pre-marked floor layout. Use a level to ensure they are perfectly vertical before temporary bracing.
Slide the horizontal wall panels into the grooves of the corner posts. Check the fit frequently to ensure a tight seal without gaps.
Attach the roof beams or barrel sections to the top of the wall frames. Ensure the roof sits evenly on all sides to distribute weight correctly.
Once the structure is square and plumb, permanently fasten all joints. Double-check that no gaps remain between panels.
Step 3: Install the Roof and Ceiling
The roof is the final major structural element. For barrel designs, this involves curving the roof panels to meet at the apex. For cabin styles, it involves laying flat panels or shingles. Ensure the roof overhangs are consistent on all sides to protect the walls from rain. Secure the roof panels to the wall frames using the provided screws or clips. At this stage, the basic shell of your Sola Sauna should be weather-resistant, though interior finishing may still be pending.
Step 4: Final Alignment and Fastening
With the walls and roof in place, do a final inspection. Tighten all screws and bolts, but avoid over-tightening, which can strip the wood or compress the seals too much. Check the door frame alignment; the door should swing freely without binding. If the structure feels loose, add temporary bracing until the final hardware is fully secured. A well-assembled Sola Sauna should feel solid and rigid, with no wobbling in the frame.
Common assembly: what to check next
Equipment for Sola Sauna Assembly


As an Amazon Associate, we may earn from qualifying purchases.
Installing heaters and electrical systems
Mounting the infrared heaters and connecting the electrical system is the most critical phase of building your Sola Sauna. Proper installation ensures the unit reaches therapeutic temperatures safely and prevents electrical hazards. Always disconnect power at the breaker before handling any wiring.
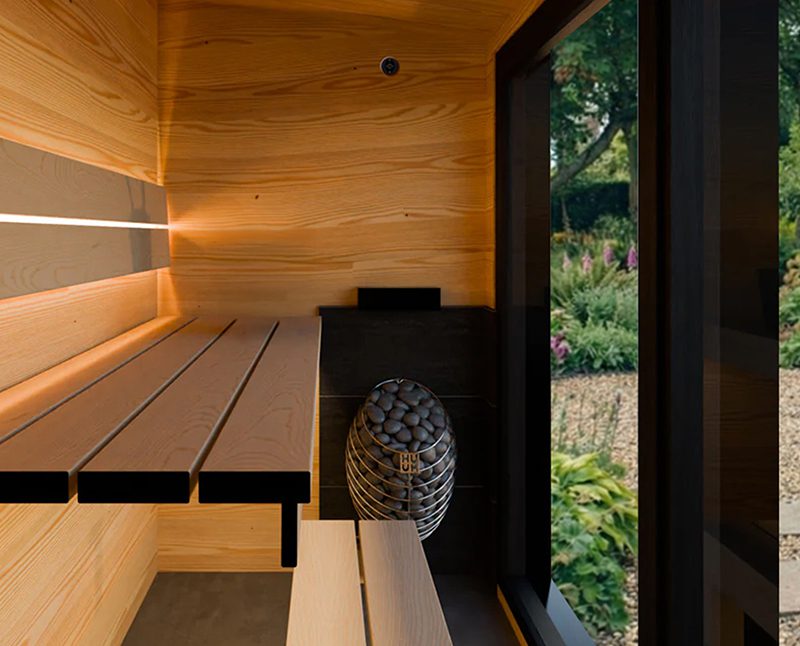
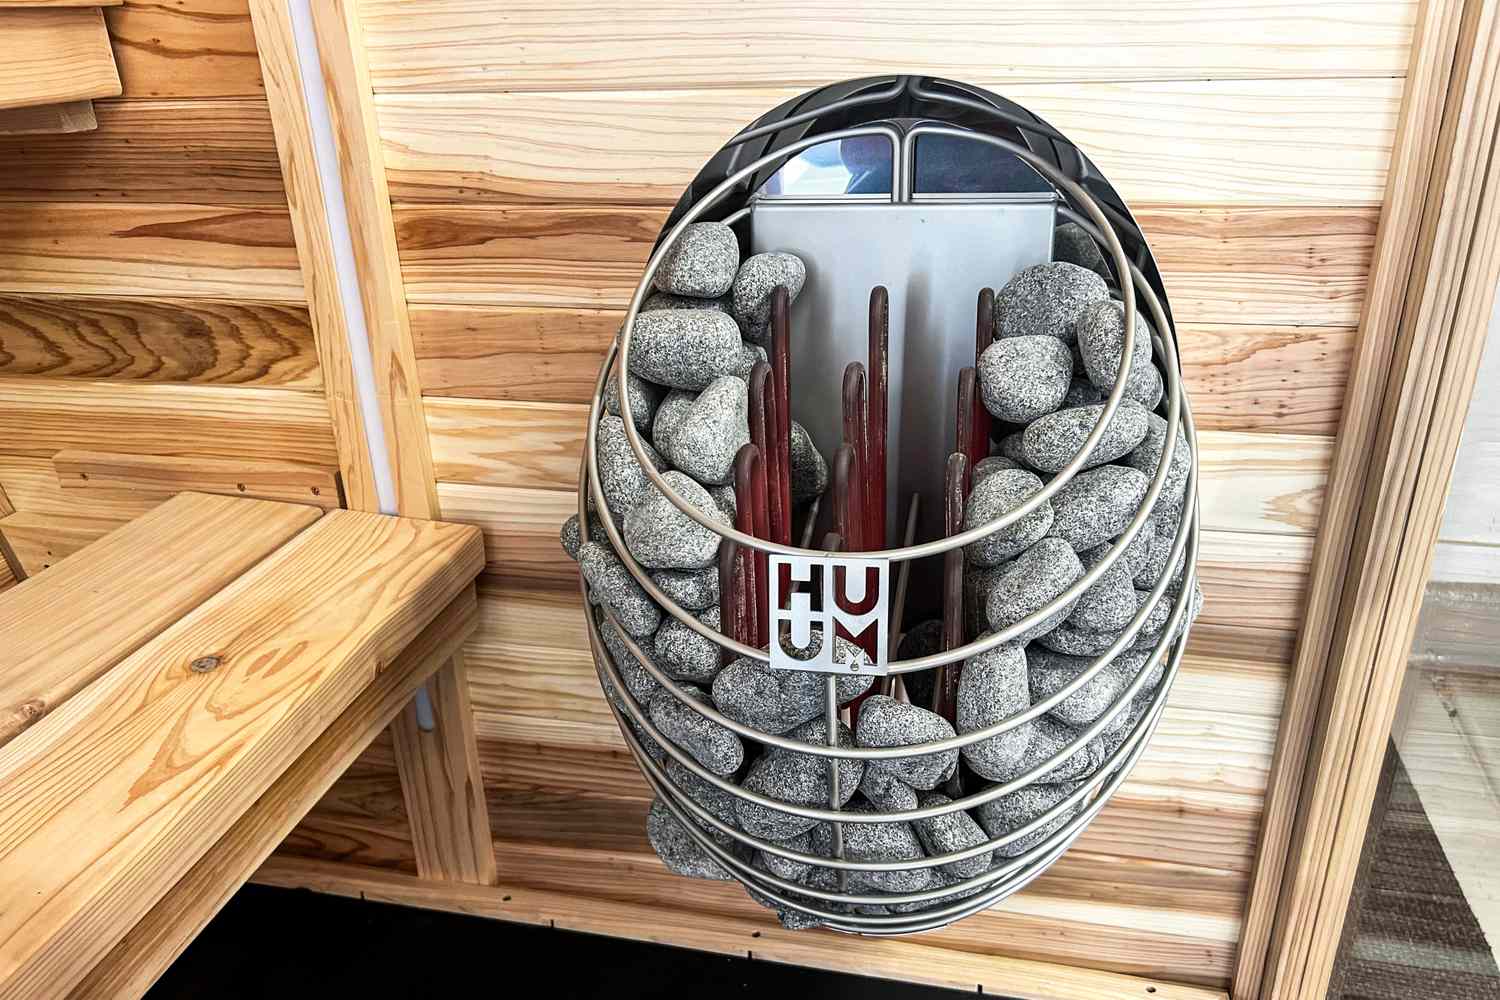
Position the infrared heater panels according to your Sola Sauna kit instructions. Typically, panels are mounted on the back wall and sides to provide even heat distribution. Ensure there is adequate clearance from the wooden walls to prevent overheating and maintain airflow.
Drill pilot holes into the sauna framing where the brackets will attach. Use the provided hardware to secure the brackets firmly. Double-check that all brackets are level and aligned before tightening the final screws to ensure the panels sit flush against the interior walls.
Connect the heater wires to the junction box according to the color-coded diagram. Match black to black (hot), white to white (neutral), and green to green (ground). Use wire nuts to secure connections and tuck the wires neatly into the junction box to avoid pinching or exposure.
Attach the main power cable to the sauna’s control panel or hardwired connection point. If using a plug-in model, ensure the outlet is GFCI-protected and rated for the heater’s amperage. Verify all connections are tight and secure before closing any access panels.
Turn the power back on and run a test cycle. Monitor the heaters for consistent warmth and check for any unusual smells or sounds. Once confirmed, seal any penetrations in the exterior wall to maintain the sauna’s thermal efficiency.


As an Amazon Associate, we may earn from qualifying purchases.
Maximize Your Sola Sauna Recovery
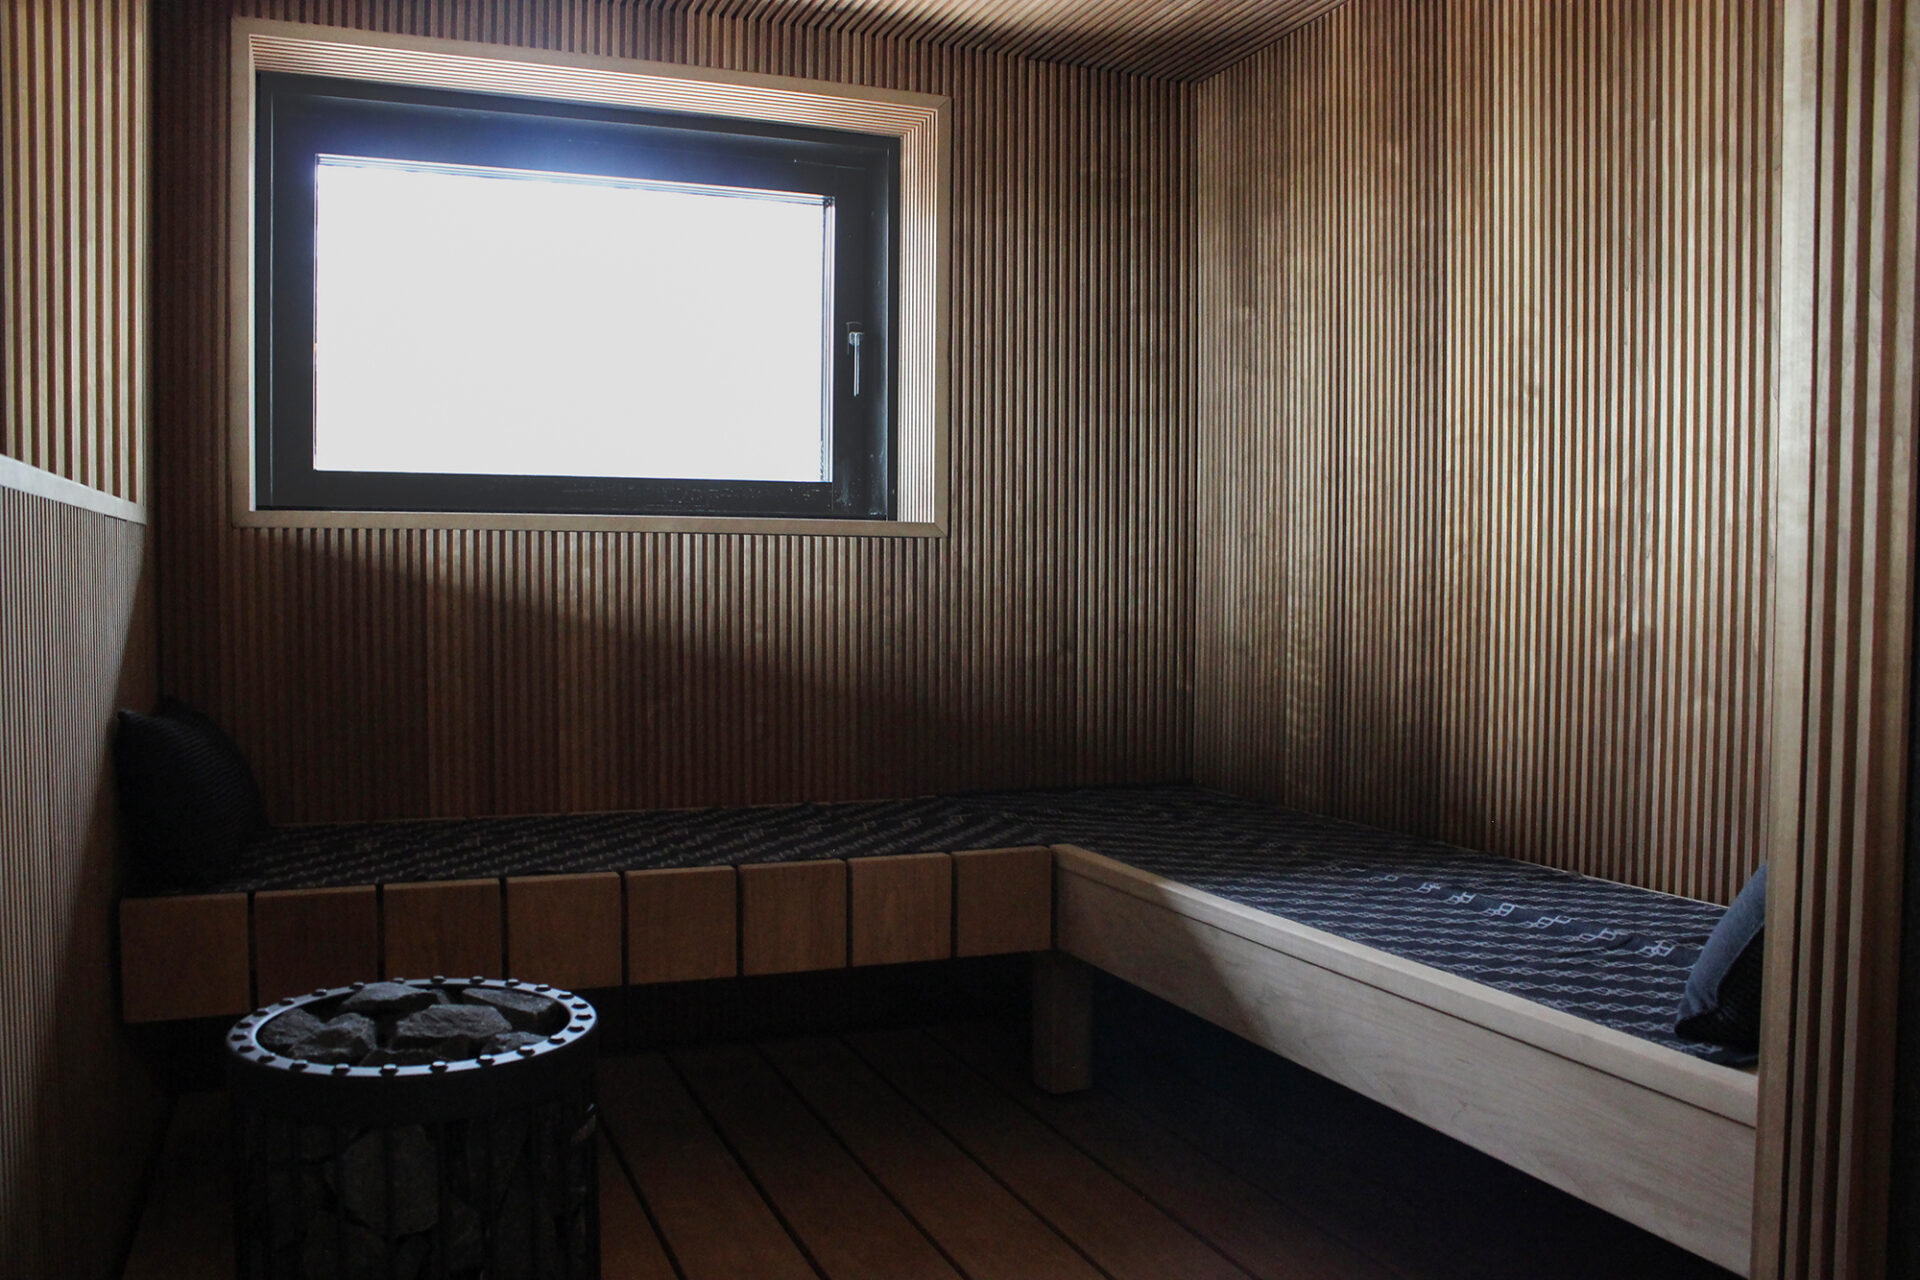
Post-workout heat therapy is about more than just sweating; it is a targeted protocol for muscle repair and nervous system reset. To get the most out of your Sola Sauna, you need to manage the heat, the timing, and the cool-down phase with precision. This approach ensures your body uses the thermal stress to build resilience rather than just enduring fatigue.
Pairing with Cold Exposure
Contrast therapy—alternating heat with cold—can amplify recovery benefits. The heat dilates blood vessels, while the cold constricts them, creating a pumping action that may help flush metabolic waste. If you choose this path, limit the cold exposure to 1-3 minutes to avoid shocking your system. Always end with warmth to prevent muscle tightening.
When to Use It
The best time for a Sola Sauna session is within 30-60 minutes after your workout. Your body is already primed for repair, and the heat accelerates the delivery of nutrients to damaged tissues. Avoid using the sauna immediately before a workout, as pre-fatigue can reduce performance and increase injury risk.
Essential accessories for your Sola sauna
Building Your Sola Sauna works best as a clear sequence: define the constraint, compare the realistic options, test the tradeoff, and choose the path with the fewest hidden costs. That order keeps the advice usable instead of decorative. After each step, pause long enough to check whether the recommendation still fits the reader's actual situation. If it depends on perfect timing, unusual access, or a best-case budget, include a simpler fallback.
| Factor | What to check | Why it matters |
|---|---|---|
| Fit | Match the option to the primary use case. | A good deal still fails if it does not fit the job. |
| Condition | Verify age, wear, and service history. | Hidden condition issues erase upfront savings. |
| Cost | Compare purchase price with likely upkeep. | The cheapest option is not always the lowest-cost option. |
Frequently asked questions about Sola saunas
Here are answers to common questions about maintaining and using your Sola Sauna.
No comments yet. Be the first to share your thoughts!