
Pick your sauna type first
Choosing between a portable and a fixed Sola Sauna model comes down to where you plan to use it and how much space you have. This decision shapes every other spec you’ll look at, from setup time to heat retention. Start by matching the form factor to your lifestyle.
Portable Sola Sauna
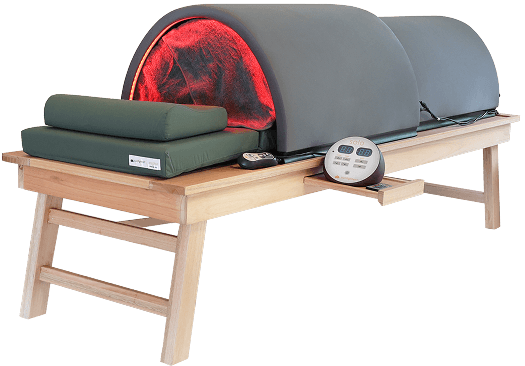
The portable Sola is designed for flexibility. It typically features a lightweight, foldable structure that can be moved between the backyard, a patio, or even taken on camping trips. This makes it ideal for renters or those with limited outdoor space. The trade-off is slightly less insulation compared to solid structures, meaning it may take a few minutes longer to reach your target temperature.
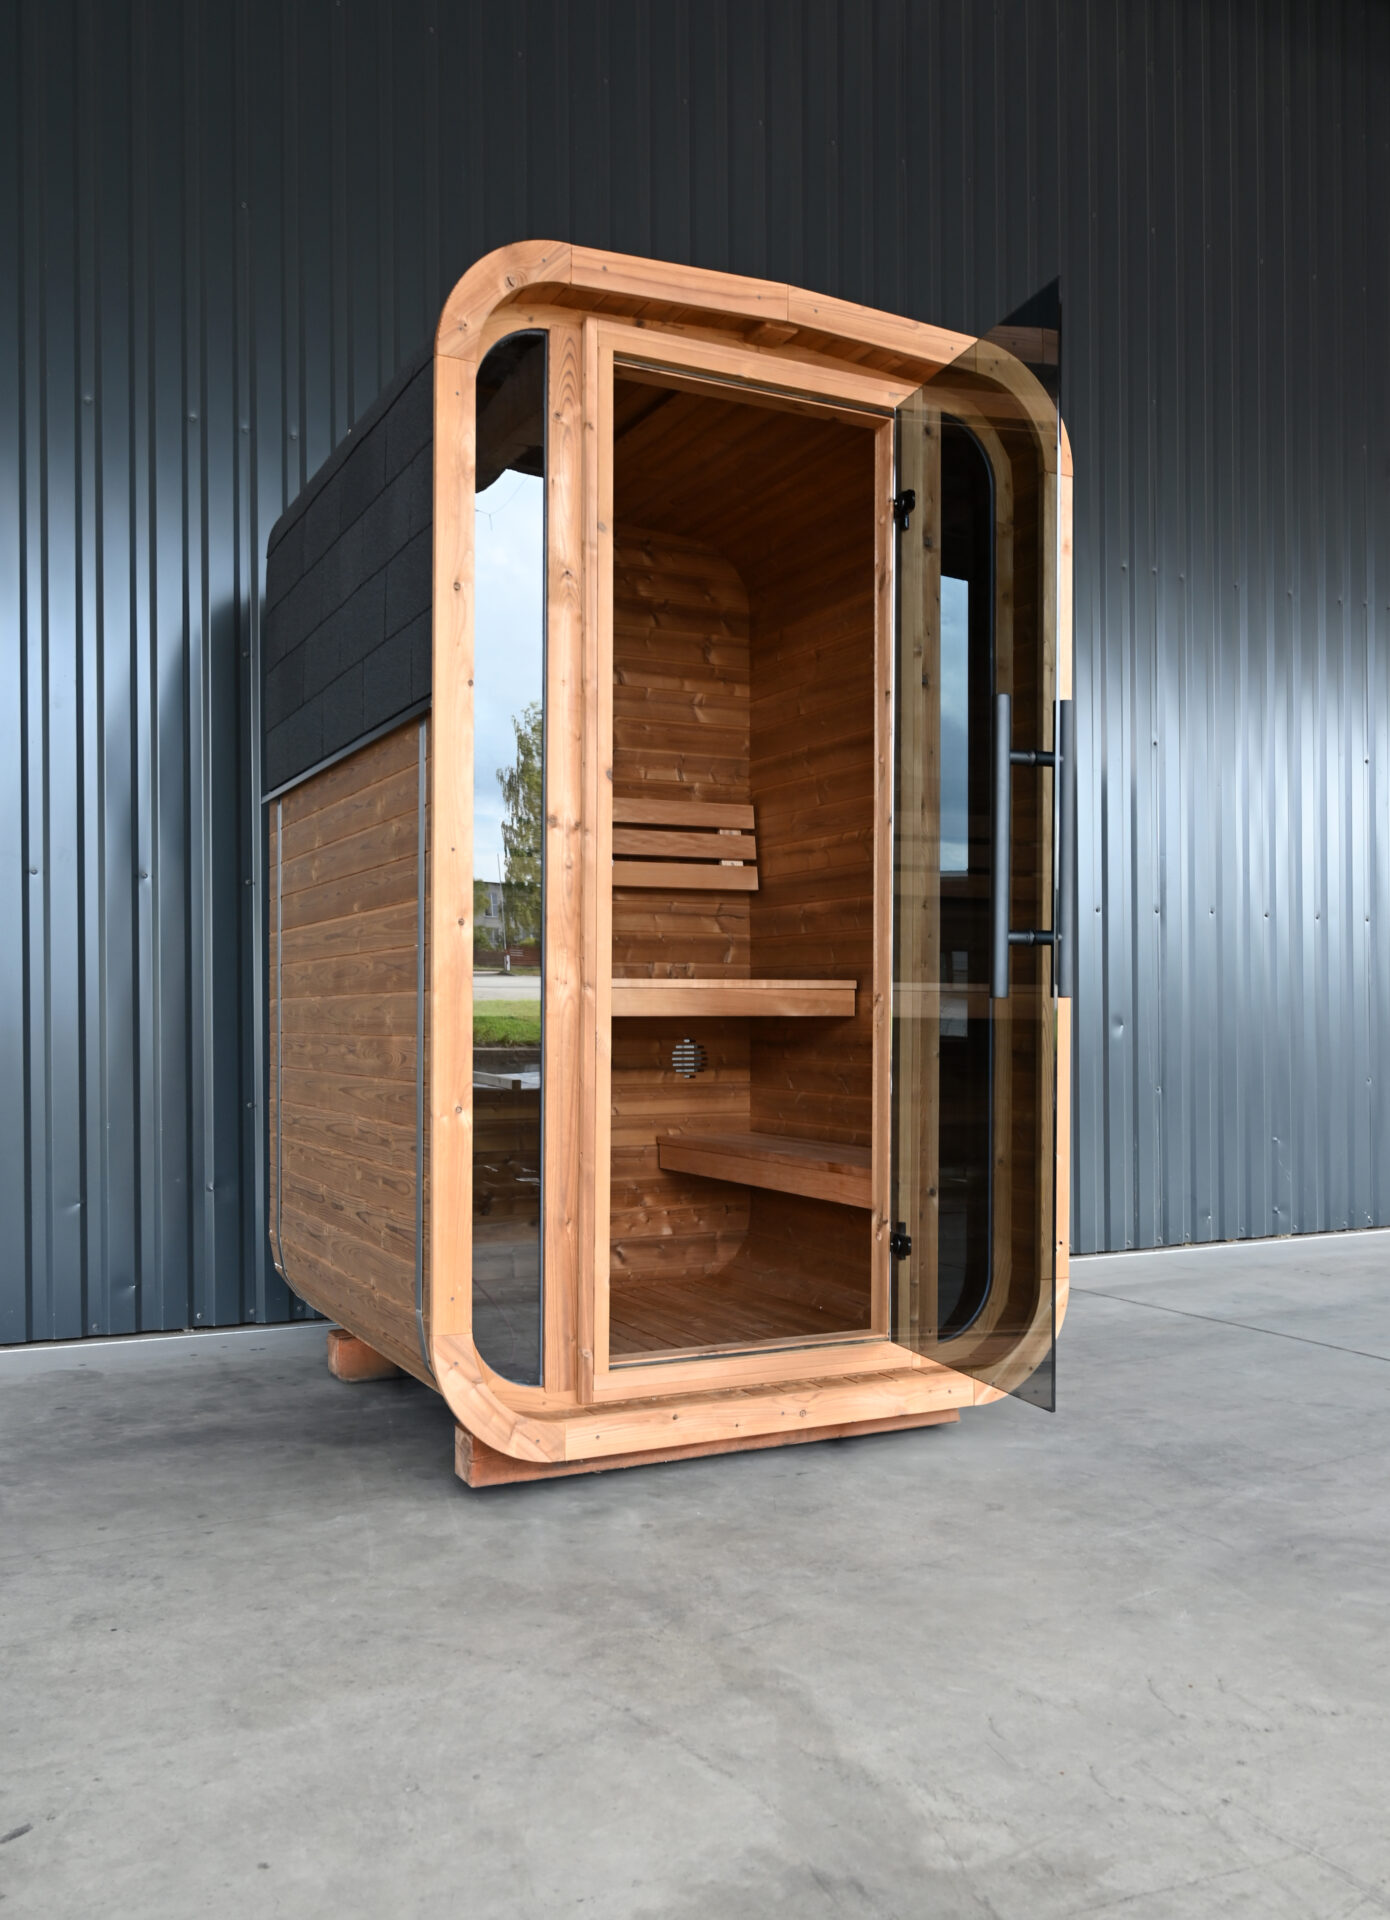
Fixed Outdoor Sola Sauna
A fixed Sola sauna offers a more permanent, robust solution. Built with heavier materials and often integrated with dedicated heating elements, it retains heat more efficiently and withstands weather conditions better over time. This option suits homeowners with a dedicated backyard space who want a consistent, sanctuary-like experience without the hassle of packing up equipment after every session.
Comparison: Portable vs. Fixed
Use this table to quickly compare the main differences between the two Sola Sauna types.
| Feature | Portable Sola | Fixed Sola |
|---|---|---|
| Portability | High – folds and moves easily | Low – permanent installation |
| Setup Time | 5–10 minutes | Hours to days |
| Heat Retention | Good – requires brief warm-up | Excellent – holds steady heat |
| Best For | Small spaces, renters, travel | Backyard sanctuaries, regular use |
Check space and power needs
Before ordering a Sola Sauna, measure your installation site and verify your home’s electrical capacity. A mismatch in dimensions or voltage is the most common reason for delayed installations or costly retrofits. Treat this step as a hard constraint: if the space or power doesn’t fit, the sauna won’t fit.
Measure the footprint and clearance
Sola Saunas are compact, but they still require specific clearance for ventilation and safe access. Most models seat two to three people and occupy a small rectangular footprint, but you must leave room around the unit for airflow and maintenance access.
- Width and Depth: Check the exact external dimensions of the specific Sola model you are considering. Ensure your chosen spot (patio, deck, or indoor room) has enough square footage.
- Ventilation Clearance: Leave at least 6–12 inches of space on all sides unless the manufacturer specifies otherwise. Poor airflow can cause the heater to overheat or reduce efficiency.
- Door Swing: Ensure the entry door can open fully without hitting walls, railings, or furniture.
Use a tape measure to record the width, depth, and height of your intended location. Compare these numbers against the manufacturer’s spec sheet for the specific Sola model. Remember to account for any protrusions like pipes, outlets, or landscaping features that might encroach on the required clearance zone.
Sola Saunas typically require a dedicated 240V circuit, similar to what an electric dryer or oven uses. Contact a licensed electrician to confirm your home’s panel has the amperage and physical space for a new breaker. Do not attempt to plug the unit into a standard 120V outlet, as this will not provide enough power for proper heating.
Once dimensions and power are confirmed, visualize the final setup. Ensure there is a clear path for delivery and installation. If the sauna is placed outdoors, verify that the deck or patio can support the weight of the unit, the wood, and the occupants.
Skipping this verification phase often leads to installation failures. A Sola Sauna is a significant investment, and ensuring your space and power infrastructure are ready beforehand prevents costly delays or the need to move the unit after it has been installed.
Assemble the Sola Sauna Frame
Building your Sola Sauna starts with the frame, the structural backbone that holds everything together. Because the unit is designed for portability, the assembly relies on interlocking panels and secure fasteners rather than permanent welding. Taking your time here ensures the sauna remains level and airtight during future sessions.
Lay the Base and Connect Side Panels
Start by unrolling the floor mat and positioning it on a flat, clean surface. Place the corner posts into the designated slots on the base. Attach the first side panel by aligning the tongue-and-groove edges with the corner posts. Ensure the panel sits flush against the base before tightening any hardware. This step establishes the squareness of the entire structure.
Align the first side panel with the base corner posts. Check that the edges fit snugly without forcing them. Once seated, secure the panel to the posts using the provided hardware. This creates the first wall of your Sola Sauna frame.
Repeat the process for the adjacent and opposite side panels. Work your way around the perimeter, ensuring each panel is level before securing it. Keep the hardware slightly loose until all four walls are in place to allow for minor adjustments and squaring of the frame.
Once the walls are aligned, attach the roof panels. These typically lock into the top edges of the side walls. Ensure the roof sits evenly across all sides to prevent water pooling or structural stress. Tighten all fasteners securely to lock the frame into its final shape.
Common Pitfalls to Avoid
A frequent mistake is skipping the "square check" before fully tightening bolts. If the frame is even slightly off-square, the door will not align properly later, leading to drafts and heat loss. Use a tape measure to check that both diagonals of the floor base are equal length; if they match, your frame is square.
Another issue arises from over-tightening hardware during the initial assembly. The materials are durable but can strip if forced. Snug is sufficient at this stage. Save the final tightening for after the heater and insulation are installed, as these additions may require slight re-alignment of the panels.
Final Checks Before Insulation
Before adding insulation or the heater, verify that all panels are securely fastened and the structure feels rigid. Shake the frame gently; there should be no wobbling or shifting. A stable frame is essential for the safe operation of the heating element and ensures your Sola Sauna remains a reliable recovery tool for years to come.
Connect heater and test heat
Before you can enjoy the recovery benefits of your Sola Sauna, you need to establish a stable power connection and verify that the heating elements function correctly. This step ensures that the infrared panels reach the target temperature safely and that the control system responds as expected.
Locate the main power cord on the heater unit. Insert the plug firmly into a grounded 120V outlet. Ensure the cord is routed away from the seating area to prevent tripping or accidental disconnection during use.
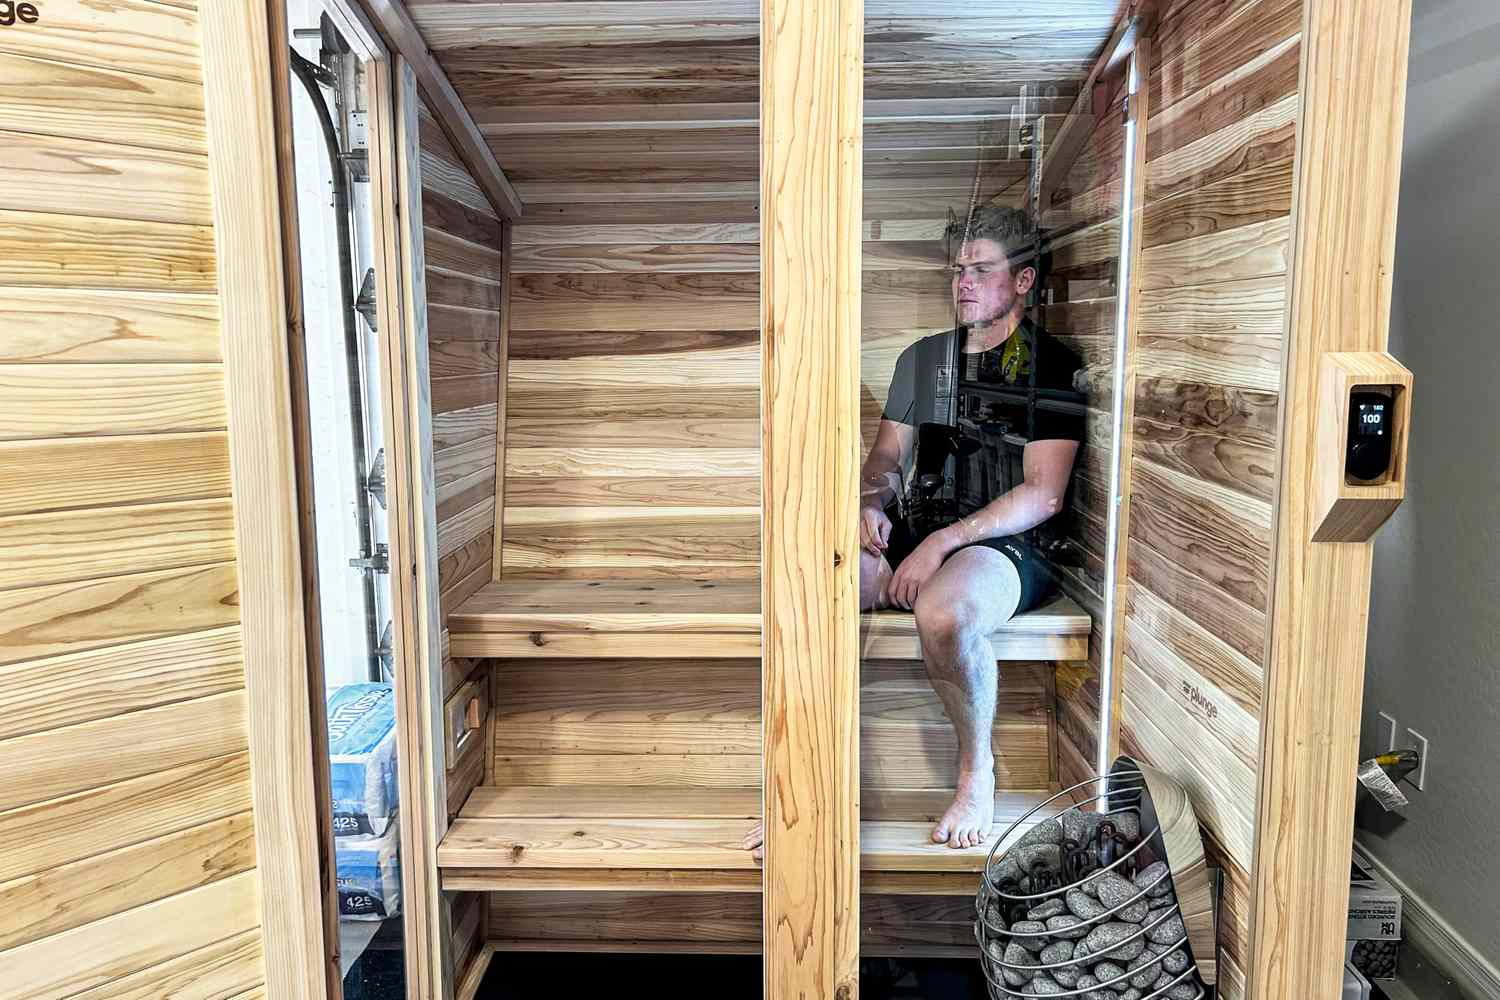
Press the power button on the digital display. The screen should illuminate, showing the current ambient temperature and default settings. If the display remains dark, check the outlet and the circuit breaker.
Use the up/down arrows to set the heater to a low starting temperature, around 100°F (38°C). This allows you to monitor the heating process without immediate discomfort. Infrared panels heat up quickly, so start low to gauge the intensity.

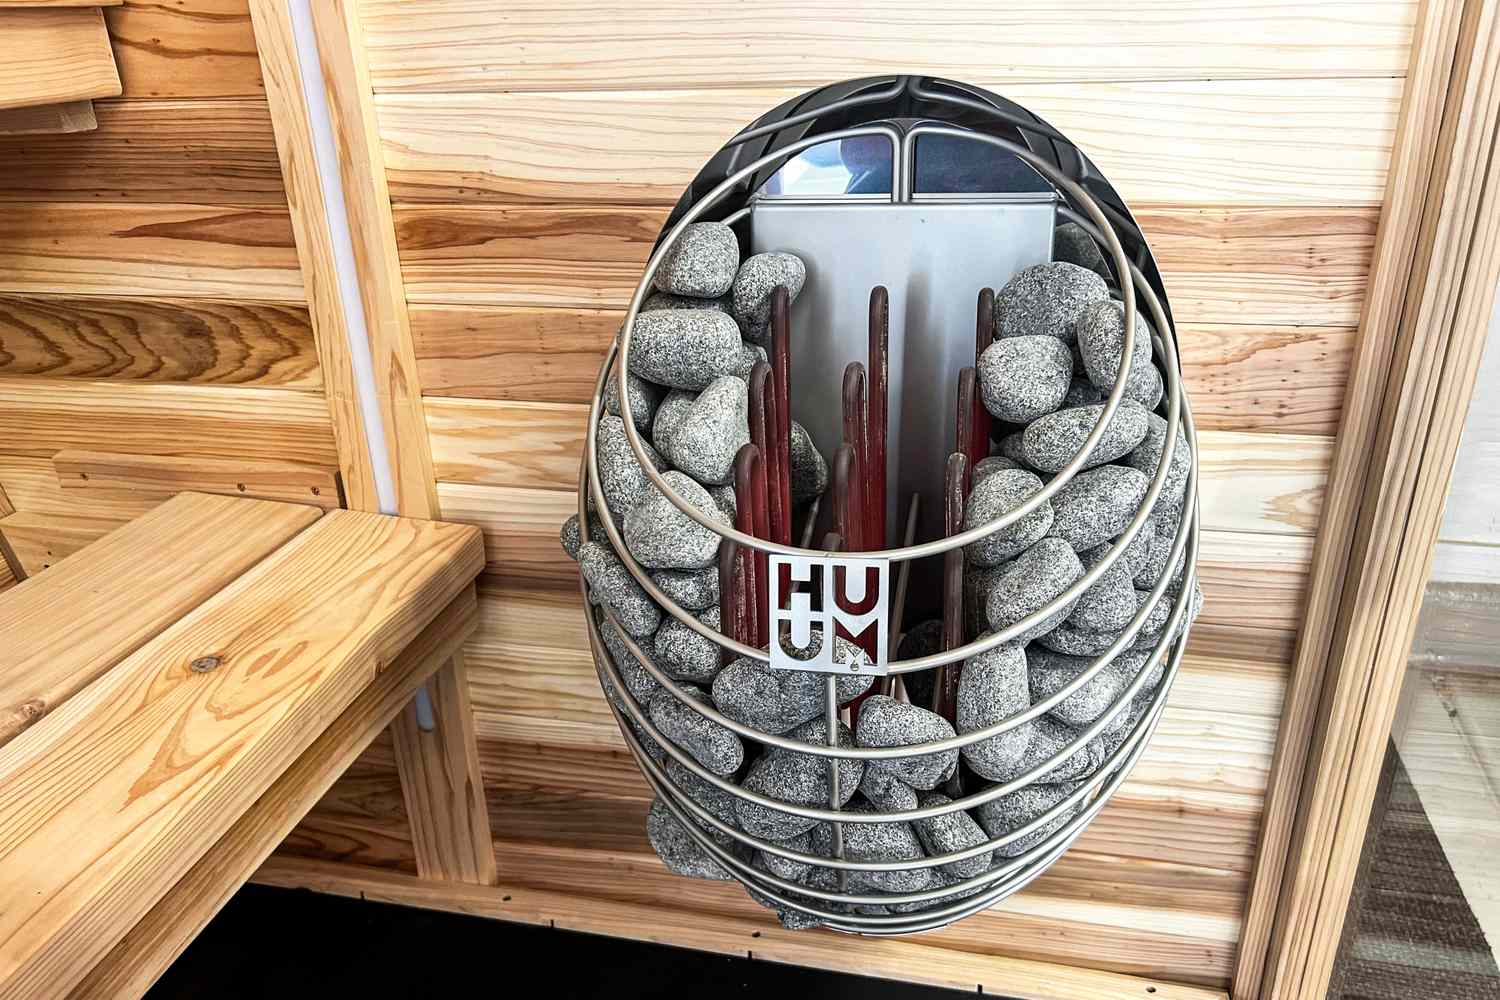
Wait 15–20 minutes. Place your hand near the heater panels (do not touch them directly). You should feel distinct radiant warmth. If the temperature does not rise after 30 minutes, turn off the unit and inspect the connections.
Test the auto-shutoff timer and the overheat protection sensor. Ensure the door switch (if equipped) cuts power when opened. These features are critical for preventing accidents during your first session.
Once the sauna reaches your desired temperature, sit inside for 5–10 minutes to acclimate. If you feel dizzy or uncomfortable, exit immediately and ventilate the room. A properly connected Sola Sauna should heat evenly and maintain a steady temperature throughout your session.
Plan your recovery routine
Integrating the Sola Sauna into your post-workout regimen requires a structured approach to maximize circulation and nervous system regulation. Treat the session as the final phase of your training, not an afterthought. Proper preparation ensures you absorb the far-infrared heat safely and effectively.
Pre-session checklist
Before stepping inside, complete these three steps to optimize your session:
- Hydrate: Drink 16–20 oz of water. Sweating depletes electrolytes; pre-hydration prevents dizziness.
- Set temperature: Start at 110°F (43°C). If you are new to far-infrared, begin lower and increase gradually.
- Set timer: Limit your first session to 15–20 minutes. Listen to your body and exit if you feel lightheaded.
-
Drink 16–20 oz of water before entering
-
Set initial temperature to 110°F (43°C)
-
Set timer for 15–20 minutes
Post-session cooldown
After the session, allow your body to cool down naturally. Avoid cold showers immediately, as the contrast can shock the system. Instead, drink another glass of water and rest for 10 minutes. This cooldown period helps stabilize your heart rate and extends the recovery benefits.
For consistent results, aim for 3–4 sessions per week. The Flowlife Sola Sauna penetrates muscle and fascia to restore circulation, making it most effective when used regularly rather than sporadically. Track your recovery metrics, such as resting heart rate and muscle soreness, to adjust your frequency over time.
Common sola sauna: what to check next
Addressing maintenance, durability, and health benefits reduces purchase anxiety and helps you commit to a recovery routine. Here are the most frequent concerns for home sauna owners.
For more detailed specifications on materials and warranty, visit the official Sola Sauna website.
No comments yet. Be the first to share your thoughts!