

Pick a level, well-drained site for your Sola Sauna
Start by finding a flat spot in your yard that handles rain well. Your Sola Sauna needs a stable foundation to keep the structure square and the door seals tight. Avoid low spots where water pools after a storm, as standing moisture can damage the base and the surrounding landscape over time.
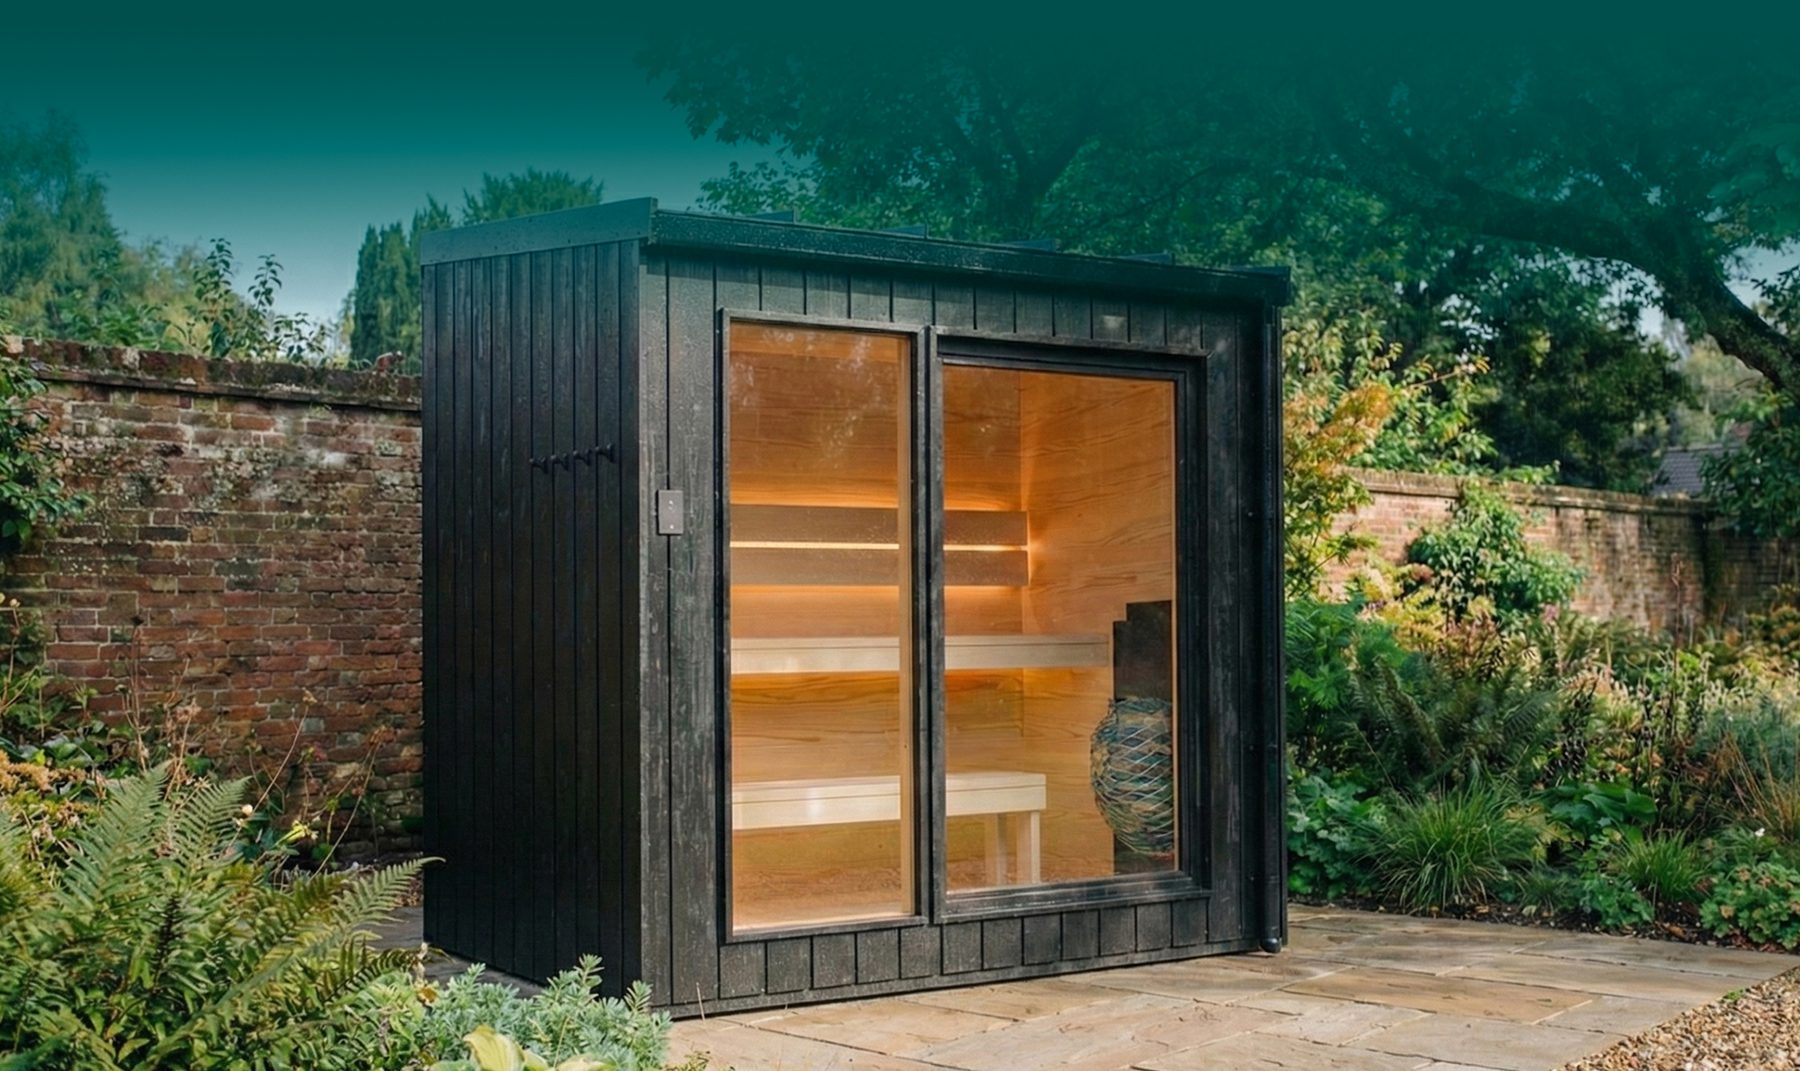
Mark out the exact footprint of your unit. The Sola Sauna has a distinct square shape, so using stakes and string to outline the perimeter helps you visualize the space. Ensure you have enough clearance around the edges for ventilation and easy access to the door. A level site means less work leveling the base later and a more comfortable experience inside.
Think about where the sun hits your yard during the day. Positioning the sauna to catch morning light can help dry out the exterior naturally, while orienting the door away from prevailing winds adds privacy and reduces heat loss. Consider how the structure fits with your existing outdoor routine, whether that’s near a pool or tucked into a quiet corner for post-workout recovery.
Select thermally modified spruce
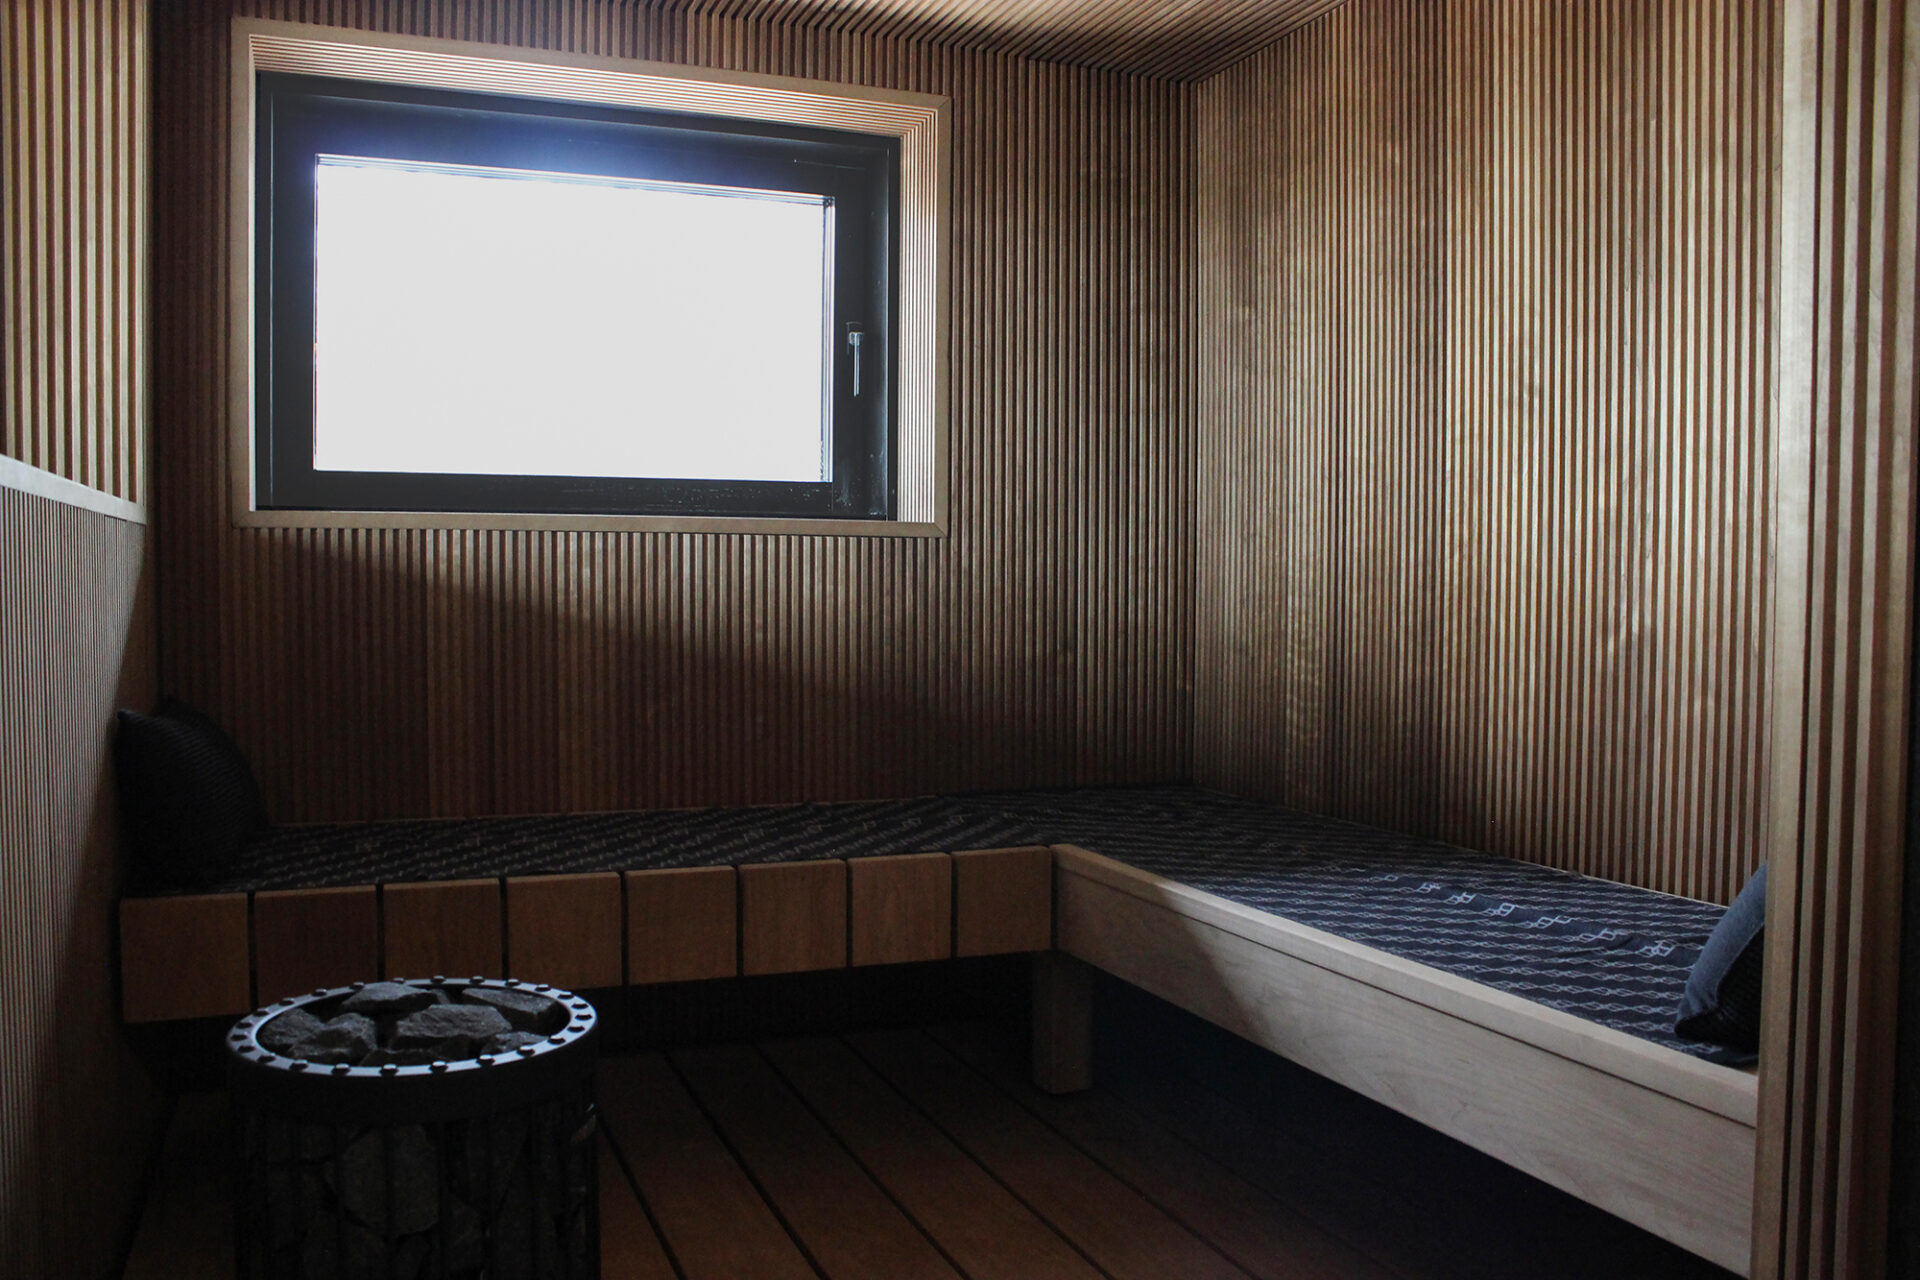
Thermally modified spruce is the industry standard for outdoor Sola Sauna construction because it balances structural integrity with natural resistance to the elements. Unlike traditional softwoods, this wood undergoes a heat treatment process that removes sugars and nutrients, effectively starving the fungi and insects that cause rot and decay.
The result is a material that remains stable in the fluctuating temperatures and humidity levels typical of backyard environments. It resists warping and shrinking far better than untreated pine, ensuring your Sola Sauna maintains its tight seals and smooth finish for years.
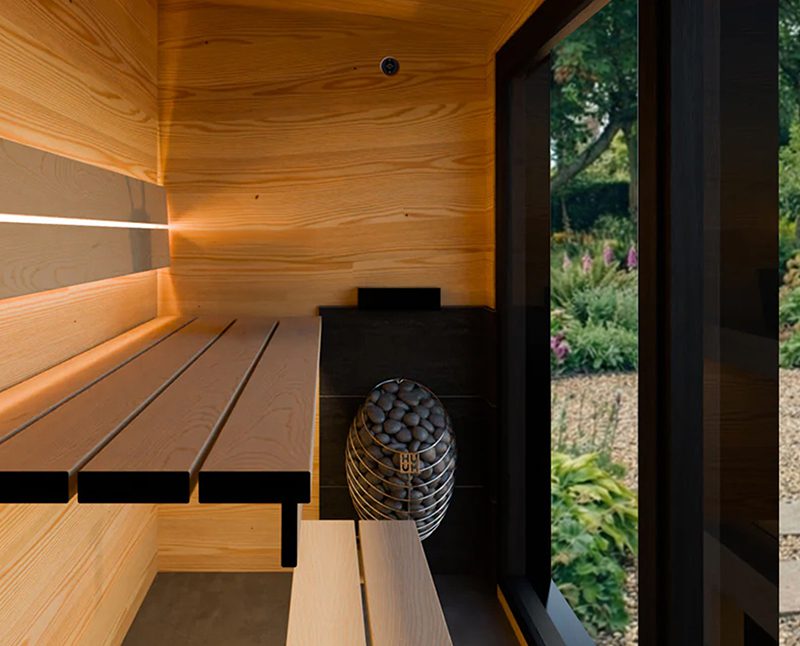
Beyond durability, this wood offers excellent thermal insulation properties. Its cellular structure changes during the heating process, creating small voids that trap heat. This means the sauna heats up faster and retains warmth more efficiently, reducing the energy load on your heater.
The wood also develops a rich, honey-brown color that deepens with age, giving your Sola Sauna a premium aesthetic without the need for chemical stains or paints. This natural finish is not only visually appealing but also environmentally friendly, requiring no volatile organic compounds (VOCs) to maintain.
While other woods like cedar or larch are popular, thermally modified spruce provides a cost-effective alternative that delivers comparable longevity and performance for most residential sauna builds.
Assemble the wall panels
Building the frame of your Sola Sauna requires precision. The square, robust structure relies on tight joints to ensure heat retention and structural integrity. Unlike traditional sauna kits that may use overlapping tongue-and-groove boards, the Sola design features flat, interlocking panels that create a seamless exterior. This construction method not only looks modern but also minimizes air leaks, which is critical for maintaining consistent temperatures in an outdoor environment.
Start by laying out the corner posts and base rails on a flat surface. Ensure the corners are perfectly square using a tape measure to check diagonal measurements. Once aligned, secure the base panels to the frame. The goal here is to create a rigid foundation that will support the weight of the upper walls and the roof. Use a drill with a countersink bit to drive screws flush with the wood surface, preventing any protrusions that could interfere with the next layer of panels.
As you stack the vertical wall panels, pay close attention to the interlocking edges. Each panel should slide snugly into the one below it. If you encounter resistance, do not force it; instead, check for debris or misalignment in the previous layer. A tight fit now prevents gaps later, which can lead to drafts and heat loss. The wood is durable, but it still requires careful handling to avoid splitting during assembly.
Once all four walls are assembled, verify that the structure stands upright without wobbling. This stage forms the core shell of your Sola Sauna. With the walls locked in place, you are ready to move on to installing the roof and interior elements.
Position the corner posts and base rails on a flat, level surface. Use a tape measure to ensure diagonals are equal, confirming the frame is perfectly square before driving any screws. This precision prevents structural distortion as you build upward.
Attach the bottom wall panels to the base frame. Use a drill with a countersink bit to drive screws flush with the wood. This creates a flat, stable foundation for the subsequent layers and ensures no hardware interferes with the tight fit of the panels above.
Slide each vertical panel into the one below it, ensuring the interlocking edges engage fully. The panels should fit snugly without gaps. If resistance is met, check for alignment issues rather than forcing the wood, which could cause splits or uneven seams.
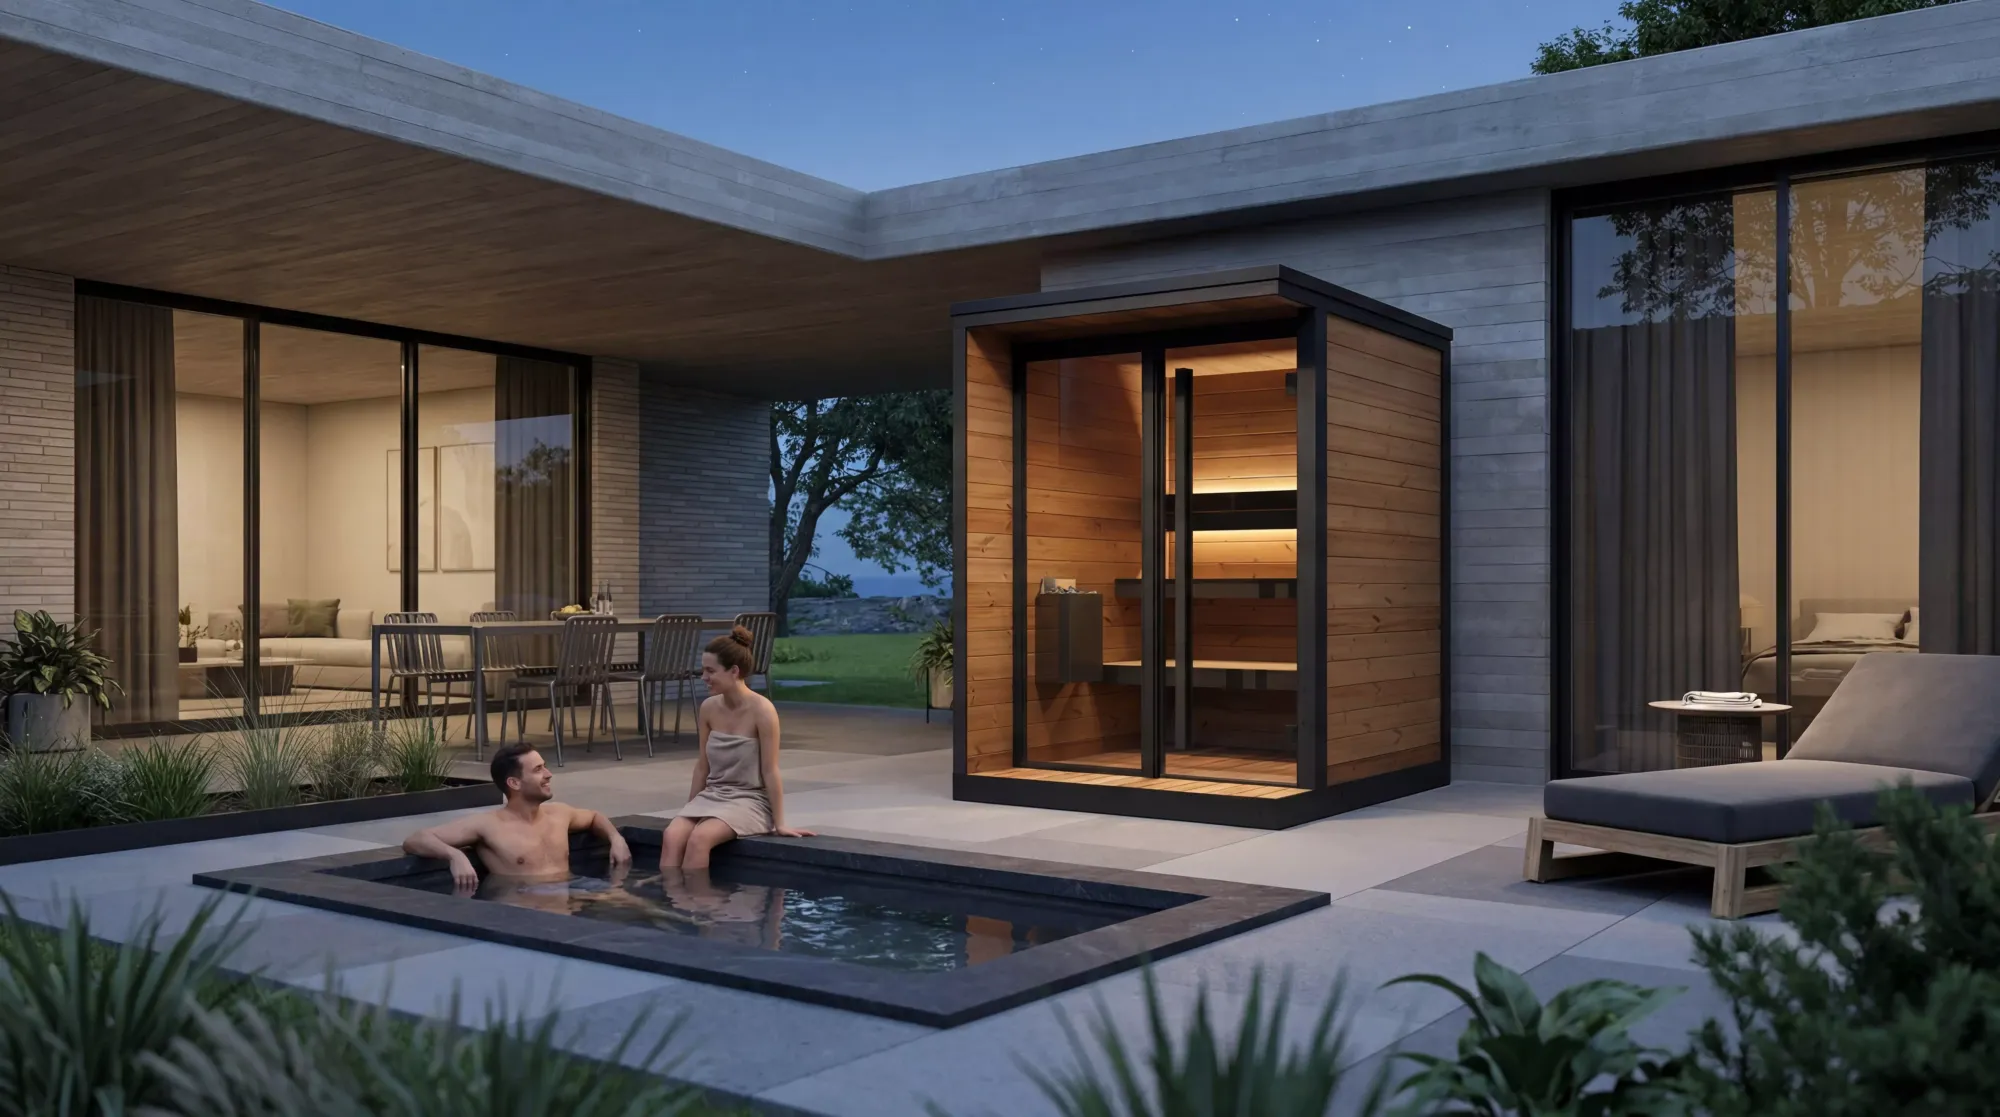
Check that all four walls stand upright and square. Ensure there is no wobbling or misalignment. A rigid, well-sealed frame is essential for heat retention and long-term durability of your Sola Sauna.
Install infrared heating elements
Mounting the infrared panels correctly is the difference between a soothing recovery session and an uncomfortable experience. For the Sola Sauna, even heat distribution is critical to maximize post-workout benefits without creating hot spots. The goal is to mimic the gentle, penetrating warmth of the sun, which requires precise spacing and strategic placement of the heaters.
Plan your panel layout
Before drilling any holes, map out the interior spruce walls. Infrared panels should be positioned to cover the majority of the body’s surface area when seated or standing. Typically, two panels are mounted on the back wall, angled slightly inward if the sauna is deep. Side panels can be added for additional warmth, but ensure they do not obstruct the door or create awkward angles where heat reflects inefficiently. Leave at least 4-6 inches of clearance from the ceiling and floor to allow for proper air circulation and heat reflection.
Mount the panels securely
Use the manufacturer-provided mounting brackets to attach the heaters to the wooden framing. These brackets are designed to hold the weight of the panel while allowing for slight adjustments in alignment. Ensure the panels are level; uneven installation can lead to gaps that disrupt the heat field. Secure all screws tightly into the studs or solid backing material, never just into the thin spruce cladding, to prevent the panels from sagging over time.
Route and conceal wiring
Run the electrical conduits along the edges of the walls, keeping them as unobtrusive as possible. Most Sola Sauna kits include channels or covers to hide the wiring, maintaining the clean, minimalist aesthetic of the interior. Connect the heaters to the central control box according to the wiring diagram. Double-check all connections for tightness and insulation to prevent any electrical hazards. Ensure the power cord exits through the designated opening, usually near the control panel, without pinching or kinking.
Test for even heat distribution
Once the panels are mounted and wired, perform a test run before closing up any final panels or installing the final interior trim. Turn on the sauna and set it to a moderate temperature. Walk around the interior to feel for any cold spots or areas that feel significantly hotter than others. Adjust the angle of the panels if necessary to ensure the heat covers you evenly from head to toe. This step ensures your Sola Sauna delivers consistent, therapeutic warmth for every session.
Add roofing and ventilation
A Sola Sauna is an investment in recovery, but without proper roofing and ventilation, humidity can quickly turn that investment into a maintenance headache. The goal here is twofold: keep the rain out and keep the air moving. A well-sealed roof protects the structure’s integrity, while strategic ventilation prevents condensation from rotting the wood or breeding mold.
Install the roofing system
Start by laying your roofing material according to the manufacturer’s specifications. Whether you choose shingles, metal panels, or EPDM rubber, the priority is a continuous, watertight barrier. Overlap each layer by the recommended amount and secure fasteners with waterproof washers to prevent leaks at the entry points.
Pay special attention to the edges and valleys where water tends to pool. Seal all seams with a high-quality exterior-grade sealant. This step is critical for a Sola Sauna, which sits exposed to the elements. A small leak now can lead to significant structural damage over time. Ensure the roof has a slight pitch to encourage water runoff, especially if you are in a region with heavy rainfall or snow.
Position ventilation for airflow
Ventilation is the unsung hero of sauna longevity. You need to create a path for moist air to escape and fresh, drier air to enter. Place an exhaust vent near the ceiling on the side opposite the heater. This allows hot, humid air to rise and exit efficiently. Pair this with an intake vent near the floor on the opposite wall to draw in cooler, drier air.
Avoid placing vents directly above or below the heater, as this can disrupt the heating cycle or create cold spots. Use insect screens on both intake and exhaust vents to keep pests out without restricting airflow. Properly sized vents ensure that humidity levels drop quickly after a session, protecting the wood and extending the life of your Sola Sauna.
Apply exterior-grade sealant to all roof seams and fastener points. Ensure a continuous, watertight barrier that directs water away from the structure.
Position the exhaust vent near the ceiling on the wall opposite the heater. This allows hot, humid air to rise and escape efficiently.
Install an intake vent near the floor on the opposite wall. This draws in cooler, drier air to balance humidity and protect the wood.
Common Sola Sauna build mistakes
Even with a high-quality kit like the Sola Sauna, construction errors can ruin the experience. A poorly sealed unit leaks heat, drains electricity, and warps the wood before you’ve had your first session. These mistakes are costly to fix, so catching them early is essential.
Skipping the vapor barrier
Heat rises and moisture follows. Without a continuous vapor barrier behind the interior cladding, steam penetrates the wall cavities, causing rot and mold in the framing. The Sola Sauna’s thermal modification helps resist decay, but it doesn’t replace the need for a proper foil-backed barrier. Seal every seam with butyl tape and ensure no gaps exist around windows or electrical penetrations. Think of it like a rain jacket; a single hole lets the whole system fail.
Improper insulation placement
Insulation must fill the stud cavities completely. Gaps between batts and framing create thermal bridges where heat escapes, forcing your heater to work harder and increasing your electric bill. Use rigid foam board to seal gaps around the heater base and electrical conduits. If you’re adding extra insulation, ensure it doesn’t block the required clearance zones for the heater, which can lead to fire hazards or tripped breakers.
Choosing the wrong wood or finish
The Sola Sauna comes pre-finished with thermally modified spruce, which is stable and resistant to warping. Avoid applying additional stains, paints, or heavy sealants to the interior benches or walls. These products can off-gas toxic fumes when heated and trap moisture against the wood. For the exterior, a clear UV-resistant sealant is sufficient to protect against rain and sun without compromising the wood’s natural breathability.
Frequently asked questions about building a Sola Sauna
Here are the most common concerns for homeowners considering a Sola Sauna build.
No comments yet. Be the first to share your thoughts!