
Michelle Marvin is a style-savvy fashion journalist who specializes in the sauna and wellness niche. She showcases her passion for sauna suits and accessories through her engaging articles, where she provides trendy suggestions for sauna enthusiasts.
Building a small sauna for two people at your home can be a rewarding project that offers numerous health benefits. This process involves selecting a location, gathering materials, constructing the sauna, and adding finishing touches. Let's go through this process in detail.
Ready to immerse yourself in the world of DIY? Let's dive into the step-by-step process of building your own small sauna for two at home.
Your Ultimate Guide to Building a Small Home Sauna

Step 1: Selecting the Location
The first step in your sauna building journey is choosing the perfect spot. This could be indoor or outdoor, based on your preference and available space. Consider factors such as ventilation, proximity to a power source, and privacy.
Step 2: Gathering Materials
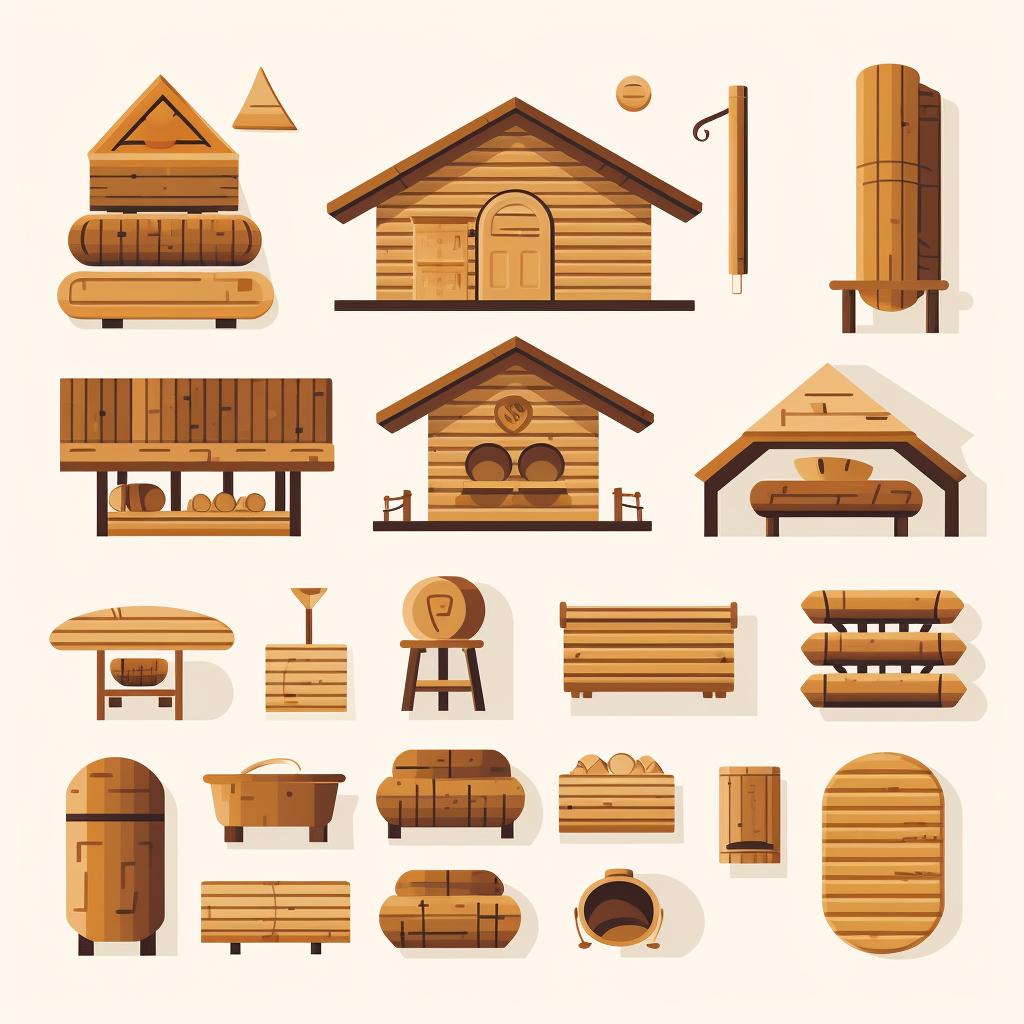
Next, gather your materials. This includes sauna heaters, sauna stones, wooden planks for walls and benches, insulation, and a foil vapor barrier. Make sure to choose high-quality materials for durability and safety.

Step 3: Constructing the Sauna
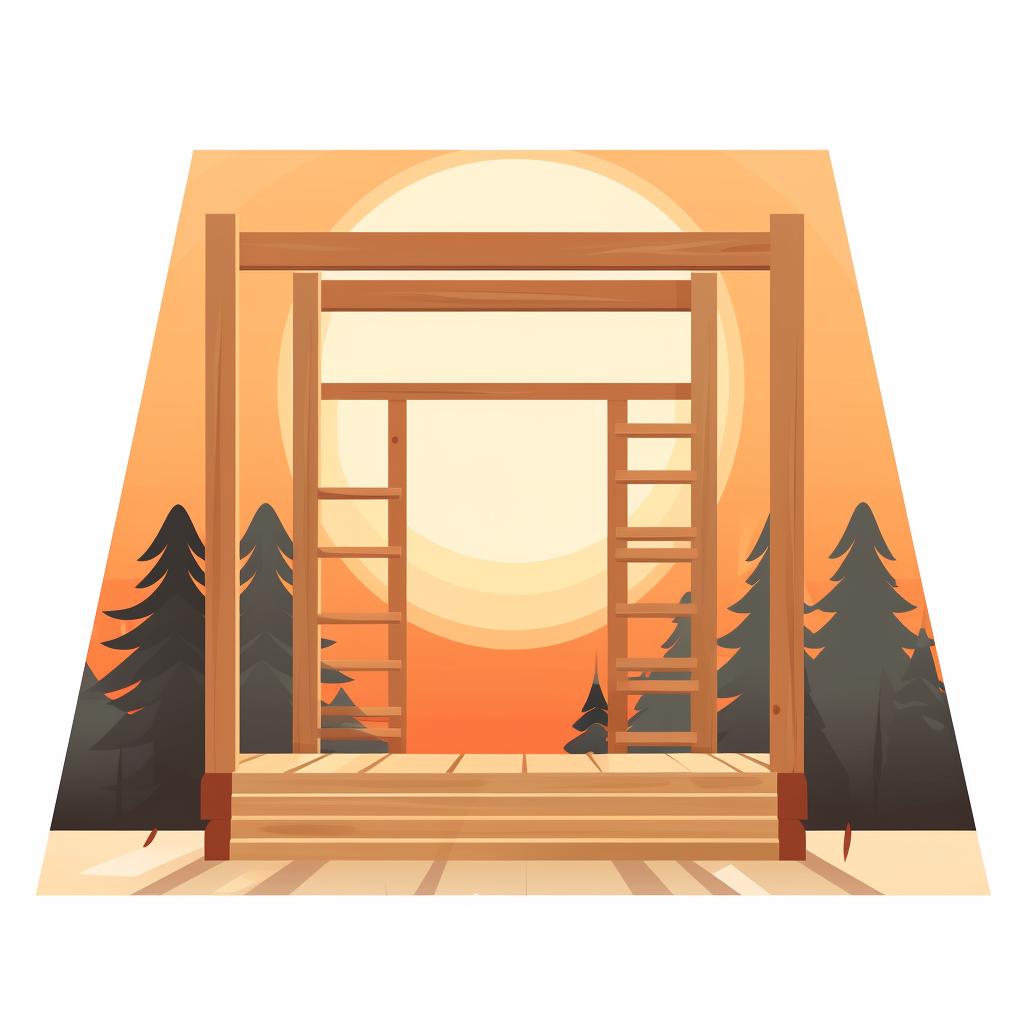
Start the construction by framing the walls, then install the insulation and foil vapor barrier. Follow this by installing the wooden planks and setting up the heater and sauna stones. Don't forget to build comfortable benches for seating.

Step 4: Adding Finishing Touches
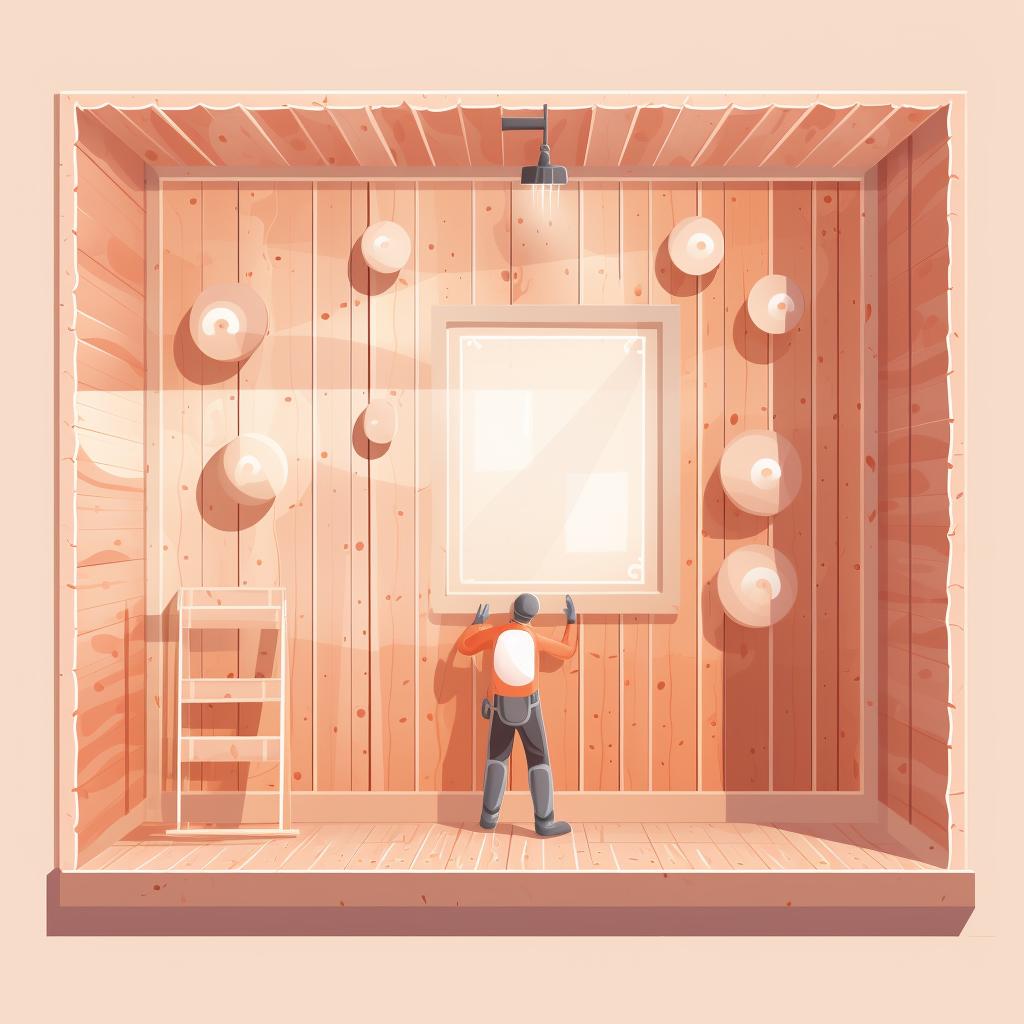
The final step is adding those finishing touches to your DIY small sauna. This can include installing lighting, adding a sound system, or even a touch of aromatherapy with essential oils. Make it a space where you can truly relax and unwind.
And voila! You've built your very own home sauna. Remember, safety should always be your top priority when building and using your sauna. Now, it's time to enjoy the fruits of your labor!
Choosing the right location is crucial in your home sauna construction. It could be indoor or outdoor based on your preference and space availability. For indoor saunas, a bathroom, basement, or garage can be ideal. For outdoor saunas, a spot in your backyard that’s close to your home would be perfect. For more on choosing the right location, check out this guide.
Once you've selected the perfect spot for your sauna, it's time to gather your materials. This is an important step as the quality of your materials will greatly affect the longevity and performance of your sauna.
Step 2: Gathering Your Sauna Building Materials

Sauna Heater and Stones
Start by sourcing a suitable sauna heater. This could be an electric, wood-burning, or infrared heater, depending on your preference. Also, you'll need sauna stones, which are heated to create the steam in a traditional sauna.

Wooden Planks
Next, you'll need wooden planks for the walls and benches. Cedar is a popular choice because it's resistant to moisture and has a pleasant aroma. Make sure you have enough planks to cover all the walls and to build at least two benches.

Insulation and Foil Vapor Barrier
Insulation is crucial for maintaining the heat in your sauna. You'll also need a foil vapor barrier to prevent moisture from seeping into the walls. Both of these materials are commonly available at home improvement stores.

Other Materials
Other materials you may need include screws, nails, a thermometer, a bucket, and a ladle. The bucket and ladle are used to pour water onto the heated stones to create steam.
Learn more about 🔨 Step 2: Gathering Your Sauna Building Materials or discover other Sola Sauna guides.
With all your materials gathered, you're now ready to start building your home sauna. Remember, the quality of your materials will directly impact the final result, so choose wisely.
Next, gather your materials. This includes sauna heaters, sauna stones, wooden planks for walls and benches, insulation, foil vapor barrier, and other accessories. You might also want to consider an infrared sauna for two, which offers a more efficient and comfortable heat source.
Now that you've gathered all your materials, let's dive into the construction of your home sauna.
Step 3: Constructing Your Cozy Two-Person Sauna
Framing the Walls
Start by framing the walls of your sauna. Ensure that the frame is sturdy and can support the weight of the wooden planks, heater, and stones. This is the skeleton of your sauna, so precision is key.
Installing Insulation
Next, install the insulation between the studs of your sauna walls. This will help retain heat and make your sauna more energy-efficient. Remember, the thicker the insulation, the better the heat retention.

Adding the Foil Vapor Barrier
After the insulation, install the foil vapor barrier. This will prevent moisture from seeping into the insulation and wood, ensuring the longevity of your sauna. Make sure it's tightly sealed to avoid any potential leaks.

Installing the Wooden Planks
Now, it's time to install the wooden planks on your sauna walls. Choose a wood type that can withstand high temperatures and humidity, like cedar or spruce. Secure the planks to your frame, creating a warm, inviting interior.
Learn more about 🔨 Step 3: Constructing Your Cozy Two-Person Sauna or discover other Sola Sauna guides.
With the basic structure of your sauna complete, you're ready to move on to the next steps. Stay tuned for the finishing touches.
Start the construction by framing the walls, then install the insulation and foil vapor barrier. Follow this by installing the interior paneling, typically made from cedar or hemlock. Next, install your benches, heater, and door. Ensure you follow a reliable sauna building guide to avoid any missteps.
Now that the basic structure of your sauna is in place, it's time to add those finishing touches that will transform it into a personal oasis of relaxation.
Step 4: Perfecting Your Sauna

Install the Lighting
Start by installing suitable lighting. Sauna lights should be waterproof and low voltage for safety. Consider installing dimmable lights for a relaxing ambiance. Always remember to follow the manufacturer's instructions for installation.

Add a Sound System
Next, consider adding a sound system if you enjoy listening to music or podcasts during your sauna sessions. Ensure the system is suitable for high temperatures and humidity. You can opt for a wall-mounted system or portable speakers designed for saunas.

Install a Thermometer and Hygrometer
A thermometer and hygrometer are essential tools for monitoring the temperature and humidity in your sauna. Install these on the wall opposite the heater, at eye level for easy reading.

Add Accessories
Lastly, add personal touches with accessories like a sauna bucket and ladle, essential oils for aromatherapy, and comfortable sauna pillows. These items will enhance your sauna experience and make it uniquely yours.
Learn more about Step 4: Perfecting Your Sauna ✨ or discover other Sola Sauna guides.
With these finishing touches, your personal home sauna is now ready for use. Remember to follow all safety guidelines when using your sauna, and enjoy the numerous health benefits it offers.
The final step is adding finishing touches to your DIY small sauna. This can include installing lighting, adding a sound system, or painting the exterior. Ensure to ventilate it properly before your first use.
Building a sauna at home not only offers a convenient way to enjoy the home sauna benefits but also increases your property's value. It's an excellent place to relax after a workout and promotes overall well-being.
Before you dive into the safety guide, let's make sure you've covered all the steps in your sauna building journey. Here's a quick checklist to help you out:
Now that you've checked off all the steps, it's time to focus on safety. Remember, safety should be your top priority when building and using your sauna.
Remember, safety should be your top priority when building and using your sauna. Refer to this safety guide to ensure you're not overlooking any crucial safety aspects.
After considering all the safety measures, let's dive into the construction process. Here is a video that will guide you through the process.
The above video provides a comprehensive guide on building a small sauna at home. Now that you're equipped with this knowledge, let's discuss the different types of home saunas that people prefer.
If you’re looking for a more visual guide, this YouTube video tutorial breaks down the sauna construction process step-by-step. It's a great resource for beginners and visual learners.
What type of home sauna would you prefer to build?
Choose the sauna type that you would love to have in your home. Your preference could be based on space, cost, or personal taste.


People also asked


All Rights Reserved © 2025