
Embarking on Your Sauna Journey: A Primer on DIY Outdoor Sauna Kits 🌲
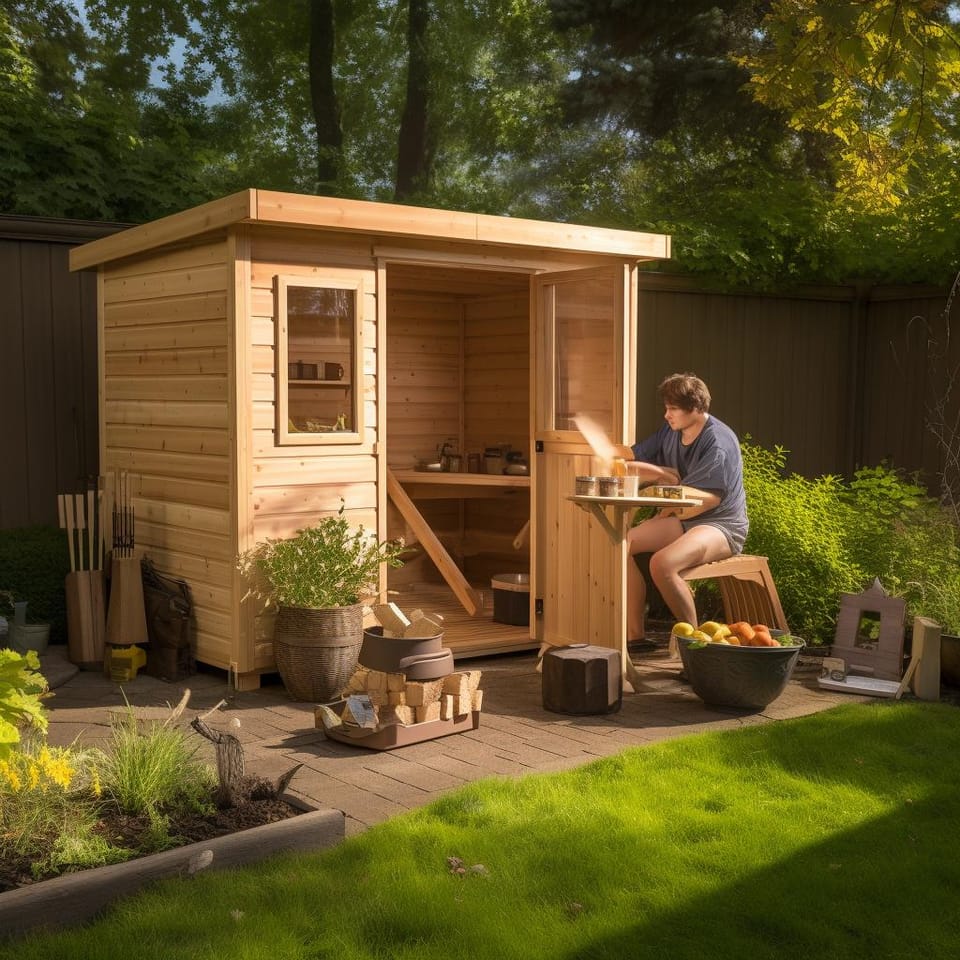
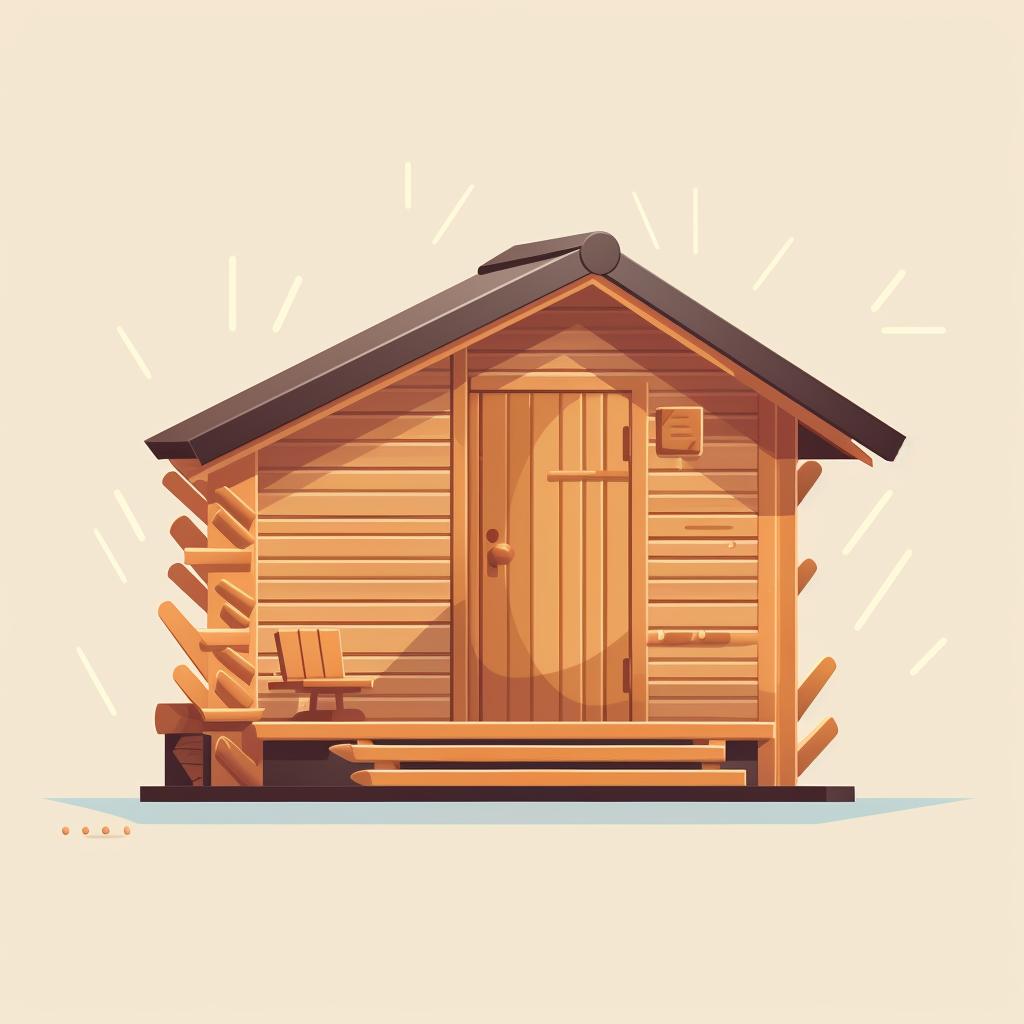
Imagine stepping into your backyard, the day's stress melting away as you cross the threshold into your personal retreat—a sanctuary sculpted by your own hands. Sounds enticing, doesn't it? That's the allure of DIY outdoor sauna kits. With the right tools, a dash of dedication, and a sprinkling of sweat, you can build your own sauna—a haven of heat that's as therapeutic as it is rewarding.
Why opt for a DIY outdoor sauna kit? Well, aside from the obvious bragging rights, these kits offer a cost-effective, customizable route to home sauna construction. Whether you're a fan of traditional saunas or you're drawn to the modern allure of infrared saunas for home use, there's a DIY kit that's perfect for you. Plus, the personal satisfaction of seeing your vision come to life—there's no price tag for that.
So, are you ready to transform your outdoor space into a wellness oasis? Let's dive into this home sauna guide, and embark on a journey that's as much about the destination as it is about the adventure of getting there.

The Building Blocks of Bliss: Decoding the Components of a Sauna Kit 🔧
Have you ever wondered about the magical transformation that happens when you step into a sauna? How does a simple wooden structure manage to transport you into a realm of relaxation and rejuvenation? Well, it's all about the components that make up your personal sauna construction. Let's unwrap this mystery and delve into the heart of your DIY outdoor sauna kit.
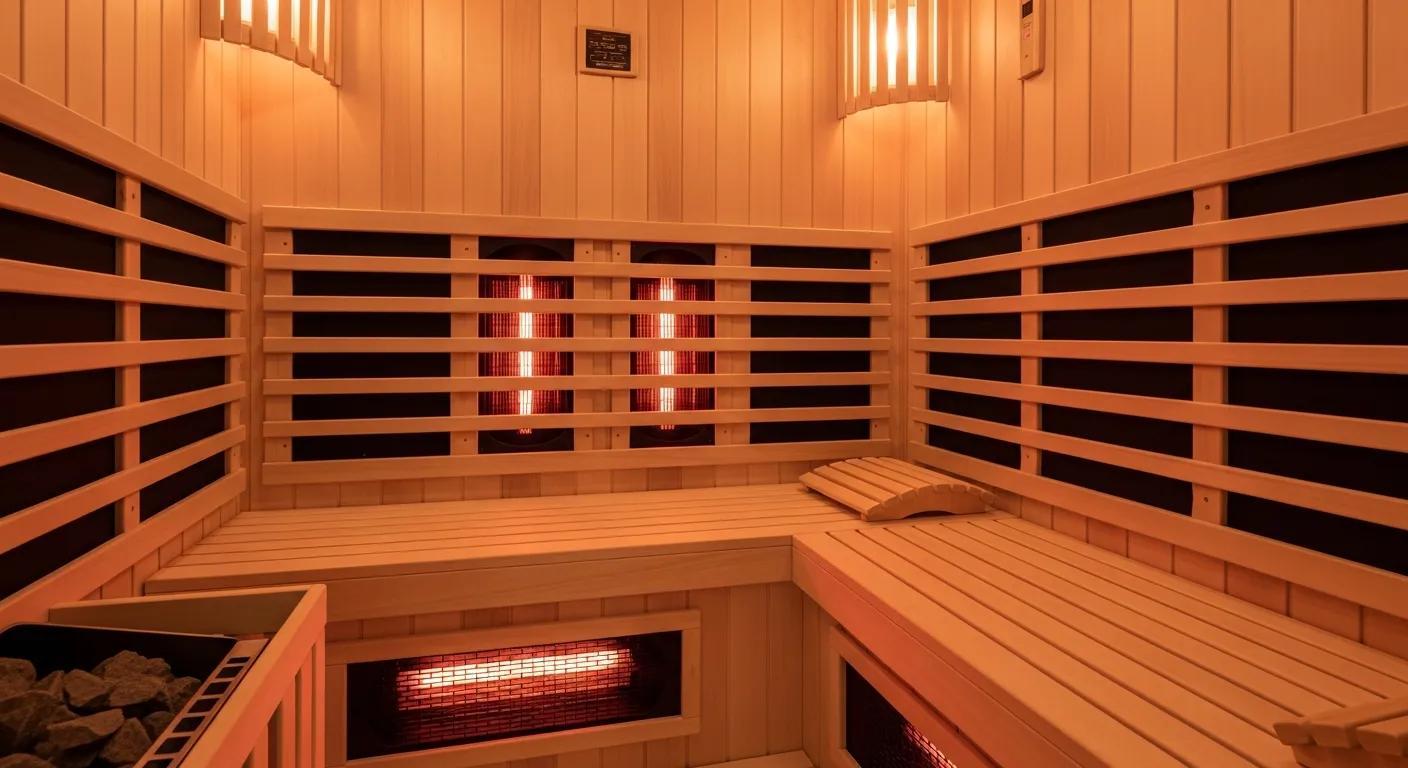
At the core of every sauna is the heater, the beating heart that breathes warmth into your tranquil retreat. It's the maestro conducting an orchestra of infrared saunas for home use, turning your space into a symphony of heat. But, a heater alone doesn't make a sauna. What about the walls and the roof, the protectors against the elements? They're the unsung heroes, often overlooked, yet vital to the comfort and longevity of your home sauna.
Then there's the bench, your throne within this tranquil kingdom. It's more than just a place to sit; it's where you surrender to the heat, allowing it to seep into your muscles and melt away the day's stress. And let's not forget the door, your gateway to this oasis of relaxation. It’s the final piece that seals in the heat, completing your personal retreat.
So, ready to build your own sauna? Remember, every component plays a crucial role in your journey towards creating a personal haven of relaxation. With the right DIY outdoor sauna kits, the path to your personal retreat is just a few steps away.
Essential Components in a Sauna Kit
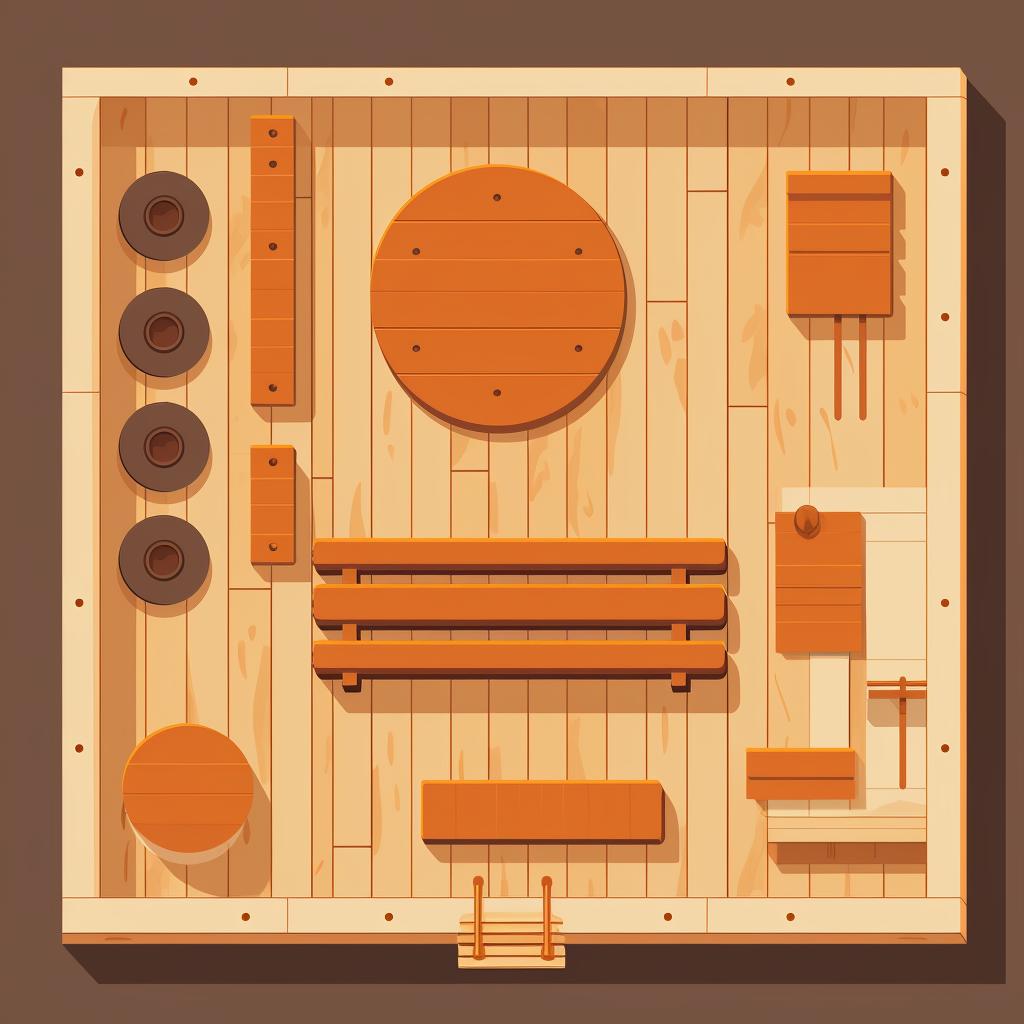
- Pre-cut Wood Panels: These are the main structural components of your sauna. They are typically made from high-quality cedar or hemlock wood due to their durability and resistance to moisture.
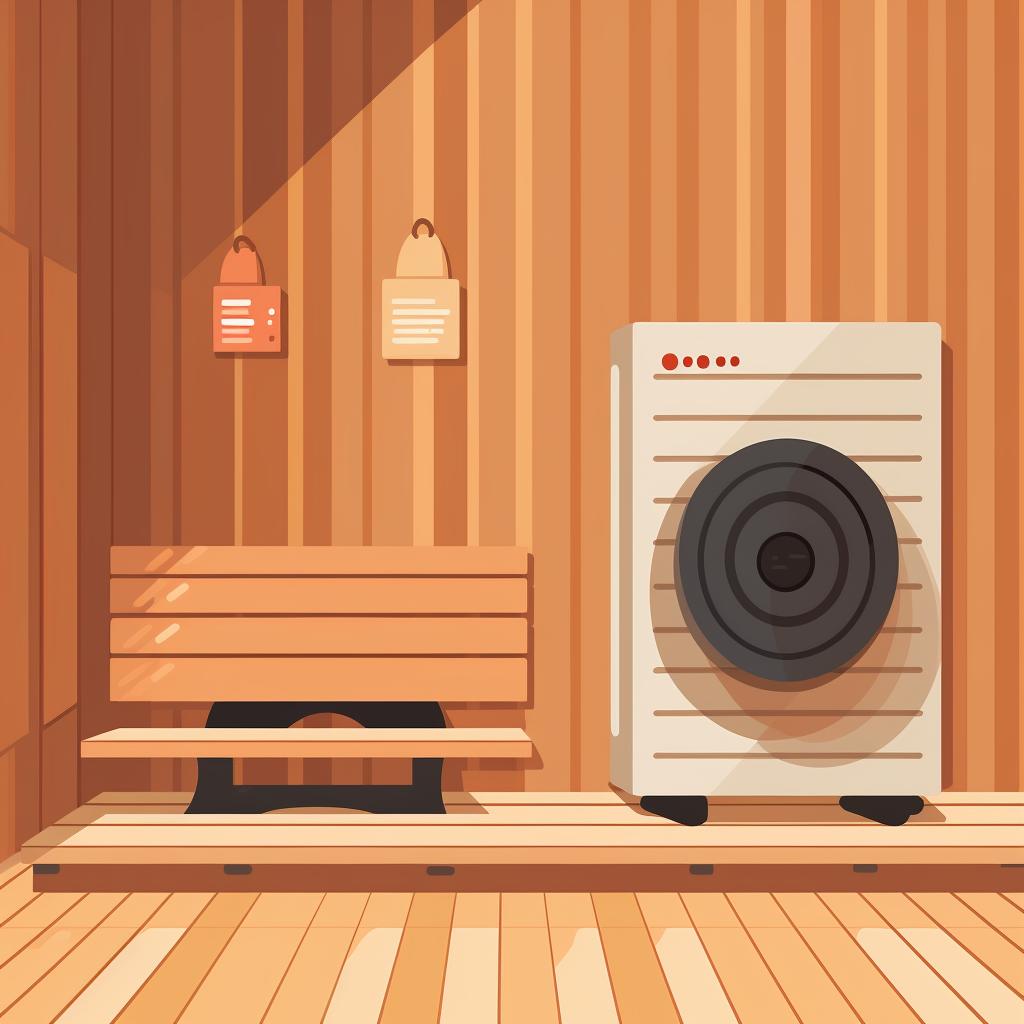
- Heater: The heart of any sauna, the heater is responsible for creating the hot environment. It can be either a traditional wood-burning stove or an electric or infrared heater.
- Stones: If you're using a traditional sauna heater, you'll need sauna stones. They retain and radiate heat, helping to create the perfect sauna atmosphere.
- Bench: Sauna benches provide a comfortable place to sit or lie down during your sauna sessions. They are typically made from the same wood as the panels.
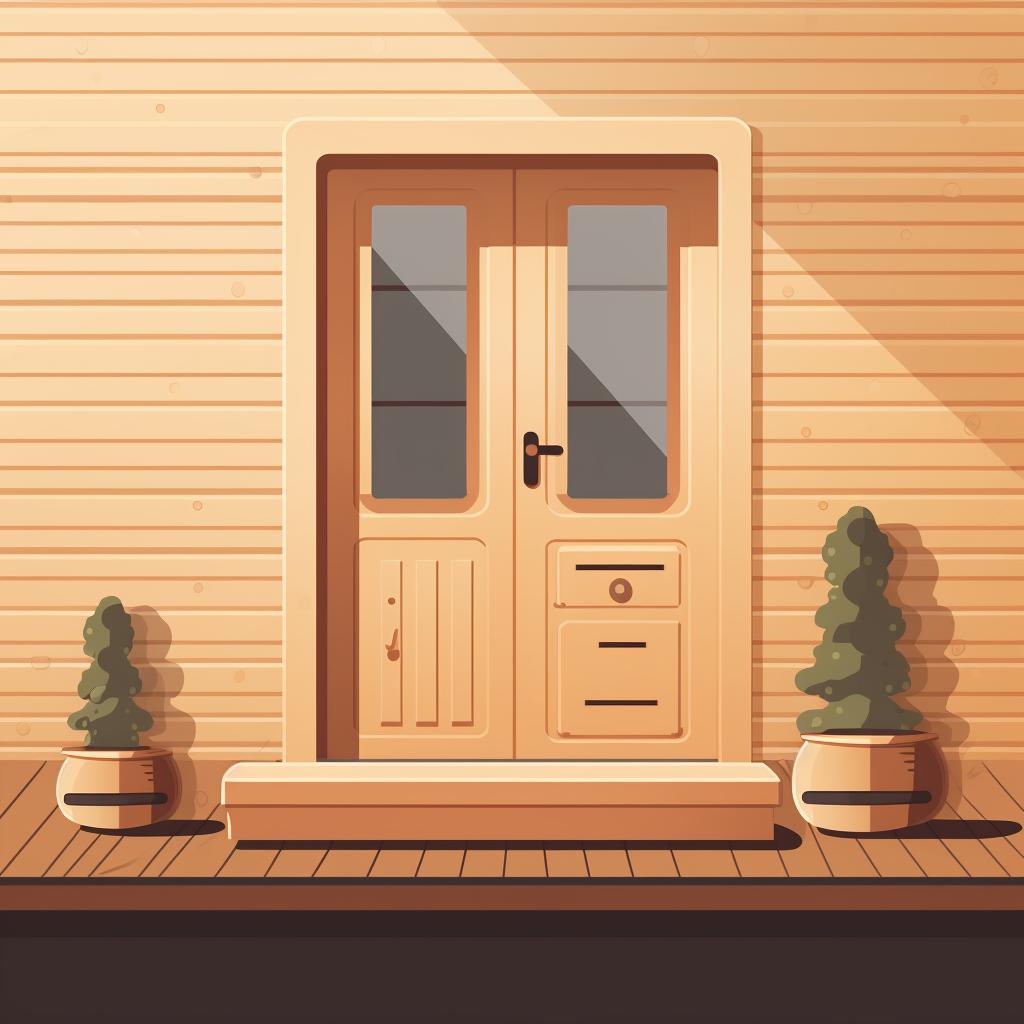
- Door: Sauna doors are specially designed to withstand high temperatures and humidity. They often include a window for safety and comfort.
- Insulation: High-quality insulation is essential for maintaining the heat inside your sauna and ensuring energy efficiency.
- Ventilation System: Proper ventilation is crucial to control the temperature and humidity levels in the sauna, providing a comfortable and safe environment.
- Lighting: Sauna lighting sets the mood and ensures safety. It must be waterproof and able to withstand high temperatures.
- Accessories: Most sauna kits include essential accessories like a thermometer, hygrometer, sauna bucket, ladle, and headrests for added comfort. Learn more about building a small home sauna.
Finding Your Perfect Match: How to Choose the Right Sauna Kit for You 🎯
Embarking on your personal sauna construction journey is like setting off on a grand adventure. You're the captain of your ship, navigating through seas of DIY outdoor sauna kits, with a mission to find that perfect oasis of heat and relaxation. But how do you choose the right vessel?
Imagine your dream sauna. Is it a cozy, intimate space for one, or a grand, spacious haven for a group? Size matters, friends, and it's the first consideration in your quest. Next, think about the features. Do you yearn for the traditional heat of a wood-burning stove, or the modern, efficient warmth of infrared saunas for home use?
Lastly, consider the material. Cedar, with its natural resistance to moisture and decay, is a popular choice. But perhaps you're drawn to the rustic charm of pine or the sleek modernity of hemlock. Each has its own personality, so choose a material that speaks to your soul. Remember, this is your retreat, your sanctuary. Make it uniquely yours.
Choosing the Right Sauna Kit Quiz
Test your understanding of what to consider when choosing a sauna kit for your personal retreat.
Learn more about 🔍 Take the Choosing the Right Sauna Kit Quiz or discover other Sola Sauna quizzes.
Your Blueprint to Relaxation: A Step-by-Step Guide to Assembling Your Sauna Kit 🛠️
Now that you've chosen the perfect sauna kit, it's time to roll up your sleeves and start building. Follow these step-by-step instructions to assemble your sauna kit from the foundation to the roof.
The Ultimate DIY Outdoor Sauna Kit Assembly Guide


Learn more about 🔨 The Ultimate DIY Outdoor Sauna Kit Assembly Guide or discover other Sola Sauna guides.
Congratulations! You've successfully assembled your outdoor sauna. Now, let's take a look at a video tutorial that will give you a visual guide on the assembly process.
Now that we've gone through the step-by-step guide, let's look at a practical example. The following video will guide you through the process of building an outdoor sauna.
That was a comprehensive video on assembling a sauna kit. Now that your sauna is set up, let's move on to how you can maintain it effectively to ensure its longevity.
Keeping the Heat On: Essential Tips for Maintaining Your Outdoor Sauna 🌡️
Imagine, if you will, stepping into your own personal retreat, a sanctuary crafted by your own hands. The warm, inviting glow of your DIY outdoor sauna beckons. But, how do you ensure this haven remains in optimal condition? Ah, the answer lies in routine maintenance, my friends.
Just as a car needs regular oil changes, your sauna requires a bit of TLC to keep it running smoothly. Regularly clean the benches and floor, and inspect the heater and stones for any signs of wear and tear. And remember, water is both a friend and a foe to your sauna; while it provides the steamy ambiance, excessive moisture can lead to mildew and damage to your sauna's wood. So, ensure proper ventilation and consider using a water-repellant sealant on the wood surfaces.
So, you've built your own sauna, but the journey doesn't end there. It's a labor of love, a continuous commitment to maintenance that will keep your personal retreat in top shape for years to come. After all, isn't your peace of mind worth it?
And for those who are still on the fence about embarking on this adventure of personal sauna construction, perhaps the question should be 'why not?' With infrared saunas for home becoming increasingly popular, isn't it time to bring the spa to your backyard?
To ensure your outdoor sauna remains in top condition, follow this comprehensive maintenance checklist.
With your sauna well-maintained, let's now focus on how to maximize the benefits of your outdoor sauna.
Sweat the Small Stuff: How to Maximize the Health Benefits of Your Outdoor Sauna 🧖♂️
Isn't it fascinating how the ancient wisdom of sweating it out in a sauna can now be captured in a click-together, DIY outdoor sauna kit? It's like capturing a piece of the Finnish heritage right in your backyard! But remember, the dance of steam and sweat isn’t just about building the sauna, it's about building an experience.
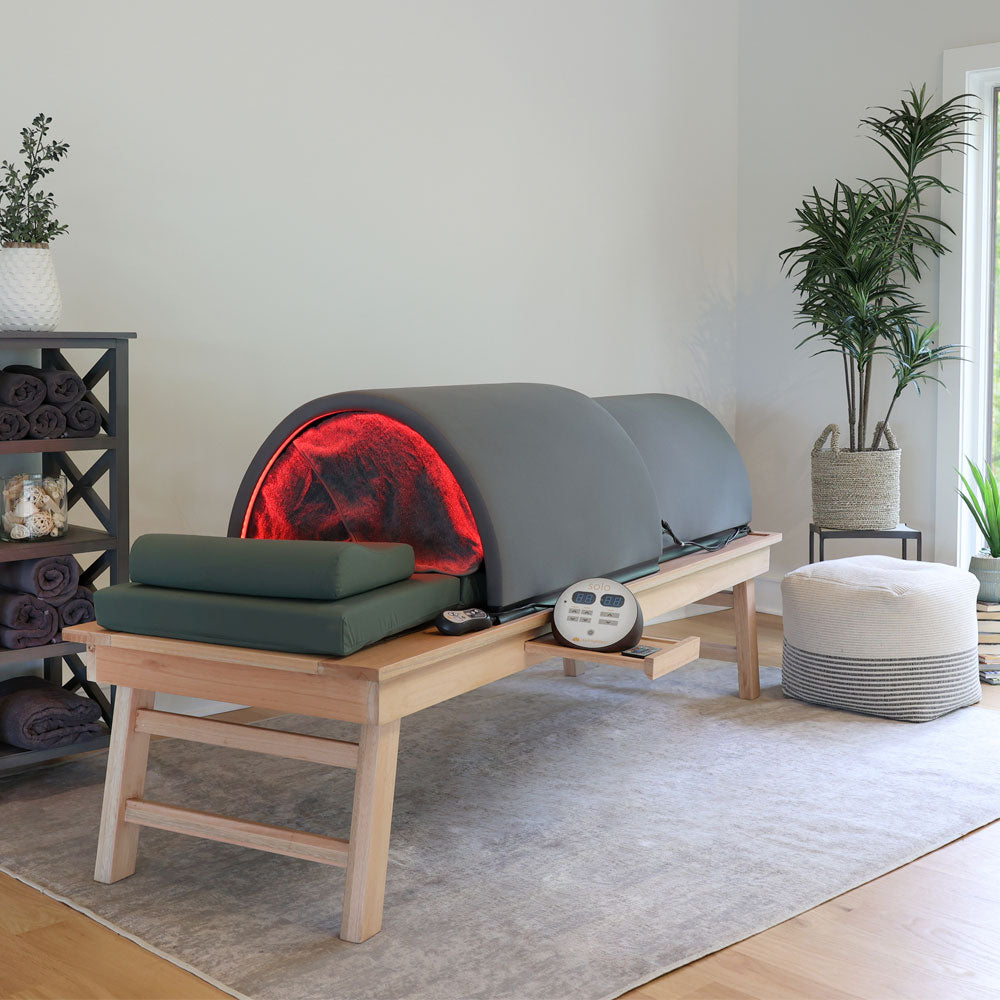
Consider this: You've had a stressful day. Work, family, traffic - the works. Now, imagine walking out into your backyard, slipping into your personal haven of warmth, feeling the gentle infrared heat seeping into your muscles, melting away the tensions of the day. That's the magic of having an infrared sauna for home. It's not just about the heat; it’s about creating a sanctuary, a retreat. Building your own sauna is not just about construction, it's about creating a healing space, a cocoon of comfort.
As you embark on your personal sauna construction journey, remember to infuse it with elements that speak to your soul. Aromatherapy, perhaps? Or a sound system to play relaxing melodies? How about soft, mood-enhancing lights? The choice is yours. After all, it's your retreat. Make it sing the song of your soul.
So, are you ready to build your own sauna and turn your backyard into a spa-like oasis? Remember, every bead of sweat, every breath of steam will echo the story of wellness and tranquility. And isn't that a tale worth telling?
Now that we've covered the basics of choosing, assembling, and maintaining your sauna kit, let's address some common questions you might have.
We hope these answers have provided more clarity about DIY outdoor sauna kits. Remember, the key to a successful sauna experience is understanding how to use and maintain it properly. Happy sauna building!


No comments yet. Be the first to share your thoughts!